

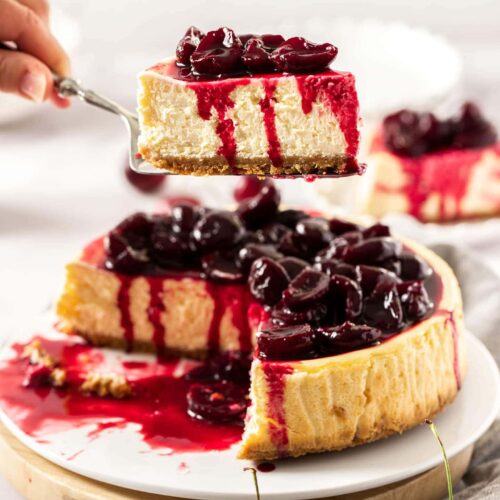

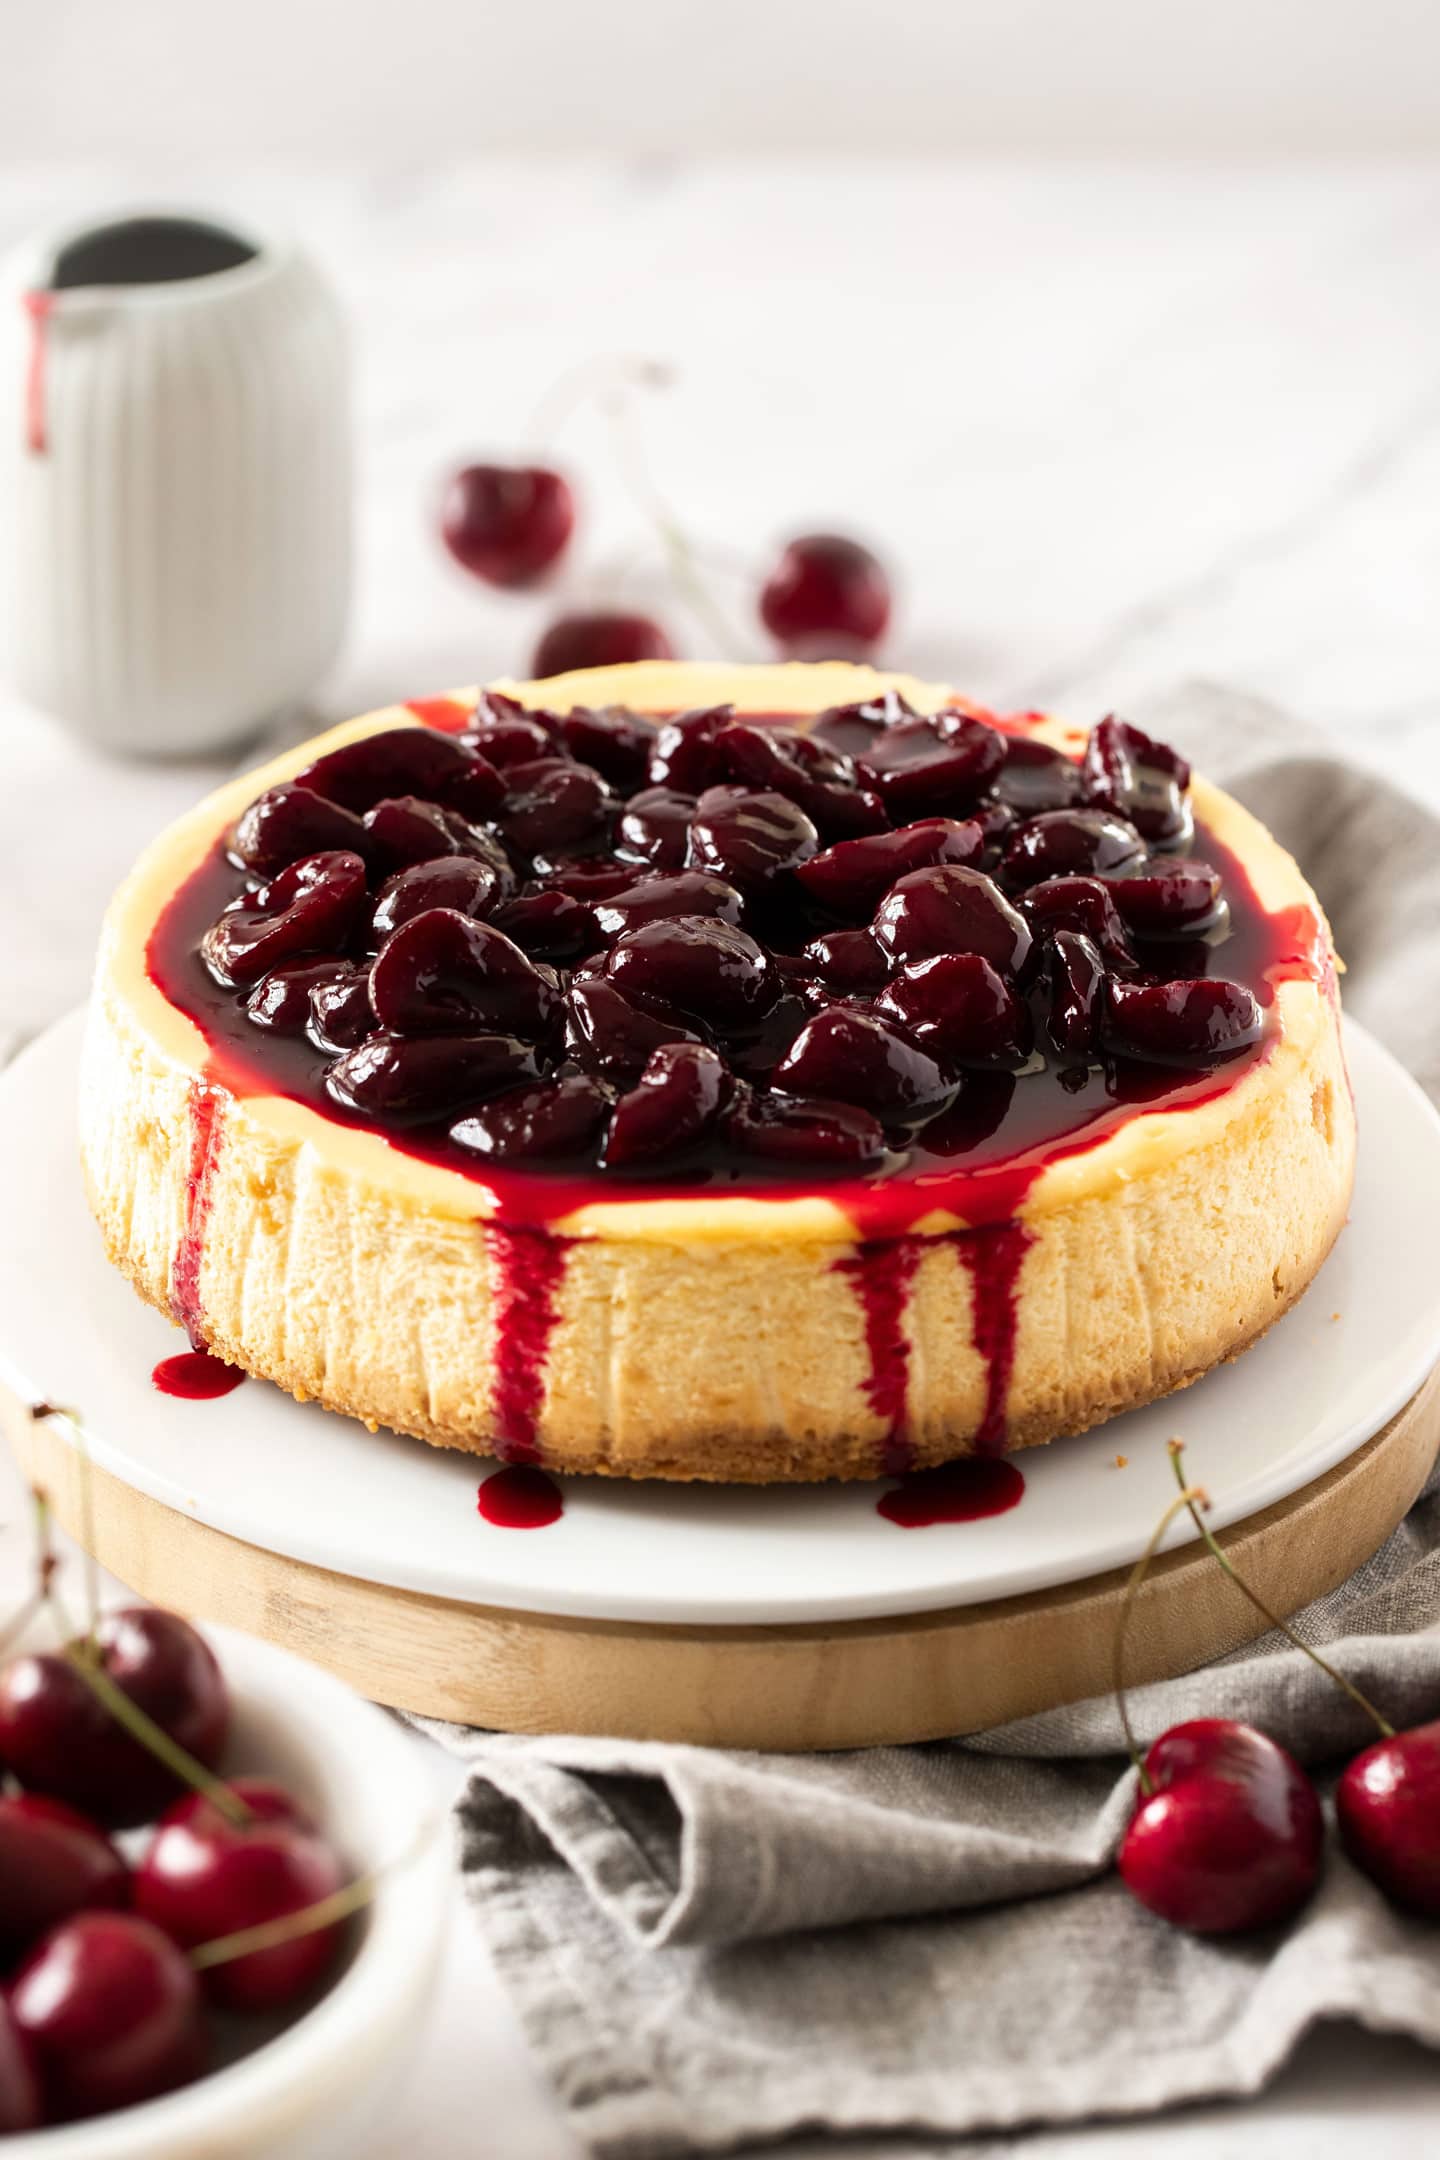
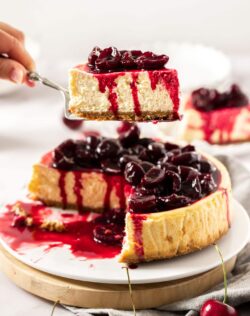
That’s right, this baked cherry cheesecake is actually very easy to make and, if you’re used to fridge set cheesecakes, don’t let the baked part turn you off. It’s easy, it’s delicious and it’s a showstopper. The hardest part is waiting for it to cool, I promise. It’s all made from scratch and is topped with a stunning cherry sauce.
While using beautiful plump cherries during their too-short season is lovely, you can make the sauce using frozen cherries too.
This cherry cheesecake recipe has the approval of loads of testers including my SIL (one of the biggest cheesecake fans I know) actually saying it’s the best she’s ever had and my mum (not a baked cheesecake fan) says this one is amazing (and she’s very honest with me).
For an even more indulgent cherry cheesecake try this black forest cheesecake or this baked salted caramel cheesecake is an absolute favourite on the blog too.
This recipe and post was first published here in January, 2018 and has been updated with clearer step by step images.
Never Miss a Recipe!
Get the latest recipes straight to your inbox.
Ingredients in fresh cherry cheesecake
This cherry cheesecake is made up of a group of very simple ingredients.

Jump to the recipe card for full ingredients and instructions.
- Cream cheese: Use full fat cream cheese for this one.
- Sugar: Just white granulated sugar is fine.
- Cookies: I use digestive biscuits (the go-to for cheesecakes where I live) but you can use graham cracker crumbs too.
- Eggs: I use large eggs.
- Cinnamon and ginger: Add flavour to the base
- Butter: Is the binder for the cookie base.
- Salt and vanilla: are both used for flavour and balance.
- Lemon juice & zest: Lemon adds tang and the acidity helps balance the intense creaminess .
- Sour cream: Adds creaminess and tang.
- Cherry sauce: Making your own from scratch is easy with this recipe and I recommend it. It tastes amazing and you can control what’s in it. You could use a can of cherry pie filling but you won’t get quite the same flavour or that amazing deep, dark colour.
Tools you’ll need
You need very few tools for this which I love. A bowl for mixing and a dish for water in the base of the oven, everyone will have. Plus,
- An 8 inch round springform tin: The springform sides makes it easy to remove the cheesecake once it has cooled. You can use a regular cake tin but you’ll have to tip it out possibly damaging the top. In saying that, this one is covered with cherries, so any blemishes on top will be hidden.
- A handheld beater works perfectly with this. No need for a stand mixer.
- A food processor makes quick work of the crumb base but you can also use a rolling pin to gently bash a bag of cookies to crumbs.
- A silicone or rubber spatula is perfect for scraping all that creamy cheesecake filling out of the bowl and into the pan where it belongs.
How to bake a cheesecake
Baked cheesecakes have a reputation of being difficult but I don’t find that at all. As with all my baked cheesecake recipes, I’ve simplified this one as much as possible so that you can make this at home with the same perfect results.
Easy to throw together and NO water bath required!
A water bath can be awkward with too much fussing around. A dish of water in the bottom of the oven will create the steam required to keep this cheesecake moist so that it doesn’t dry out and crack.
Jump to the recipe card for full ingredients and instructions.
1. Make the cookie crust
This is a simple case of blitzing cookies to crumbs, then mixing through spices and melted butter. Tip them into a prepared springform pan and use a glass to press them down flat.


2. Make the cheesecake batter
The cheesecake mixture is also very, very easy to make. Use a hand mixer (or standmixer with paddle attachment) to beat together softened cream cheese and sugar. Add eggs one at a time just on low speed until smooth and incorporated.

Now add the remaining ingredients and beat those through too.

3. Assemble and bake
Pour the cheesecake filling over the cookie base and smooth out the top into an even layer and bake


4. Top with cherry sauce and serve
When your cheesecake is cold, you can take it out of the springform pan and sit it on a platter or cake plate. Spoon over the cherry sauce at serving time.

Top tips and tricks
- Use full fat in both the cream cheese and sour cream. It not only gives the best flavour, but lower fat versions may have trouble setting as well.
- Use good quality cream cheese – I like Philadelphia but just don’t buy the cheapest one you can find. It’s the dominant flavour in a cheesecake so you want it to taste right as well as set right.
- Line the tin with baking paper after first greasing the sides of the tin. This will help you easily release it once cooled.
- The dish of water in the bottom of the oven creates steam, keeping the cheesecake moist. This stops it from drying out and cracking.
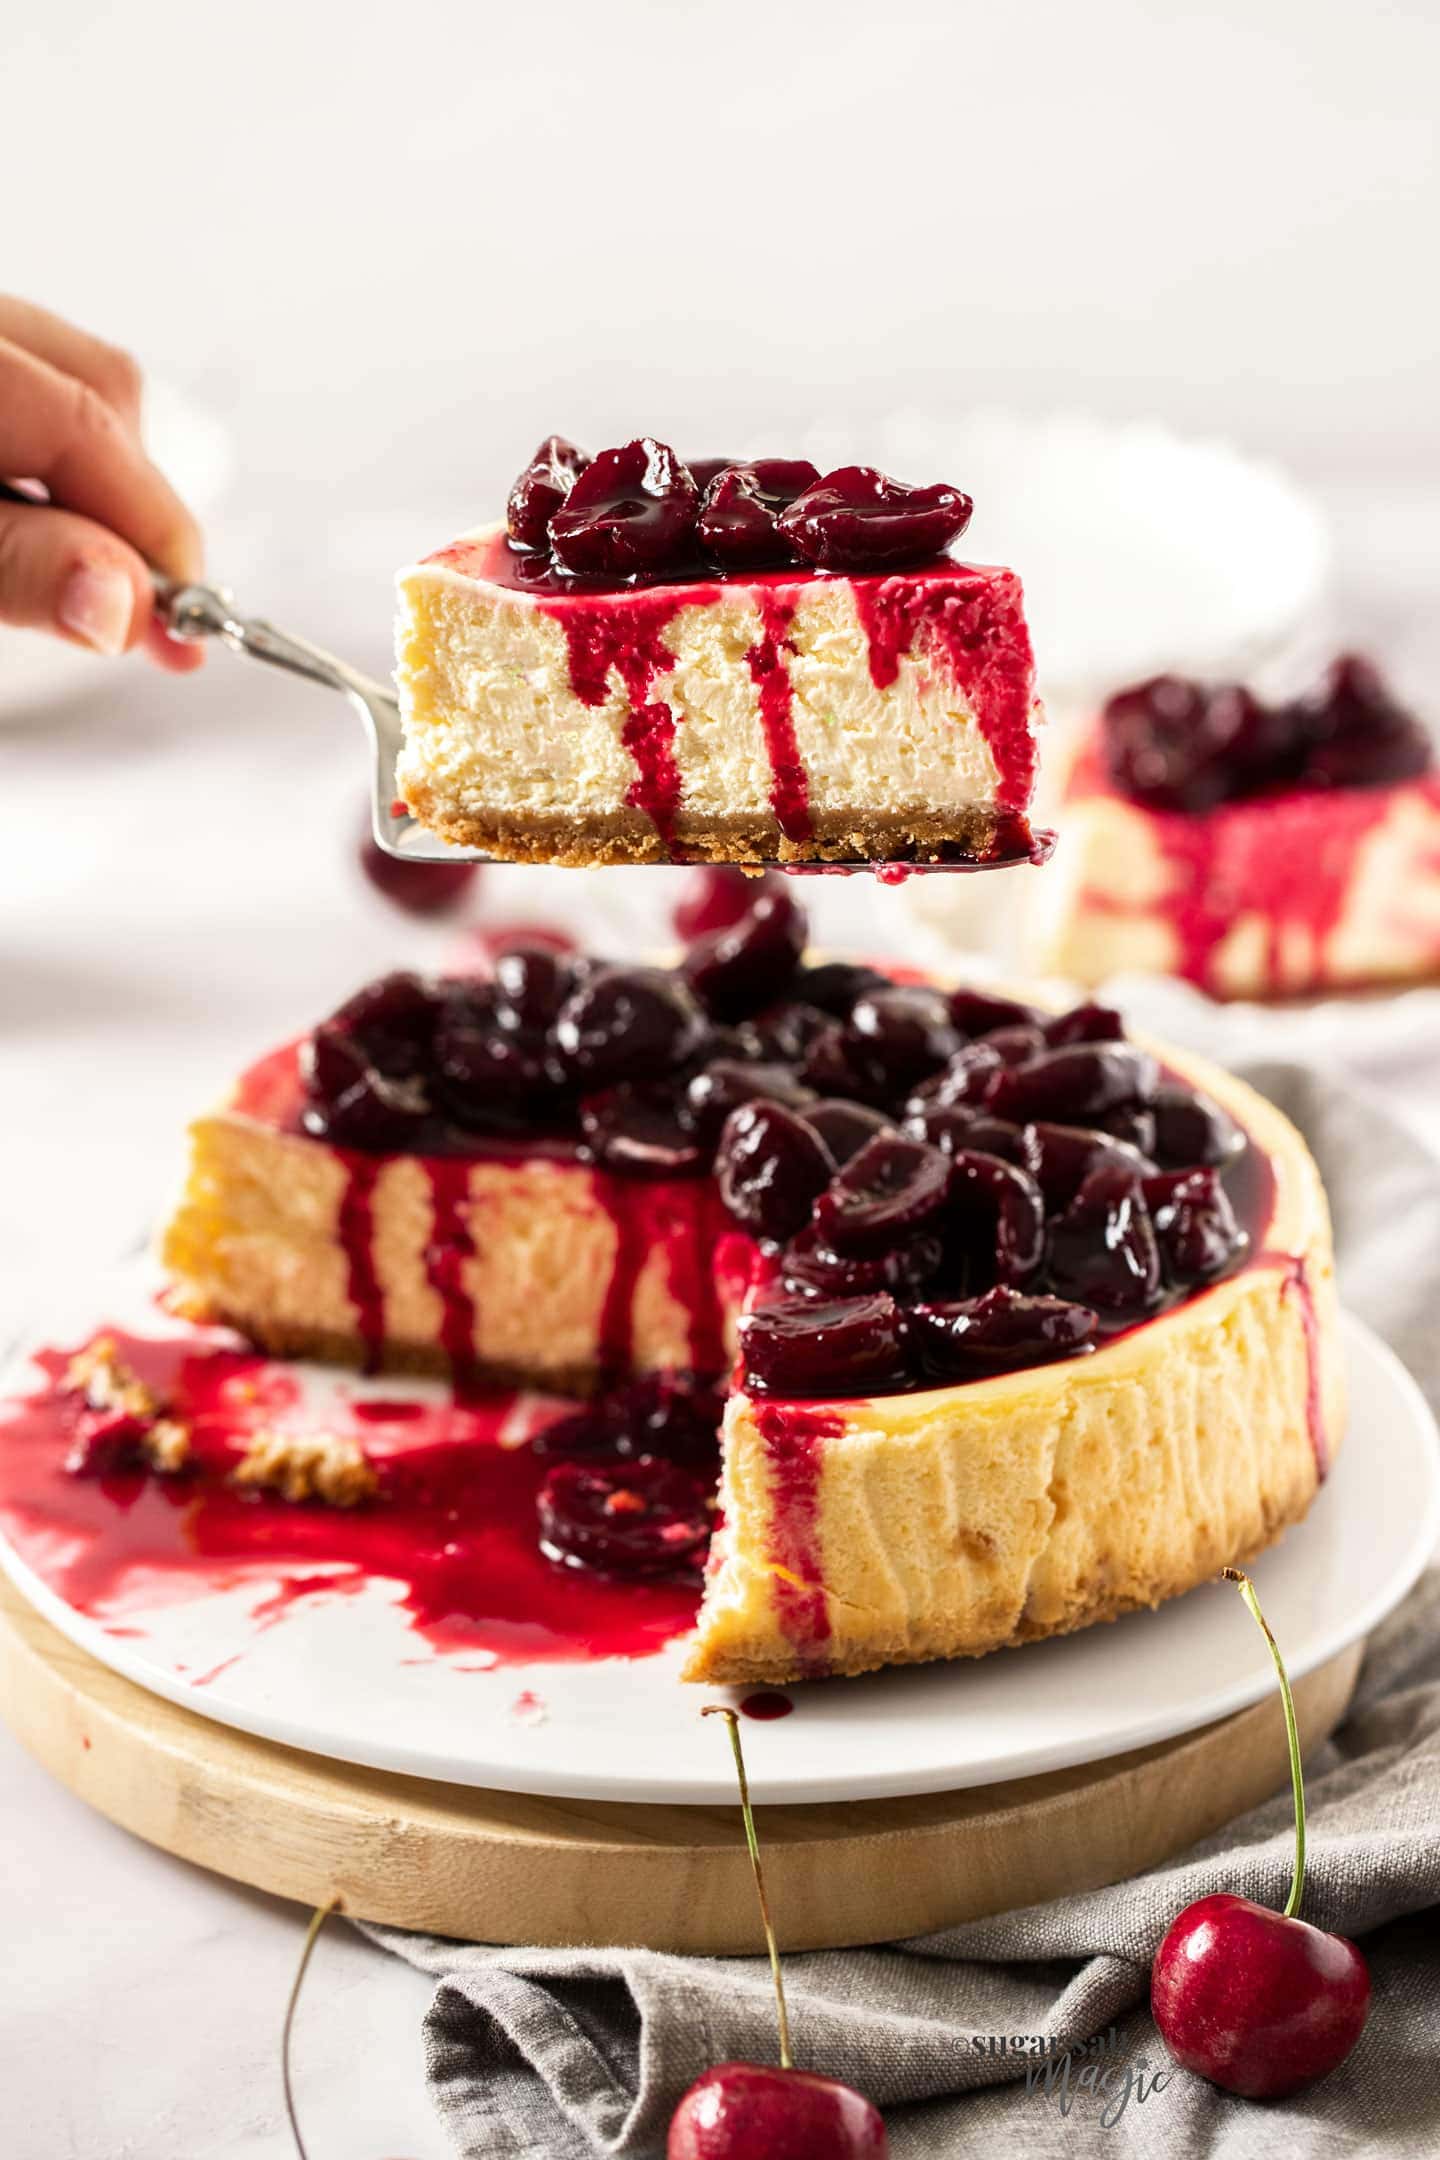
- You’ll know the cheesecake is ready when the outside ring looks firm while 3-4 inches of the centre is still quite wobbly – a little less set than a jelly wobble.
- To ensure the cheesecake doesn’t crack, allow it to cool slowly by turning off the oven and letting it sit for ½ an hour with the door closed and then another ½ an hour with the door open. Let it cool completely before placing it in the fridge.
Why did my cheesecake crack?
This is where baked cheesecakes can get a bad rep – cracks! Here’s how to stop a cheesecake from cracking.
- Don’t overmix the cheesecake mixture – incorporating too much air will cause the cheesecake to rise too much and then drop causing cracks.
- Don’t overbake – it’s tempting when you see that wobbly centre to keep baking but don’t. It needs to have that wobble as it’s internal temperature and the cooling process will continue to cook the cheesecake as it cools.
- Cool it slowly – just like in my tips above, it’s important to cool it slowly. A drastic change in temperature will cause it to sink and possibly crack. Cool it for half an hour with the oven door closed, then another ½ an hour with it wedged open.
Can I bake cheesecake ahead of time?
You can make baked cheesecake ahead of time. This makes it perfect if you’re making it for a birthday cake or if you’re entertaining.
Once cooled, cover the cheesecake with plastic wrap and place it in the fridge until required. Don’t add toppings until the last minute.
The cheesecake will keep well for 4-5 days in the fridge, however once it’s topped the cherry syrup will begin to soak into it.
Storage
Your cherry cheesecake should be stored in the refrigerator, covered well with plastic wrap or in an airtight container. It can easily be made a day or two ahead, but leave the homemade cherry pie filling (or topping, in this case) separate until serving time.
The cherry sauce can be made 2-3 days ahead of time and stored in a jar in the fridge.
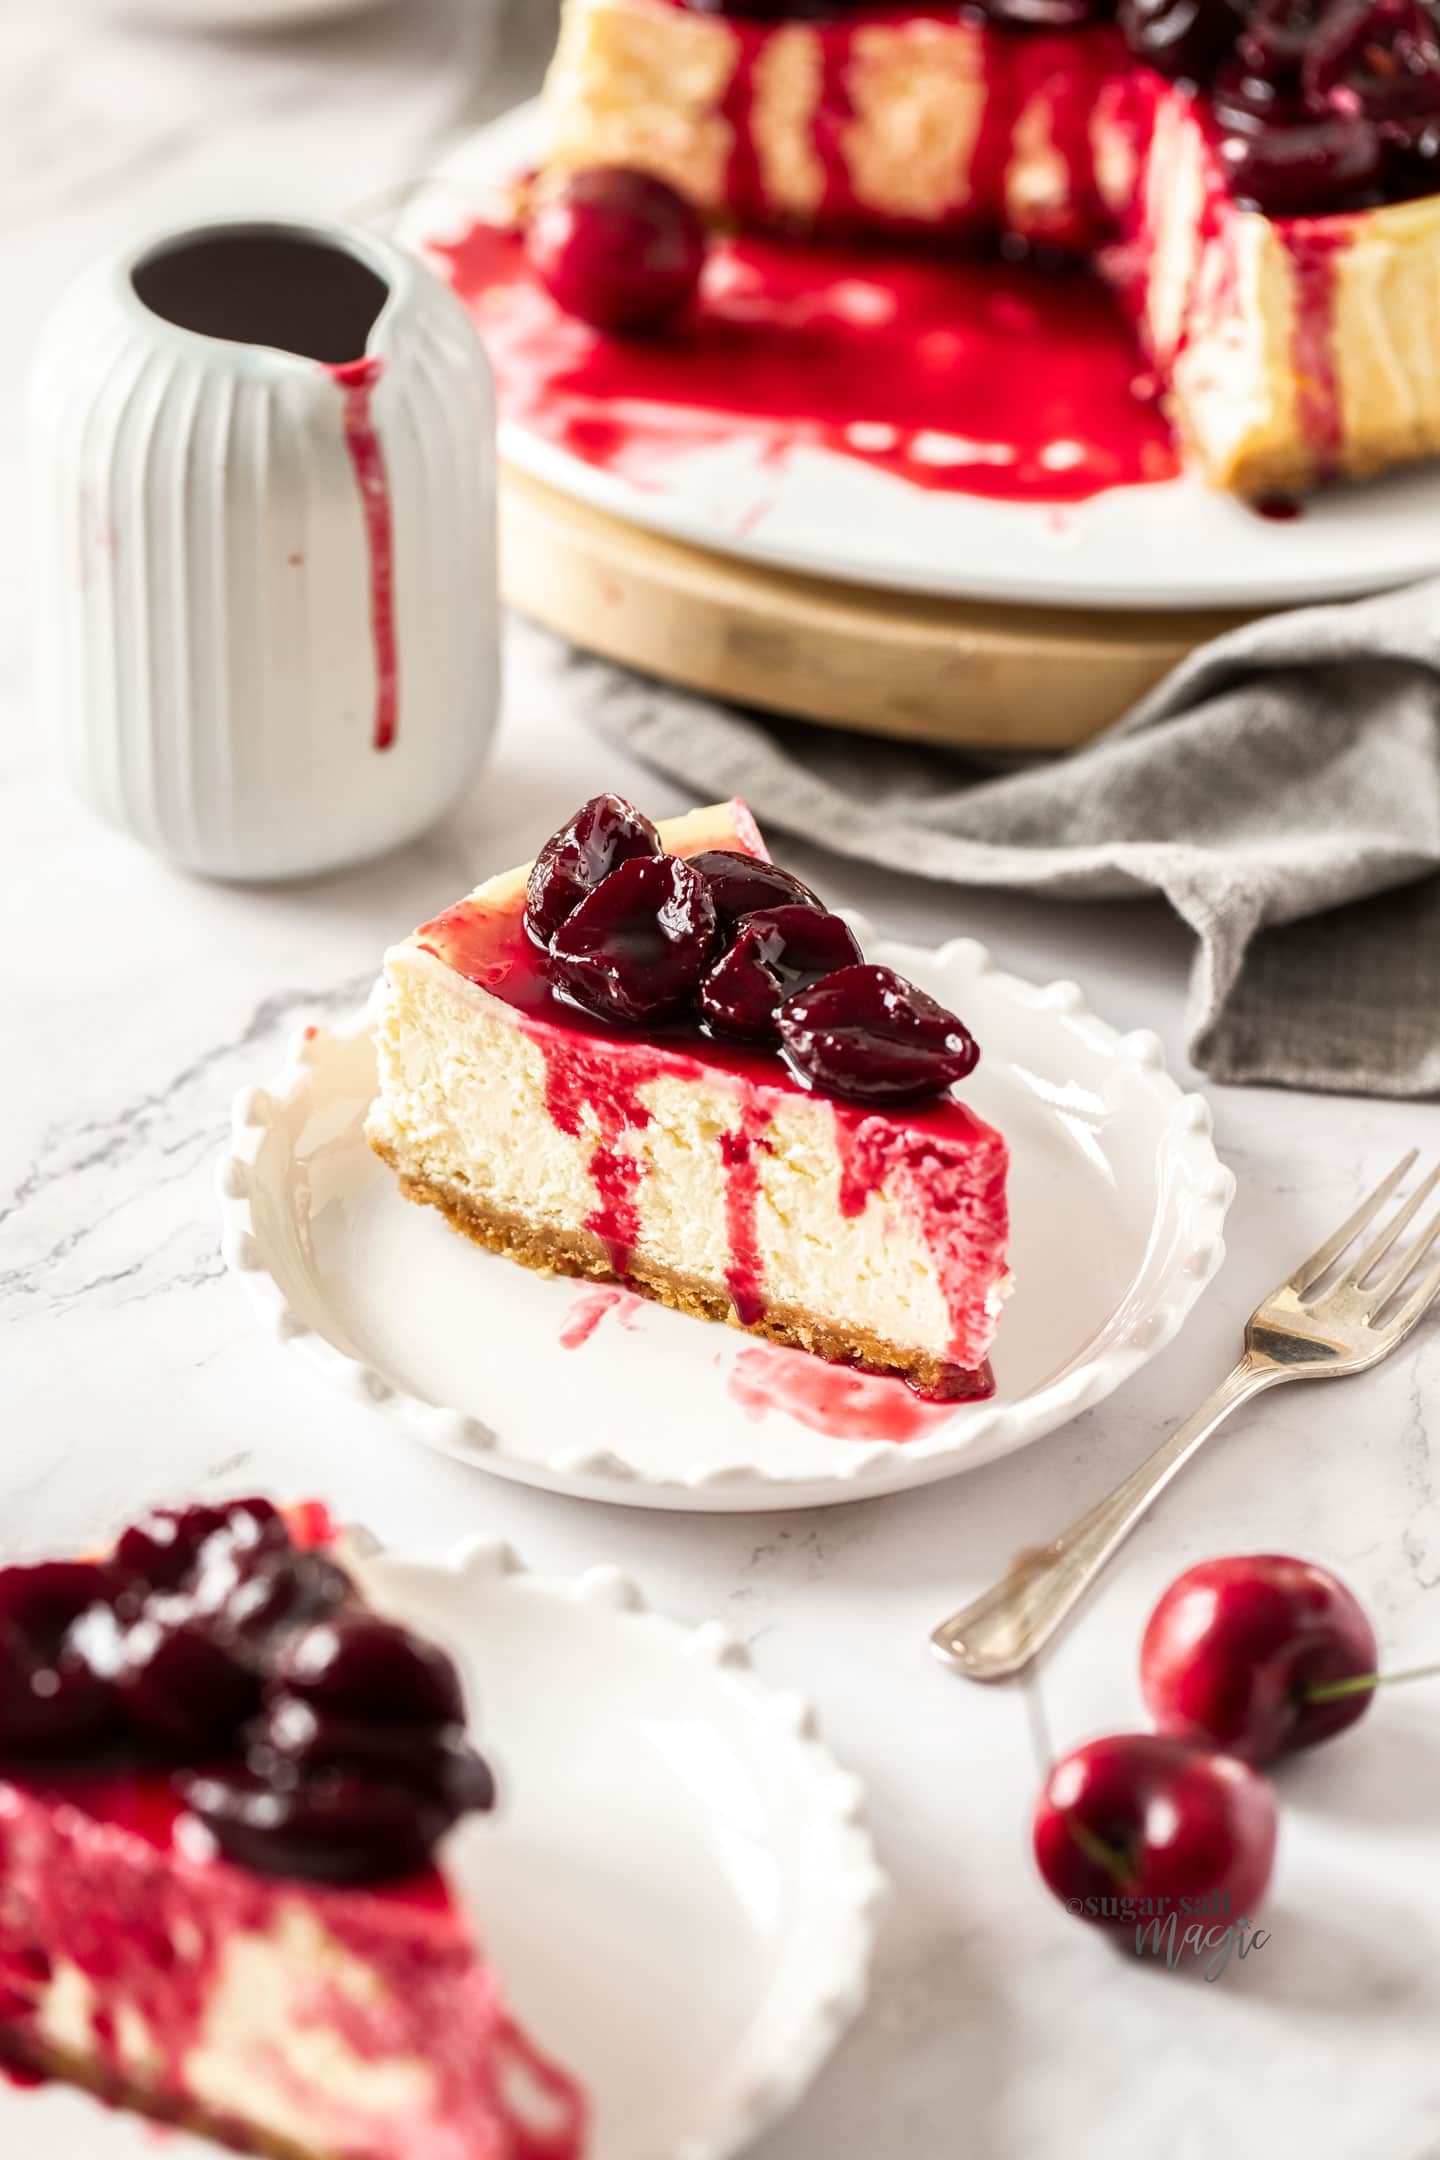
This is unequivocally, the best baked cheesecake ever. Ok, yes, you have to bake it, but the texture and flavour are so worth it.
More recipes you’ll love
⭐⭐⭐⭐⭐
Did you try this bake cherry cheesecake recipe? Show it some love in the comments below.
Hungry for more?
- Subscribe via Email, Facebook, Pinterest and Instagram.
- Add Sugar Salt Magic as a Google Preferred Source.
Ingredients
- 150 g digestive biscuits (like granita or graham crackers) (5.3oz)
- 85 g unsalted butter, melted (3oz / ¾ stick)
- ¼ teaspoon cinnamon
- ¼ teaspoon ground ginger
- 750 g cream cheese, softened (26.5oz)
- 150 g white granulated sugar (¾ cup / 5.3oz)
- 1 ½ teaspoons vanilla extract
- 2 large eggs
- 1 egg yolk
- 200 ml light sour cream (6.8 fl oz / 1 cup less 2 tablespoons)
- Juice and zest of ½ lemon
- Pinch of salt
- 2 cups fresh cherry sauce (notes 1)
For best results, always weigh ingredients where a weight is provided
Equipment
Instructions
- Preheat the oven to 160C (140C fan forced) / 320F. Grease and line an 8 inch round spring form pan with baking paper.
- Blend the biscuits to crumbs (if you don’t have a blender, put the biscuits in a bag and crush them with a rolling pin).
- Add the melted butter, cinnamon & ginger and mix well.
- Press the cookie crumbs firmly into the bottom of the prepared pan using the bottom of a glass. Bake for 10 minutes while making the filling.
- Using a handheld beater or stand mixer and the paddle attachment, beat the cream cheese on low-med speed for about 2 minutes until smooth. Scrape down the sides of the bowl as required.
- Add the sugar and vanilla and beat well, again scrape down the sides as necessary.
- Add the eggs and extra yolk, one at a time beating on low speed until each is well incorporated.
- Add the sour cream, salt, lemon juice and zest and beat until combined.
- Pour the cheesecake batter over the top of the biscuit base and smooth the top.
- Place a dish or cake tin filled with warm water on the bottom shelf of the oven. Then place the cheesecake onto a separate baking tin (to catch any butter that might leak out in cooking) and place in the middle shelf of the oven. Bake for 55-65 minutes.
- Turn the oven off and let the cheesecake cool in the oven for half an hour with the door closed, then open the door and let it cool for a further 1/2 an hour before removing it. Let it cool to room temperature, then transfer to the fridge.
- Once cool, top with cherry sauce and serve.
- Please take a moment to leave a comment & rating. It's appreciated and so helpful.
Notes
- Use this fresh cherry sauce recipe for the topping. Canned cherry pie filling will work too but the homemade version tastes so much better.
- All ovens vary, start checking the cheesecake from the 50 minute mark. It should have a wobble in the centre but the edges should look firm.
- For best results, you should always weigh ingredients like flour and sugar. Kitchen scales are relatively cheap but if you can’t weigh the ingredients, use the spoon and level method (don’t scoop).
- Keep in mind the 3-4 hours worth of cooling time.
- Don’t top until serving time.
This post may contain affiliate links that earn me a small commission for my referral, at no extra cost to you. Thank you for supporting Sugar Salt Magic.


16 Comments on “Cherry Cheesecake”
I’m a big fan of this site. However, I found this recipe wanting.
My other recipes for cheesecake are creamier – more of a New York cheesecake consistency. This may be attributable to the addition of heavy cream along with the cream cheese and sour cream.
A little heavy on the lemon flavor.
The cherry sauce was outstanding, even with frozen cherries.
Sorry you didn’t love it, Janet. New York style cheesecake is generally denser and doesn’t include heavy cream – a little along the lines of this one. It may be regular cheesecake that you prefer, the type that does have the heavy cream.
This is the “New York Style” Cheesecake recipe I use: bake with zoha
It uses 1/2 cup of heavy cream, a cup of sour cream, and four 8 oz. blocks of cream cheese.
Hi Janet. Yes, so that’s not technically a New York style cheesecake and she says as much in her intro. She developed it because she wanted a creamier cheesecake. I have no doubt it’s absolutely delicious though.
Great recipe , easy to make and taste is fantastic.
So happy you love it, Sandra.
hello Marie
once again I turned to your amazing “recipes portfolio binder” and I had chosen this easy baked cherry cheesecake (easy indeed) just made it…in the oven right now!!
..and wanted to add that yesterday I made the Mango coconut crumble pie-this is what happens when on vacation I have back to back friends over at dinner
thank you for the amazing yummy recipes
Love, Violet
So happy to hear this, Violet. Truly appreciate you trying my recipes.
I made this with fresh sour cherries – farmer delivers 10kgs every year. What a treat with sour cherries. Thanks for sharing.
What a lovely delivery that must be. So happy you loved the cheesecake
I followed the recipe to the T. It’s turned out amazing. Marie you nailed this recipe. Thank you.
Thank you so much Ruth. It’s truly one of my faves on the blog, so I’m so happy you love it too 🙂
Hi Marie – this cheesecake looks divine; can’t wait to try it. If I made it without the crust (which for some strange reason no-one in my family likes aside from myself), would it change the baking time at all? Have you made this crustless? Also, would it work in clear ramekins? Thanks
Hi Sona. Firstly, your family is missing out! 🙂 I’ve not made a cheesecake without the crust but I think it would take the same time to cook if you did the same size. If you did it in ramekins, it would take much less time. Just make sure the centre only has a slight wobble and it’s done.
I’ve always wanted to make a cheesecake, yours say easy? For real? I need to try this. Plus the cherry sauce is different, I’m used to seeing strawberry all the time, but I like that it’s different 🙂
Hi Trang, it’s as simple as mixing up the ingredients and sticking it in the oven. The cherries are nice and tart in contrast the sweet cheese cake 🙂