
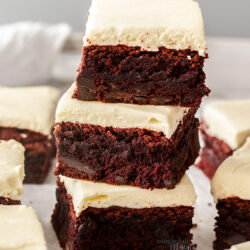
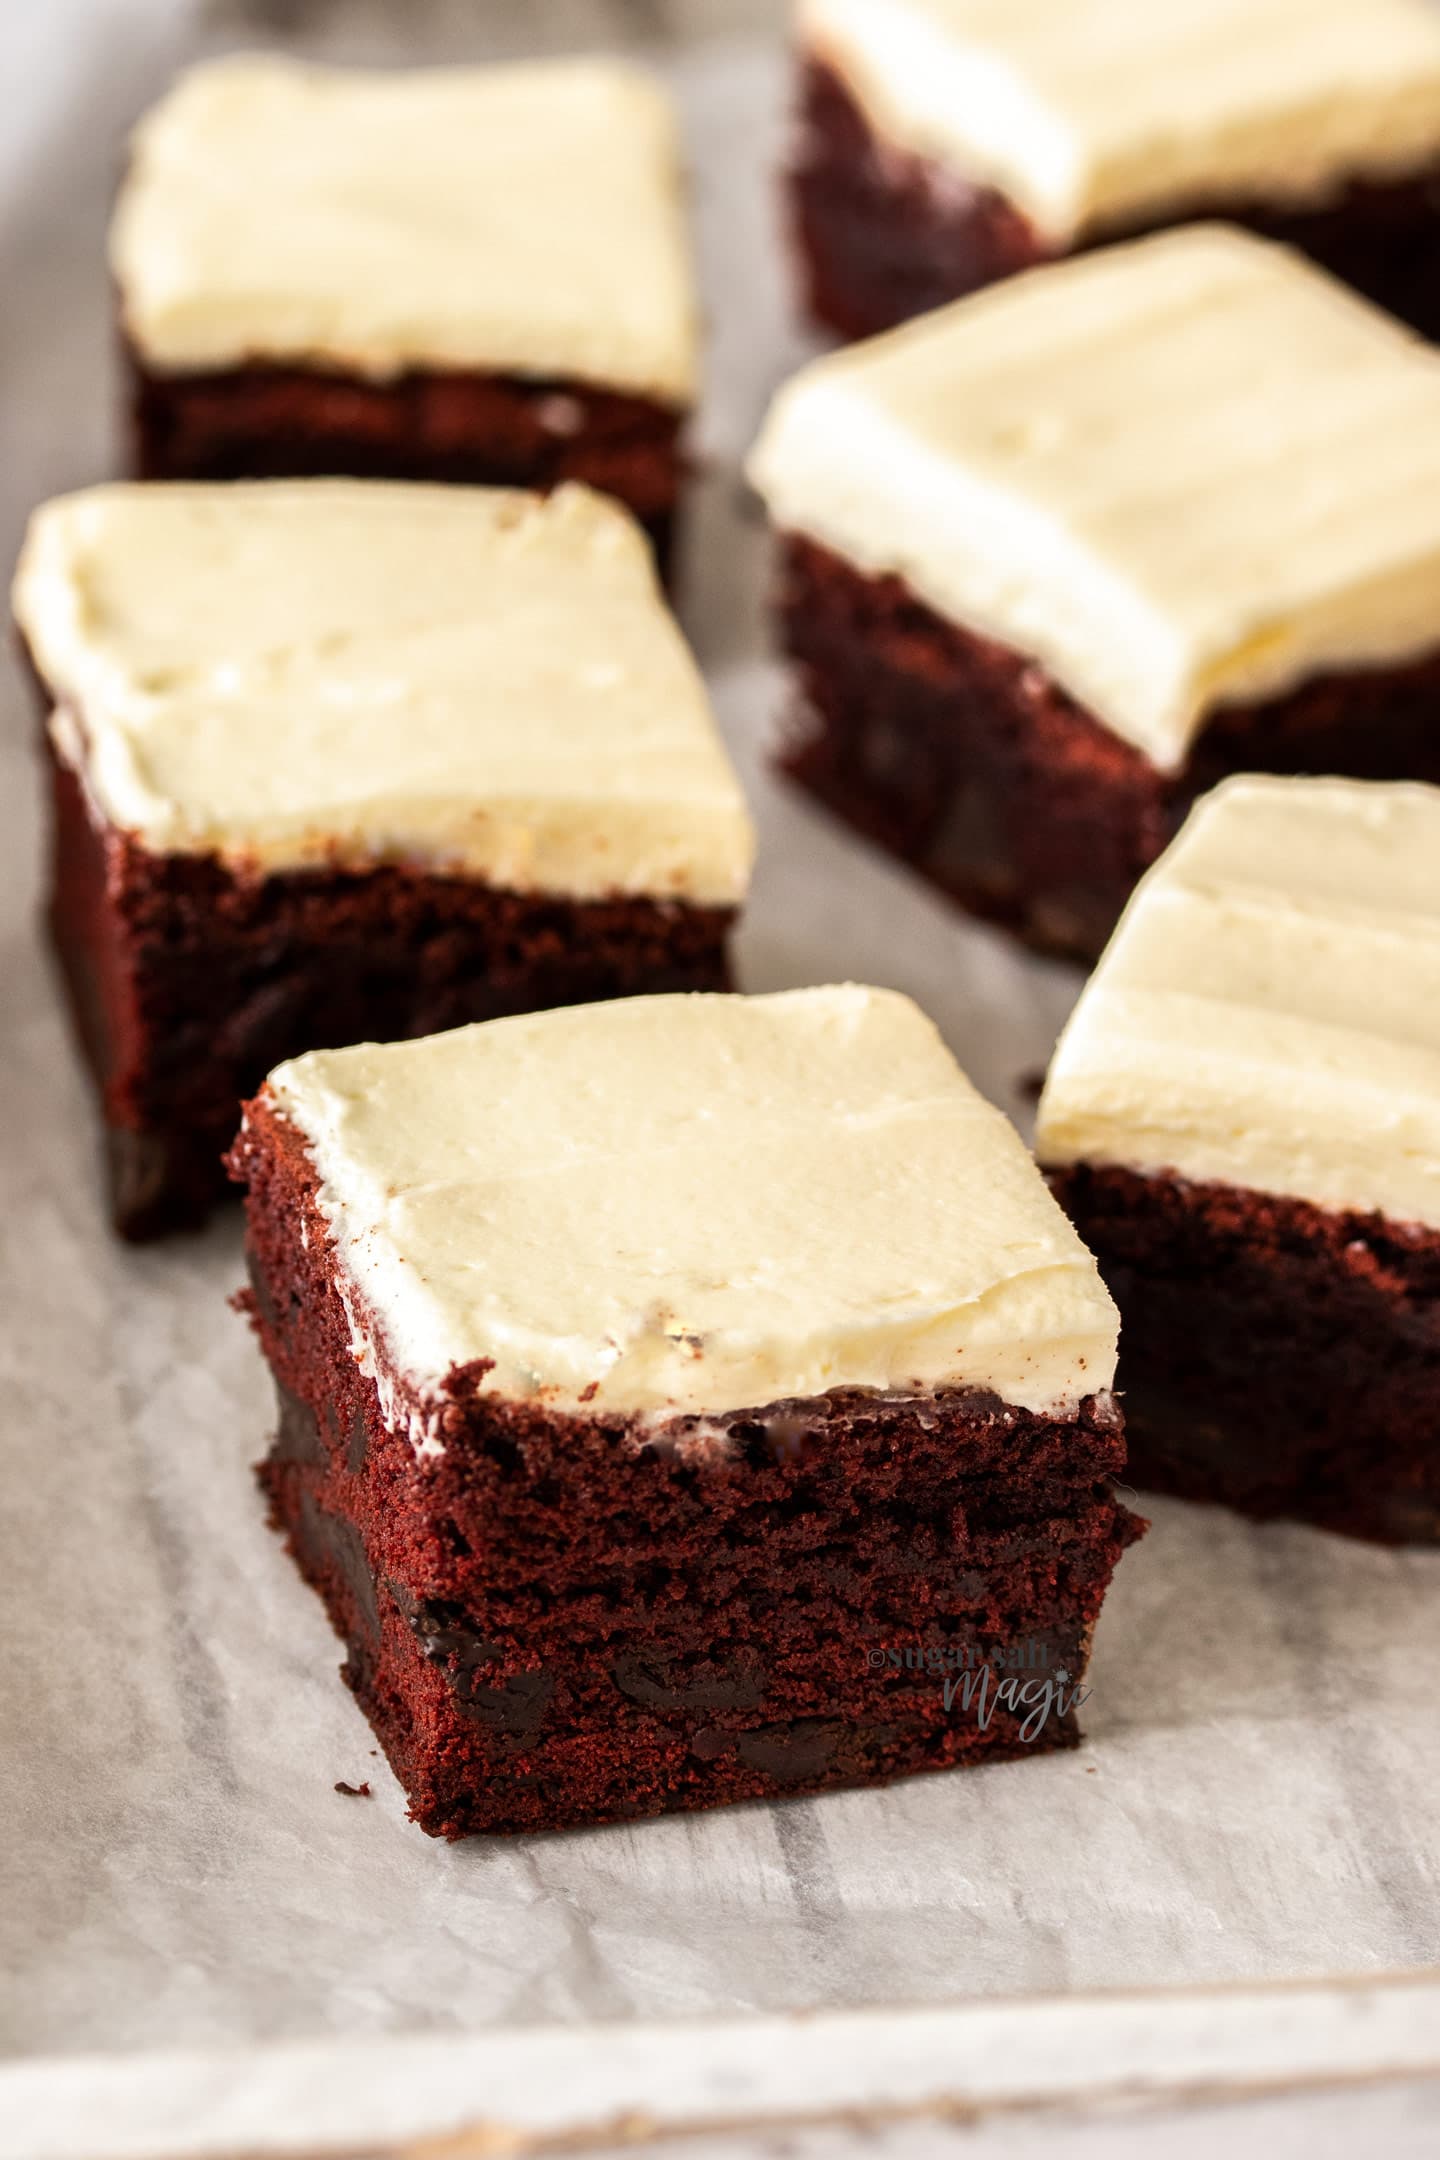
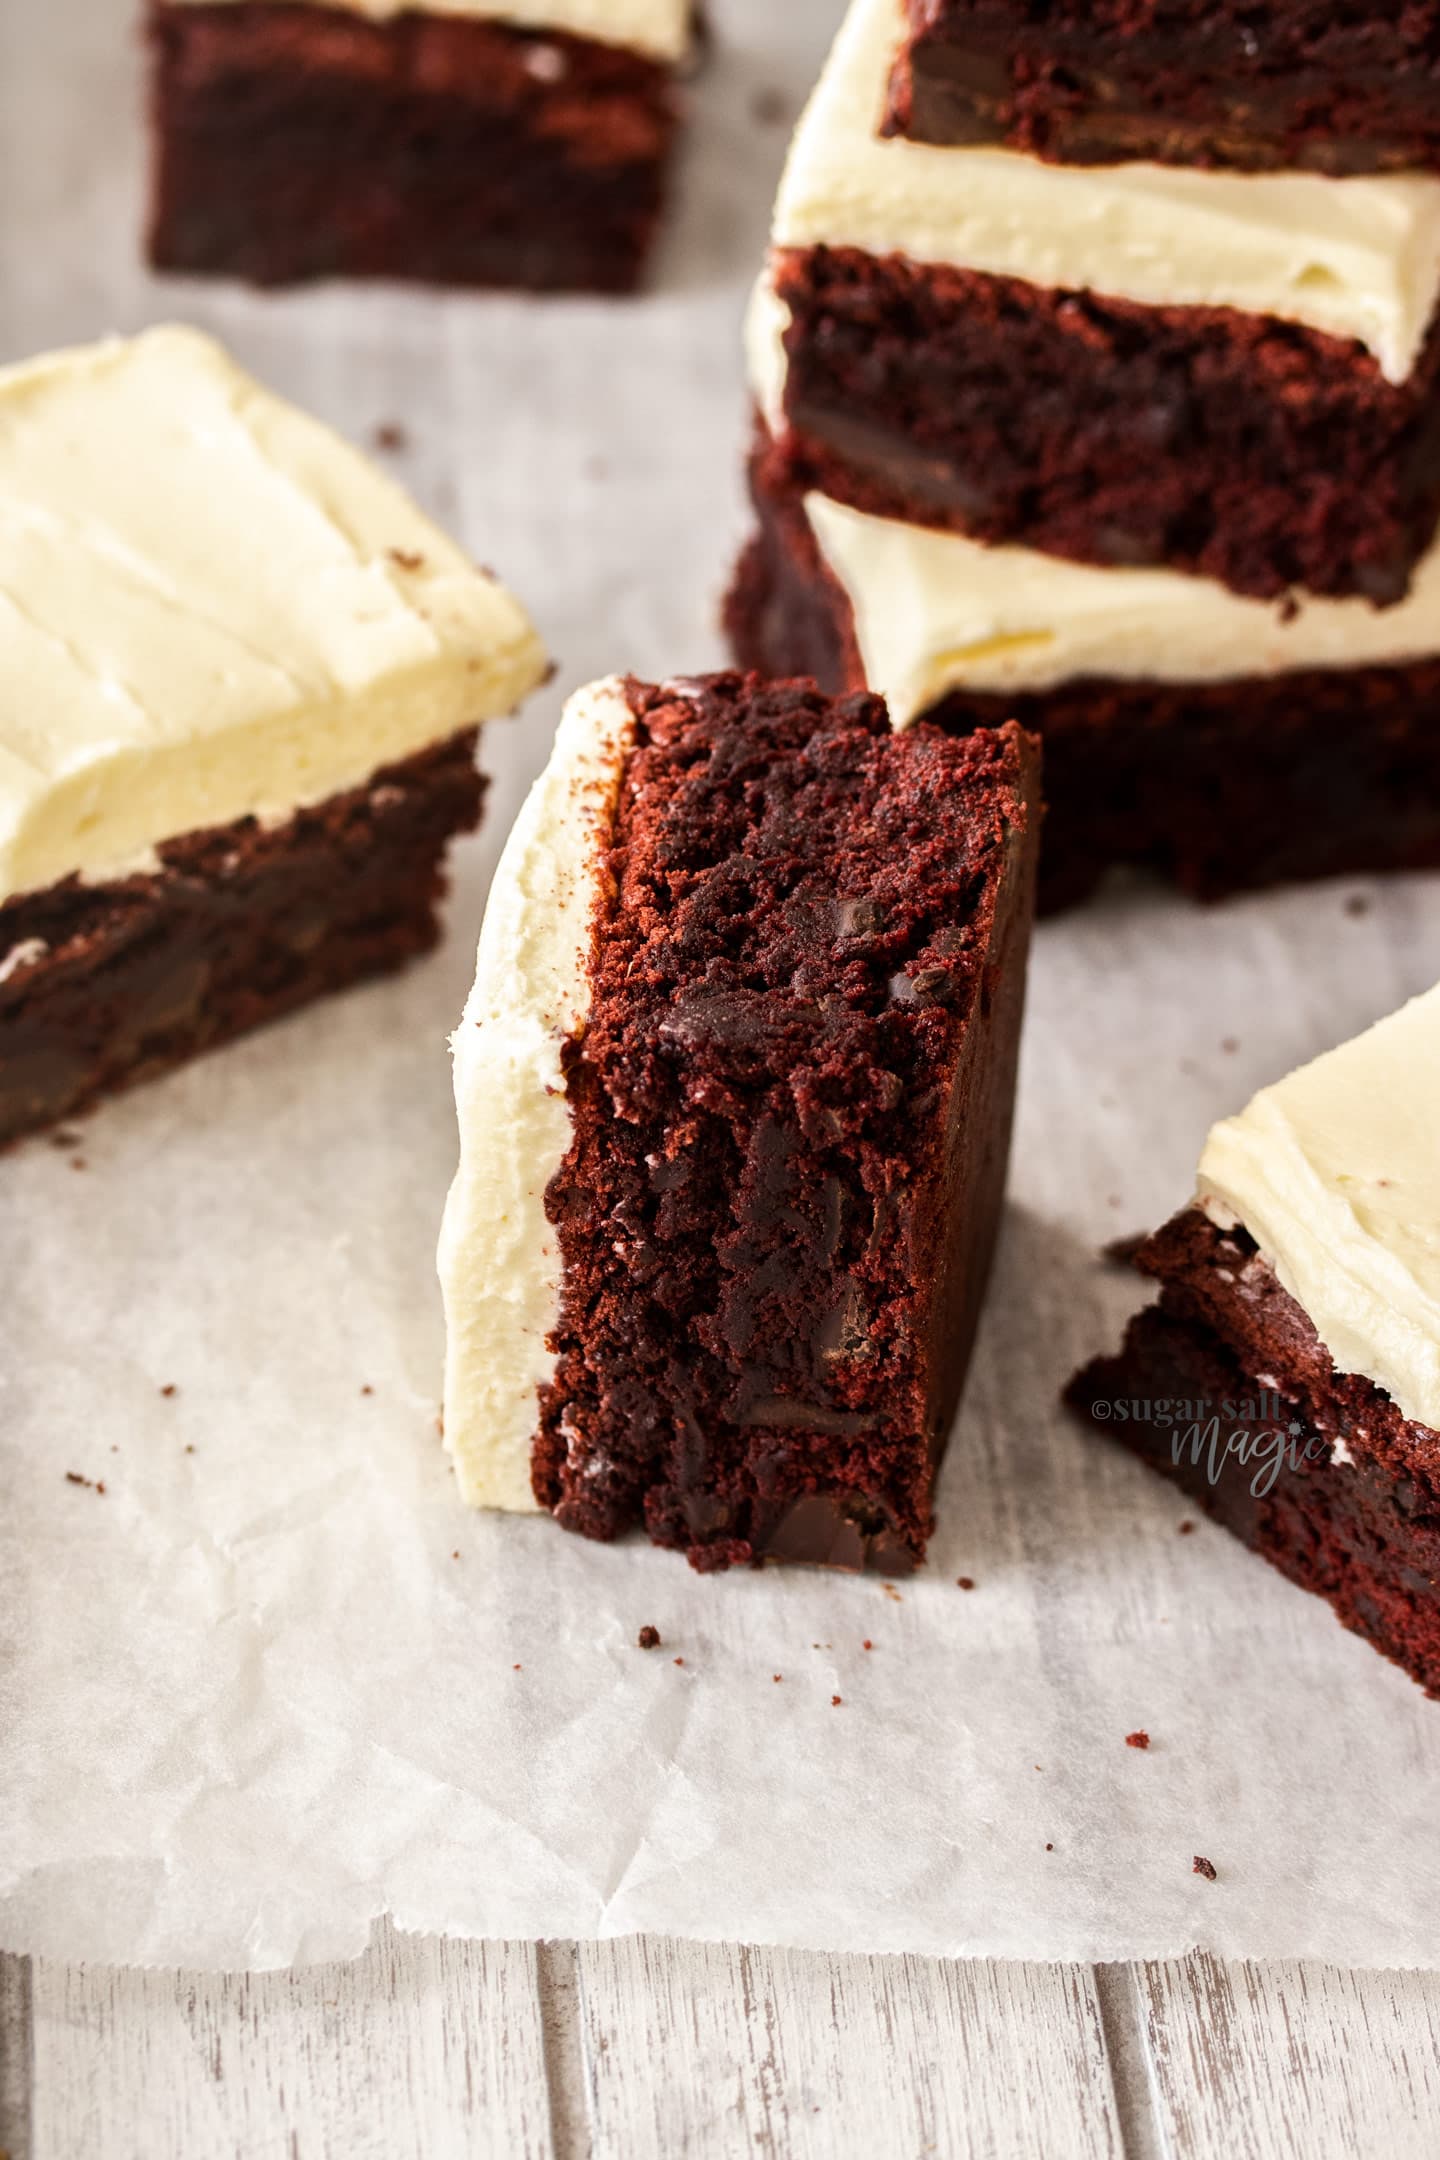
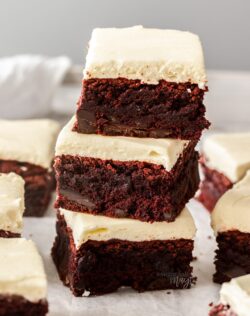
With their deep dark colour, these Red Velvet Brownies look so luxurious. Cocoa, vanilla and that super creamy cream cheese icing completes this red velvet treat.
If you love red velvet like we do, you’ll also love these easy red velvet doughnuts, red velvet pound cake or this red velvet bundt cake.
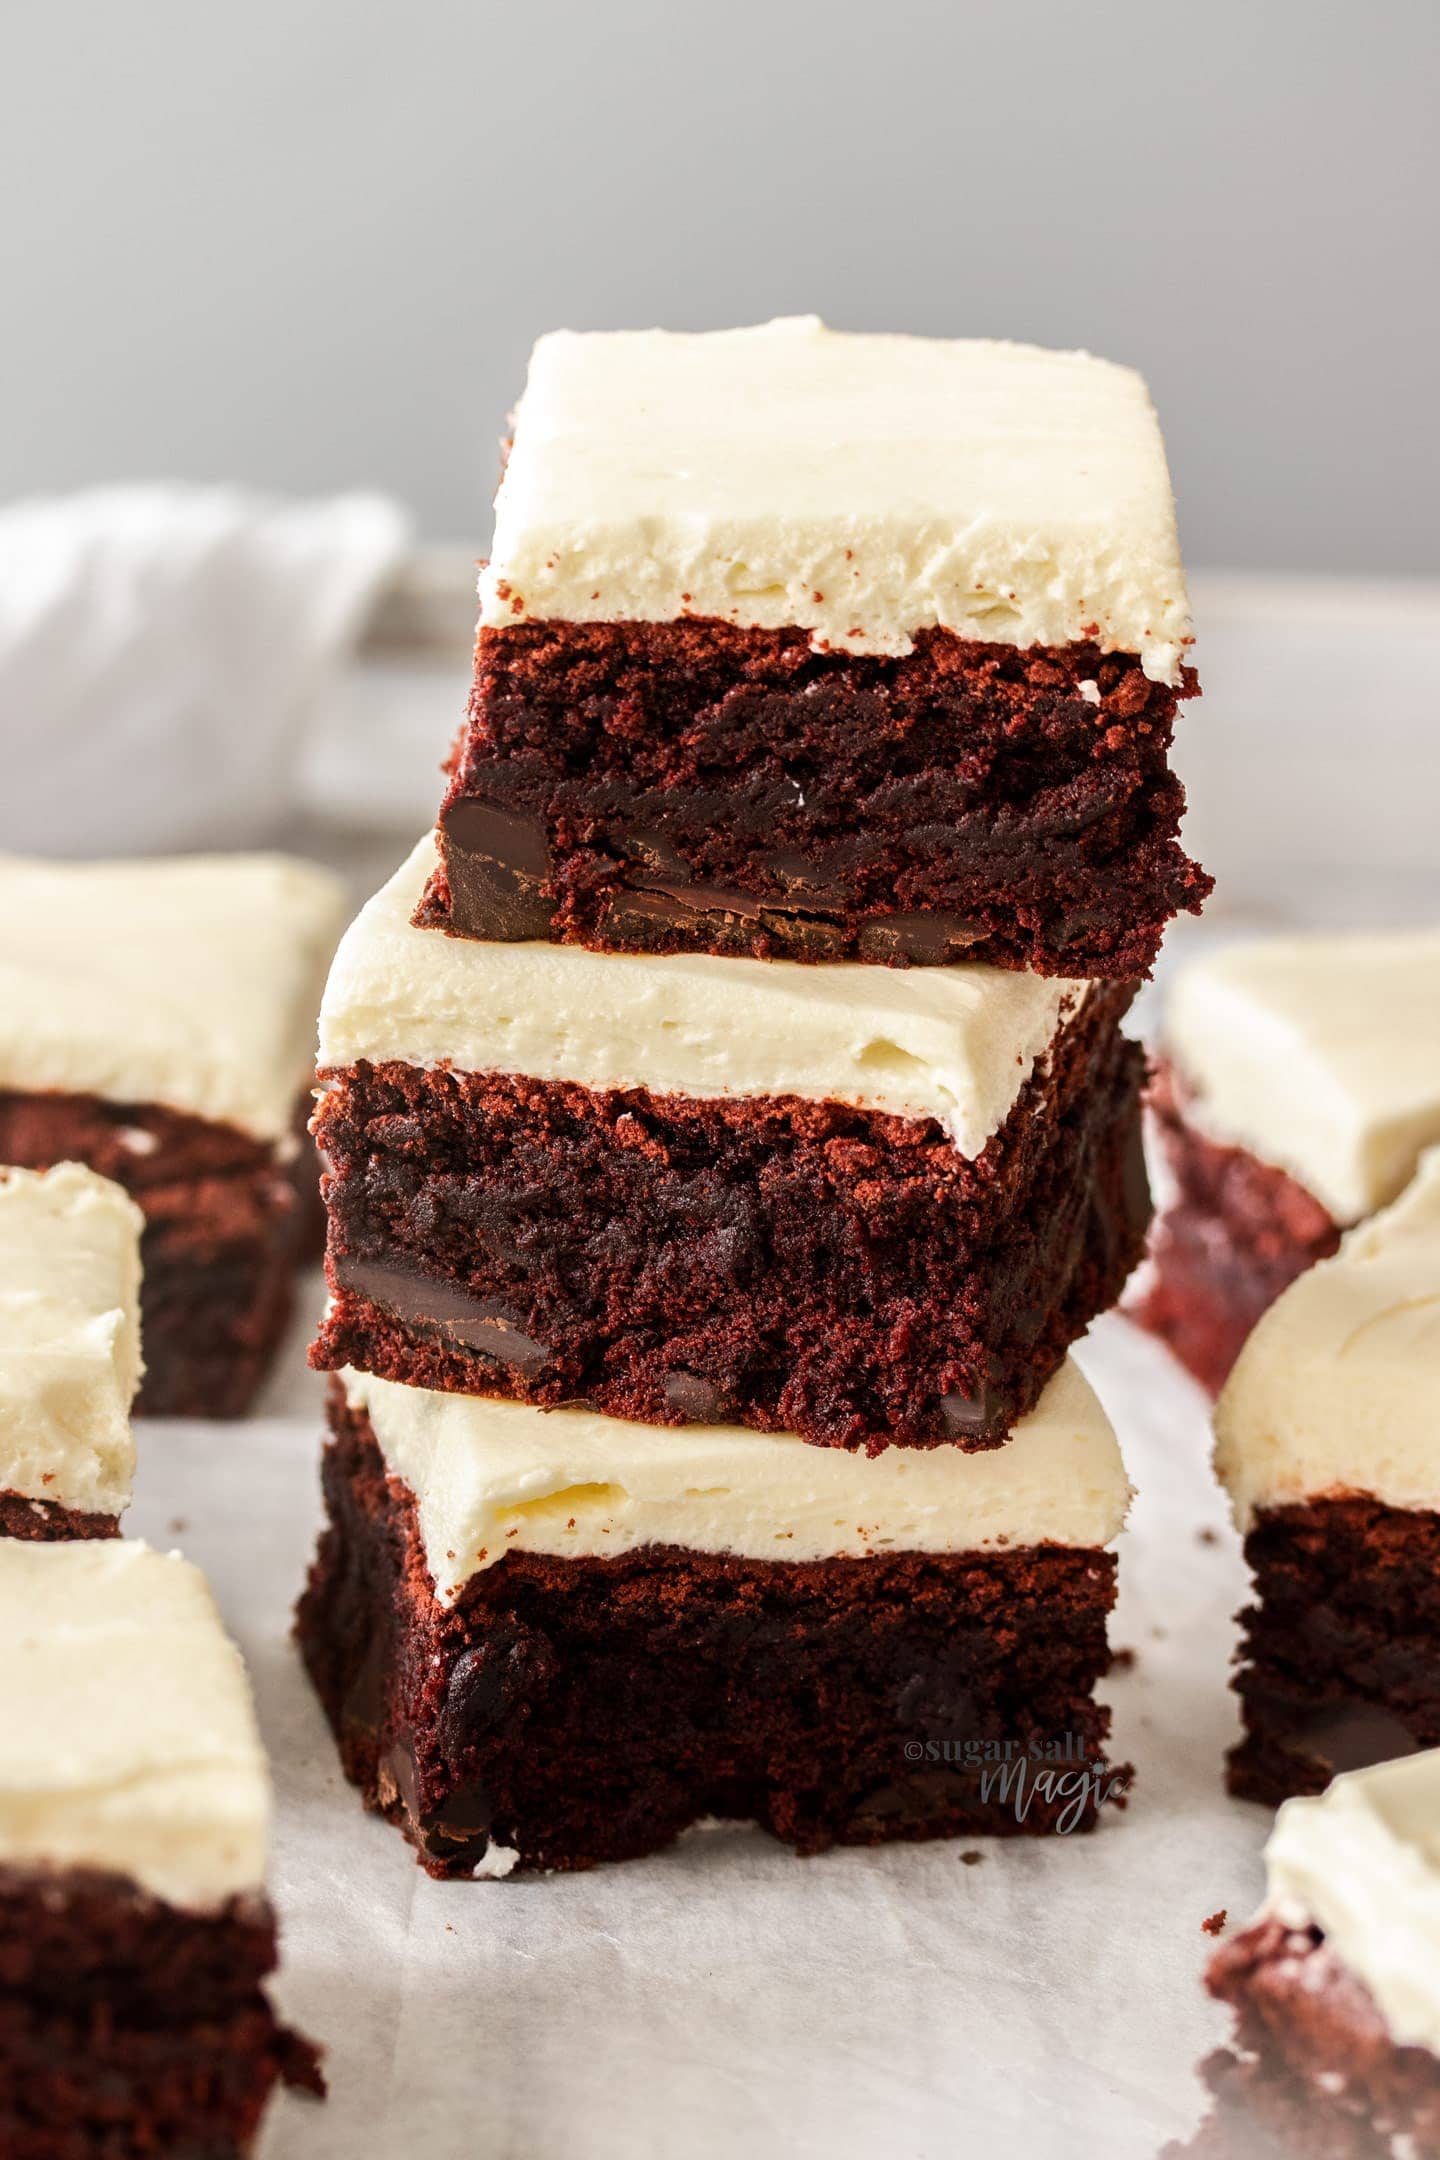
These brownies are perfect for a dessert table, sharing at a party and that burgundy colour makes them a beautiful Christmas or Valentine’s day treat too.
What is Red Velvet?
Red velvet started as a cake with a combination of cocoa and vanilla. Back when it was first created, it was the type of cocoa used and a chemical reaction that created that red colour.
Over the years, its popularity grew and bakers wanted a more and more intense red colour. These days a large portion of red food colouring is used to give a red velvet cake it’s gorgeous hue. I rarely use food colouring in my baking but for red velvet, it’s a necessity.
What is the perfect brownie texture?
There are many brownie camps and if I’m completely honest, brownies, for such a long time were my nemesis because I’d bake them too long, thinking they weren’t cooked. I fixed that problem by chaining myself to the kitchen one day and testing, testing, testing until I was confident in how to make perfect brownies.
It’s a good idea to always keep an oven thermometer in your oven. Ovens often vary and some get to and hold temperature better than others. Having an independent thermometer means you can be 100% sure how hot your oven is and when it comes to baking sweet treats, that is very important. They’re very cheap too.
Tools you’ll need
- Mixing bowls
- 8 inch square baking tray
- Stand mixer or handheld electric mixer
How to make red velvet brownies
This is the great part – brownies are simple to make.

Detailed quantities and instructions in the recipe card below.
- Step one is to beat together eggs and sugar in a large mixing bowl (photo 1), followed by red food colouring and vanilla extract until it’s an almost neon pink colour (photo 2).
- Now fold in the dry ingredients until combined and add the chocolate chunks (photo 3).
- Pour it into an 8 inch square baking tin and bake 35-40 minutes (photo 4).
How to make cream cheese icing
When I say this is the creamiest cream cheese icing ever, I truly mean it. This frosting is amazing and worth every moment. I’ve used it before on my black forest chocolate cupcakes and, let me tell you, everyone loves it. The texture is smooth and creamy, the flavour is like lightly sweetened cream cheese.
The secret? Ermine cream cheese frosting.
Also known as boiled milk frosting or cooked flour frosting, ermine frosting starts by cooking a milk and flour paste that, once cooled, gets mixed into the other ingredients as normal. Yes, it takes just a little extra time than a normal frosting but the payoff is that it is;
- Very creamy and fluffy
- Less sweet than a traditional buttercream or cream cheese frosting
- No grittiness whatsoever – it’s supremely smooth.
If you, don’t want to take the extra step to pure cream cheese icing heaven, then you can use this cream cheese buttercream recipe but otherwise, please read on.

Detailed quantities and instructions in the recipe card below.
- First, combine the milk, flour and half the sugar (granulated) in a saucepan and heat on low. Stir to combine (photo 5), then keep stirring until it becomes very thick (photo 6).
- Tip the paste onto a plate, cover with plastic wrap pressing it to the surface and cool to room temperature before proceeding. You can speed this up by placing in the freezer for around 25 minutes but keep checking it. It should not be warm or cold when you use it but just at room temp.
- Now beat together the butter, cream cheese and remaining sugar until very light and fluffy (photo 7).
- Add the milk paste a quarter at a time and beat well until it’s like whipped cream (photo 8).
Done. Now you have a super creamy, super smooth, and totally delectable cream cheese icing to cover your brownies with
Variations
- Chocolate chunks: you could swap these out for regular chocolate chips, milk, dark or white chocolate.
- Ermine cream cheese frosting: you can leave it off completey or swap it for this standard cream cheese buttercream recipe
Can brownies be frozen?
Yes, you can make these brownies ahead and they will even freeze perfectly.
How to store them
Store them in an airtight container for 4-5 days in the fridge. To freeze brownies, place them in an airtight container in the freezer until firm, then wrap each one individually in plastic wrap before returning them to the freezer. This will keep them extra fresh.
PIN IT:
Click Pin this recipe for later!
If you try this red velvet brownies recipe, please take a moment to leave a rating and comment below. I love hearing from you and it helps other readers too! You can also take a photo and tag @sugarsaltmagic on Instagram.
More brownies you’ll love
- How to make Perfect Brownies
- Chocolate Caramel Brownies
- Baileys Brownies
- Fudgy Marshmallow Brownies
- Chocolate Coconut Brownies
- Drunken Hazelnut Cranberry Brownies
Never Miss a Recipe!
Get the latest recipes straight to your inbox!
Ingredients
FOR THE RED VELVET BROWNIES.
- 200 g light brown sugar (1 cup / 7oz)
- 100 g white granulated sugar (½ cup / 3.5oz)
- 3 large eggs
- 1 tablespoon vanilla extract
- ½ teaspoon gel red food colouring
- plain (all-purp) flour (¾ cup)
- 50 g unsweetened cocoa (½ cup / 1.8oz)
- ½ teaspoon salt
- 113 g unsalted butter, melted & cooled (½ cup / 1 stick)
- ¾ cup roughly chopped dark (70%) chocolate
SUPER CREAMY CREAM CHEESE FROSTING
- ½ cup milk (125ml)
- 1 cup sugar
- 2 tablespoons plain (all-purp) flour
- 113 g unsalted butter, softened (½ cup / 1 stick)
- 250 g cream cheese, softened
For best results, always weigh ingredients where a weight is provided
Instructions
FOR THE RED VELVET BROWNIES
- Preheat the oven to 180C / 350F / 160C fan forced. Line an 8×8 inch square baking tin with baking paper.
- Use a handheld beater to beat together both sugars and the eggs until pale and frothy (about 1 minute). Add the vanilla and red food colouring and beat through.
- Sift over the flour, cocoa and salt and use a spatula to mix through until just combined.
- Mix through the butter, then the chocolate pieces until just combined.
- Pour the batter into the prepared baking pan then bake for 35-40 minutes, turning the tray halfway through. The brownies are done when a toothpick inserted comes out with some wet crumbs but not with raw batter. The top should be dry and it should feel dense but soft to the touch in the middle.
- Let the brownies cool in the tin for at least 30 minutes before transferring to a wire rack.
FOR THE ERMINE CREAM CHEESE FROSTING
- Once the brownies are nearly cool.
- In a small saucepan over low heat, whisk together the milk, half of the sugar and the flour. Make sure there are no lumps, then continue to heat and whisk regularly for another 3-4 minutes until you have a very thick paste (like pudding consistency).
- Transfer it to a plate, spread it out to about 1cm thick, then cover it with plastic wrap pressing the plastic wrap to the surface. Place in the freezer for around 25 minutes until cool (not cold or frozen, but no longer warm).
- Beat the butter and remaining sugar on medium for about 5 minutes or until very light and creamy – scrape down the sides of the bowl every so often.
- Add the cream cheese and beat until combined and smooth (only about 1 minute).
- Now add the milk paste mixture ¼ at a time, beating for about 30 seconds between each. On the last one, beat for a minute, still on medium. Again, make sure to scrape down the sides of the bowl a few times.
- Spread over the top of the brownies, then slice with a knife and serve.
Notes
- I use a standard Australian 20ml tablespoon (= 4 teaspoons worldwide)
- For best results, you should always weigh ingredients like flour and sugar. Kitchen scales are relatively cheap but if you can’t weigh the ingredients, use the spoon and level method (don’t scoop).
This post may contain affiliate links that earn me a small commission for my referral, at no extra cost to you. Thank you for supporting Sugar Salt Magic.
6 Comments on “Red Velvet Brownies with Cream Cheese Icing”
These were delicious and very easy. A good one to make in advance
Thanks Marie
So happy you love them, Kim. Thank you so much for trying my recipe.
Hi! Thank you for this recipe.looks so easy. What would you recommend to replace the eggs.
Hello Malini, I don’t do a lot of egg free baking and haven’t tested this so I can’t be sure. You might try using flax eggs but I haven’t tested this – 1 tablespoon ground flaxseed to 3 tablespoons water. I’d love to hear how this works out if you try it 🙂
I’m a sucker for anything with cream cheese icing – but those chunks of chocolate in the brownies are killing me too!! Amazing!!
Me too! Thanks so much Katherine 🙂