Creamy, dreamy chocolate mousse tart. With the soft, melt-on-your-tongue mousse, super easy oreo crust and simple chocolate topping, you won’t be able to resist the next bite.
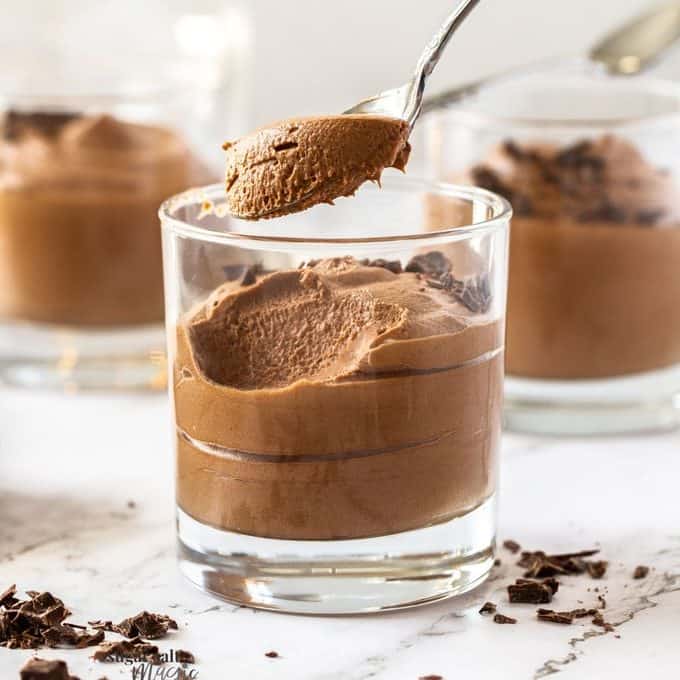
This mousse is adapted from my eggless chocolate mousse and it would also taste amazing filled with this oreo mousse!
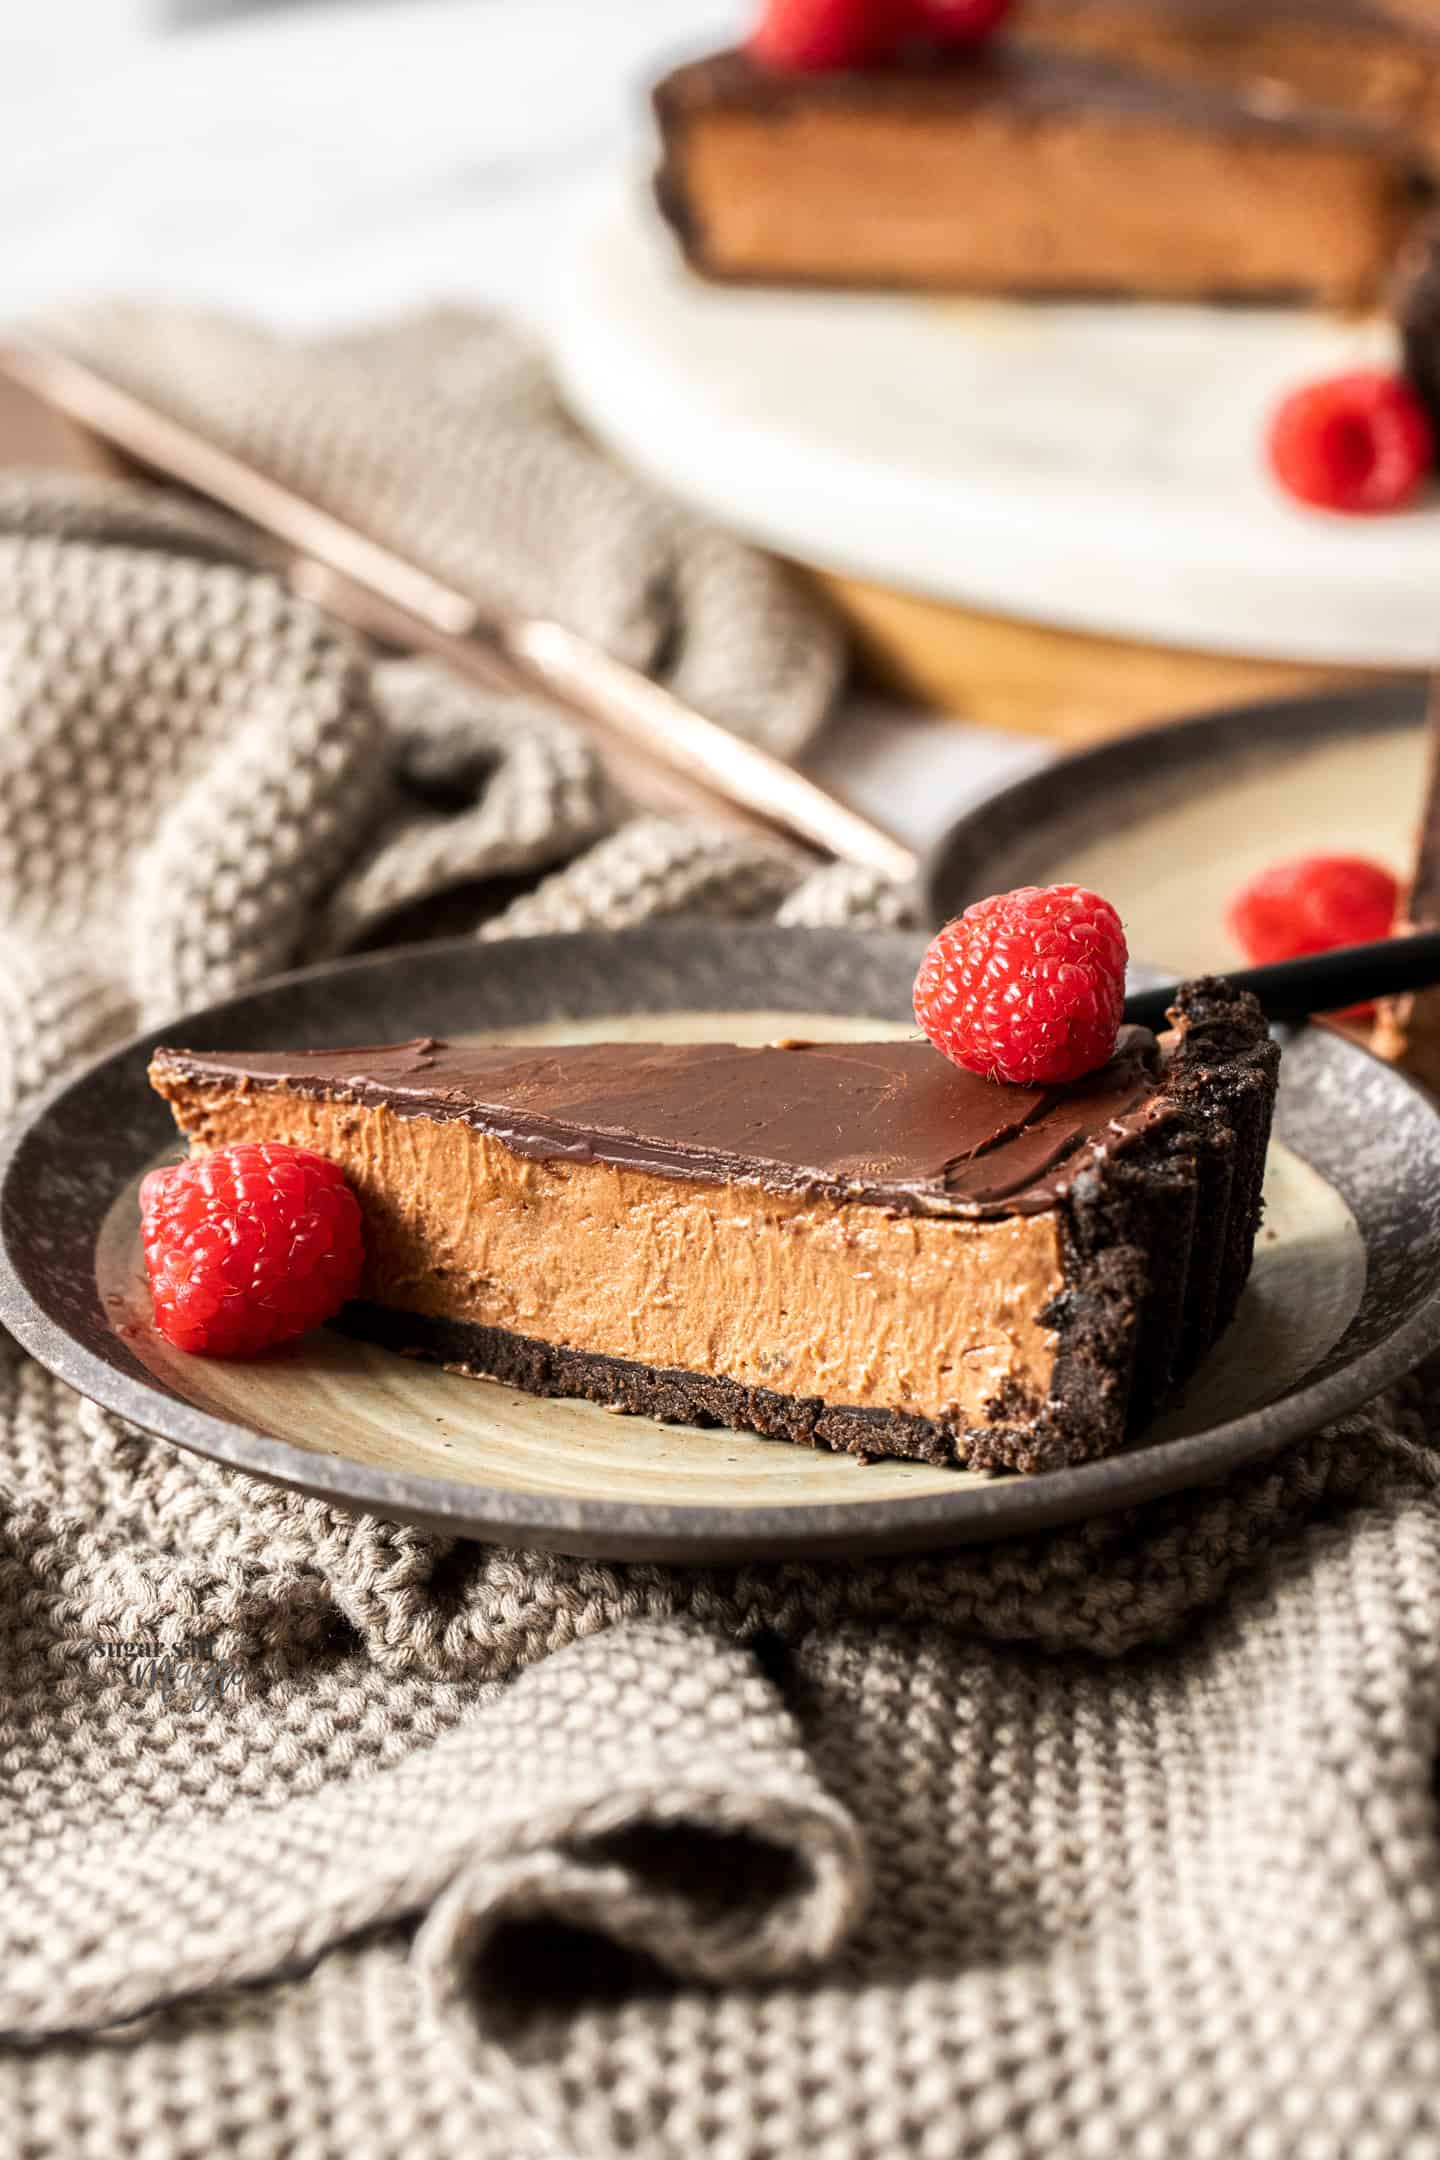
Table of contents
Why you’ll love this recipe
There are 3 amazingly simple layers to this chocolate mousse tart recipe.
- Oreo crust – just 3 ingredients and no bake. If you prefer you can swap to this chocolate pie crust base.
- Chocolate mousse – this eggless mousse is simple to make and deliciously indulgent.
- Chocolate topping – simple melted chocolate covers the top.
Ingredients
You may be pleasantly surprise to see that something that looks so elegant only requires 7 ingredients.
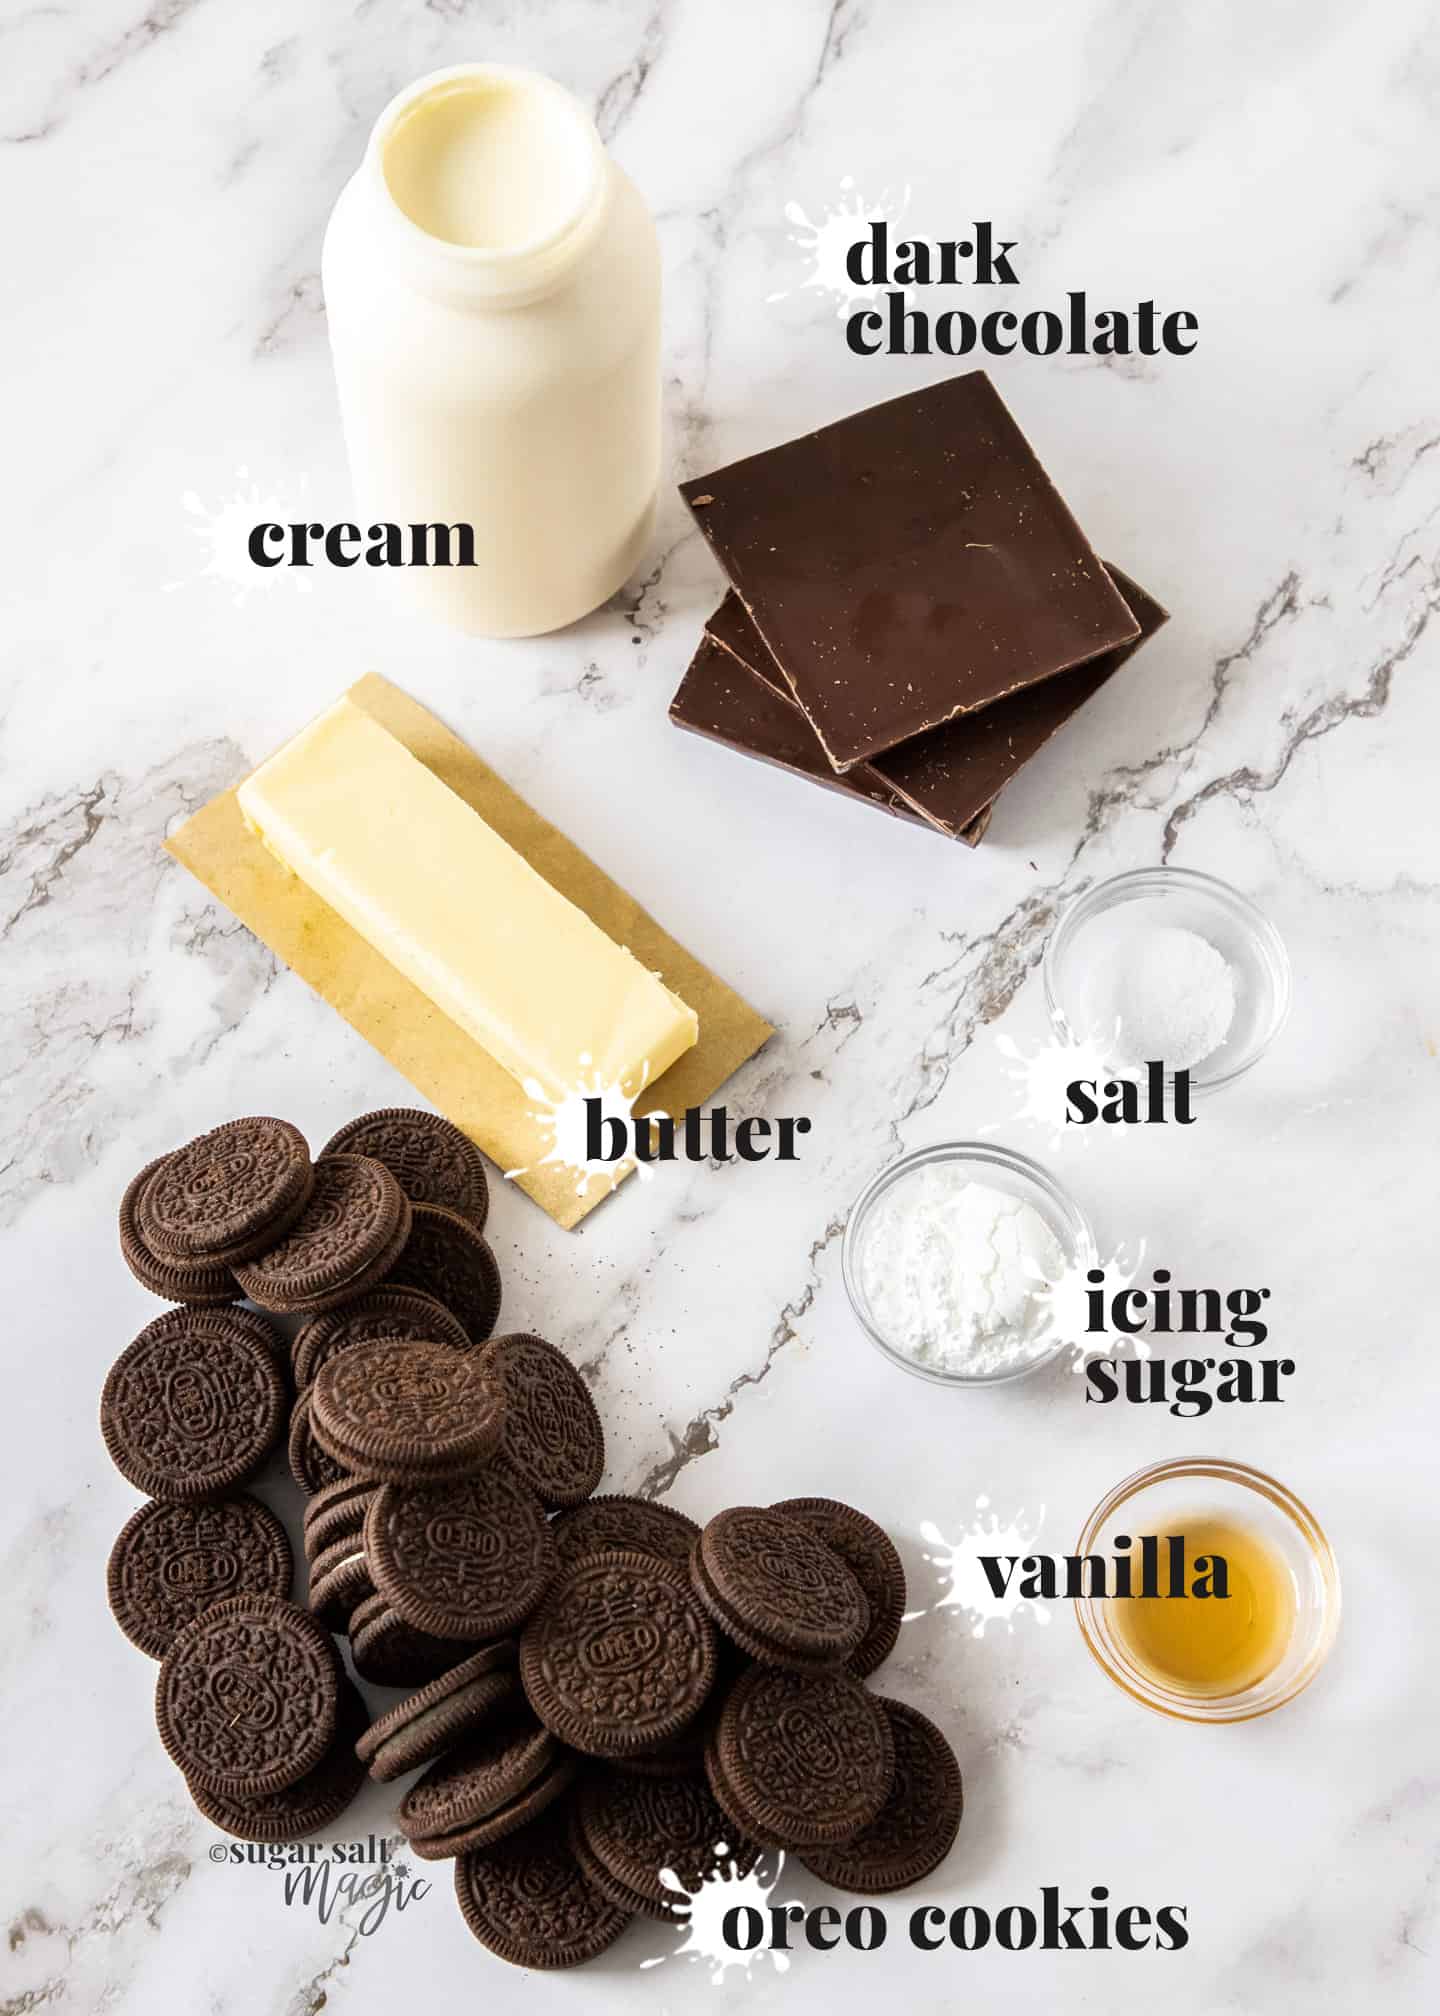
- Oreos: Oreos are a favourite of mine but other cream filled biscuits will work here as well. Delta creams are probably our Aussie equivalent to Oreos but Bourbons will work too.
- Butter: The butter is what holds the base together.
- Salt: A touch of salt always makes everything taste better. You don’t need a lot but it will intensify the flavours beautifully without tasting salty at all.
- Chocolate: It’s important to choose a good quality chocolate as this is the main flavour you’re going to taste. Don’t use baking chocolates and I actually prefer to just buy my favourite eating chocolate (I use Cadbury Old Gold either plain or 70%).
- Cream: Cream makes up the other main ingredient for the mousse. It gets whipped up to just-firm peaks, then is folded through the chocolate.
- Icing sugar: This chocolate mousse tart doesn’t need a lot of extra sweetness, relying mainly on the sweetness in the Oreos and chocolate but just a little icing sugar will make it truly desserty.
- Vanilla: This provides flavour complexity and a little actually makes chocolate taste more chocolatey.
The Oreo Cookie Crust
This crust is beyond easy to make and tastes like buttery Oreos (just when you thought Oreos couldn’t get better). There’s no need to bake this cookie crust since the butter and cream filling will hold it all together.
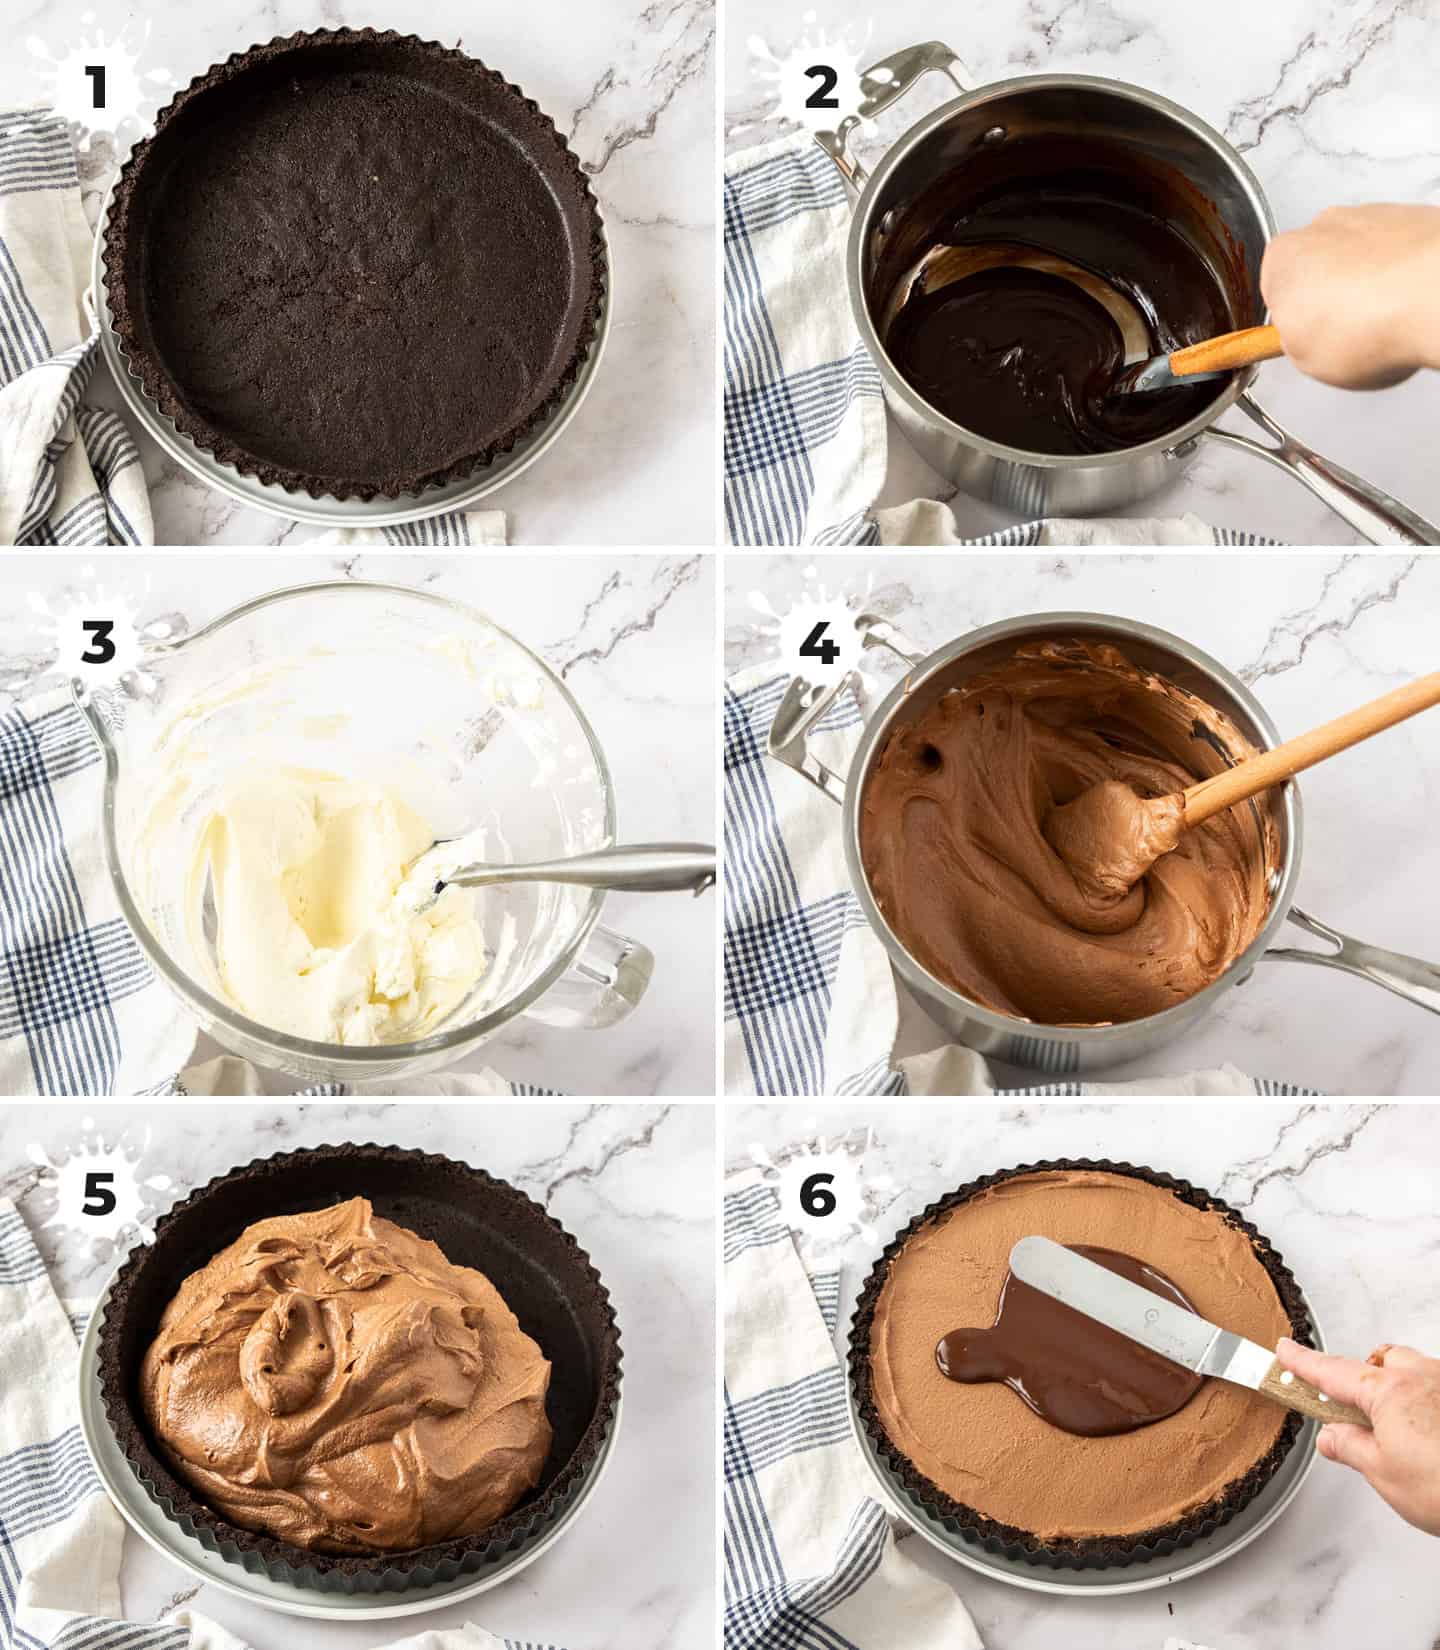
You’ll just crush whole Oreos (yep, including the cream filling) – I find a food processor easiest for this – then mix them with melted butter and a pinch of salt. Press this out into your tart tin nice and firmly then leave it in the fridge to set (photo 1).
Tips: Make sure to press it into the tin firmly – the flat base of a glass is perfect. Start by tipping all the crumbs into the centre of the tin, then use the glass to spread them out across the base evenly.
Now, starting in the middle, press down on the cookie crumbs pressing firmly. Working in circles, gradually move out to the edges. To get a firm edge, press the glass up against the crumbs at the side, while holding the thumb of your other hand over the top to make a firm edge.
How to make the mousse filling
You’ll start by making a very quick and simple ganache by melting together cream, chocolate and a little butter in a saucepan over low heat (photo 2). A touch of salt and vanilla is added then you need it to cool to room temperature.
Next you just need to whip cream (photo 3) (whipping cream, heavy cream or thickened cream) to soft peaks. You can do this with an electric handheld beater or even a balloon whisk. This cream is slowly folded into the ganache (photo 4).
Tips:
- Don’t overwhip the cream or your mousse may turn out grainy – it just needs to be soft peaks.
- Cream should be fridge cold or it won’t whip.
- Make sure the ganache is at room temperature – no longer warm – or it will just turn your whipped cream into liquid.
- Folding is a slow, methodical action where you literally lift from underneath and fold over the top until everything is just combined. If you just stir it together, you’ll knock all the air out of the cream.
Topping the chocolate mousse tart
Again, I use my favourite eating chocolate for this. Make sure to chop it up fairly finely then melt in no more than 30 second bursts in the microwave, stirring well between each one. This method means the chocolate won’t overheat and you won’t have any setting issues.
Use an offset spatula to spread the chocolate over the mousse (photo 6) as smoothly and quickly as possible. As the mousse will be cold, the chocolate will start to set very quickly.
Can it be made ahead of time?
If the fact that it’s no bake wasn’t already exciting enough, it actually means you can make this chocolate mousse tart ahead of time.
- The oreo pie crust can be made well in advance and even frozen for up to 2-3 months.
- The chocolate mousse filling can be made 2 days ahead.
If frozen, the mousse won’t have such a great texture when it thaws, however you can eat this frozen so it’s a little like an ice cream tart.
Tips for clean slices
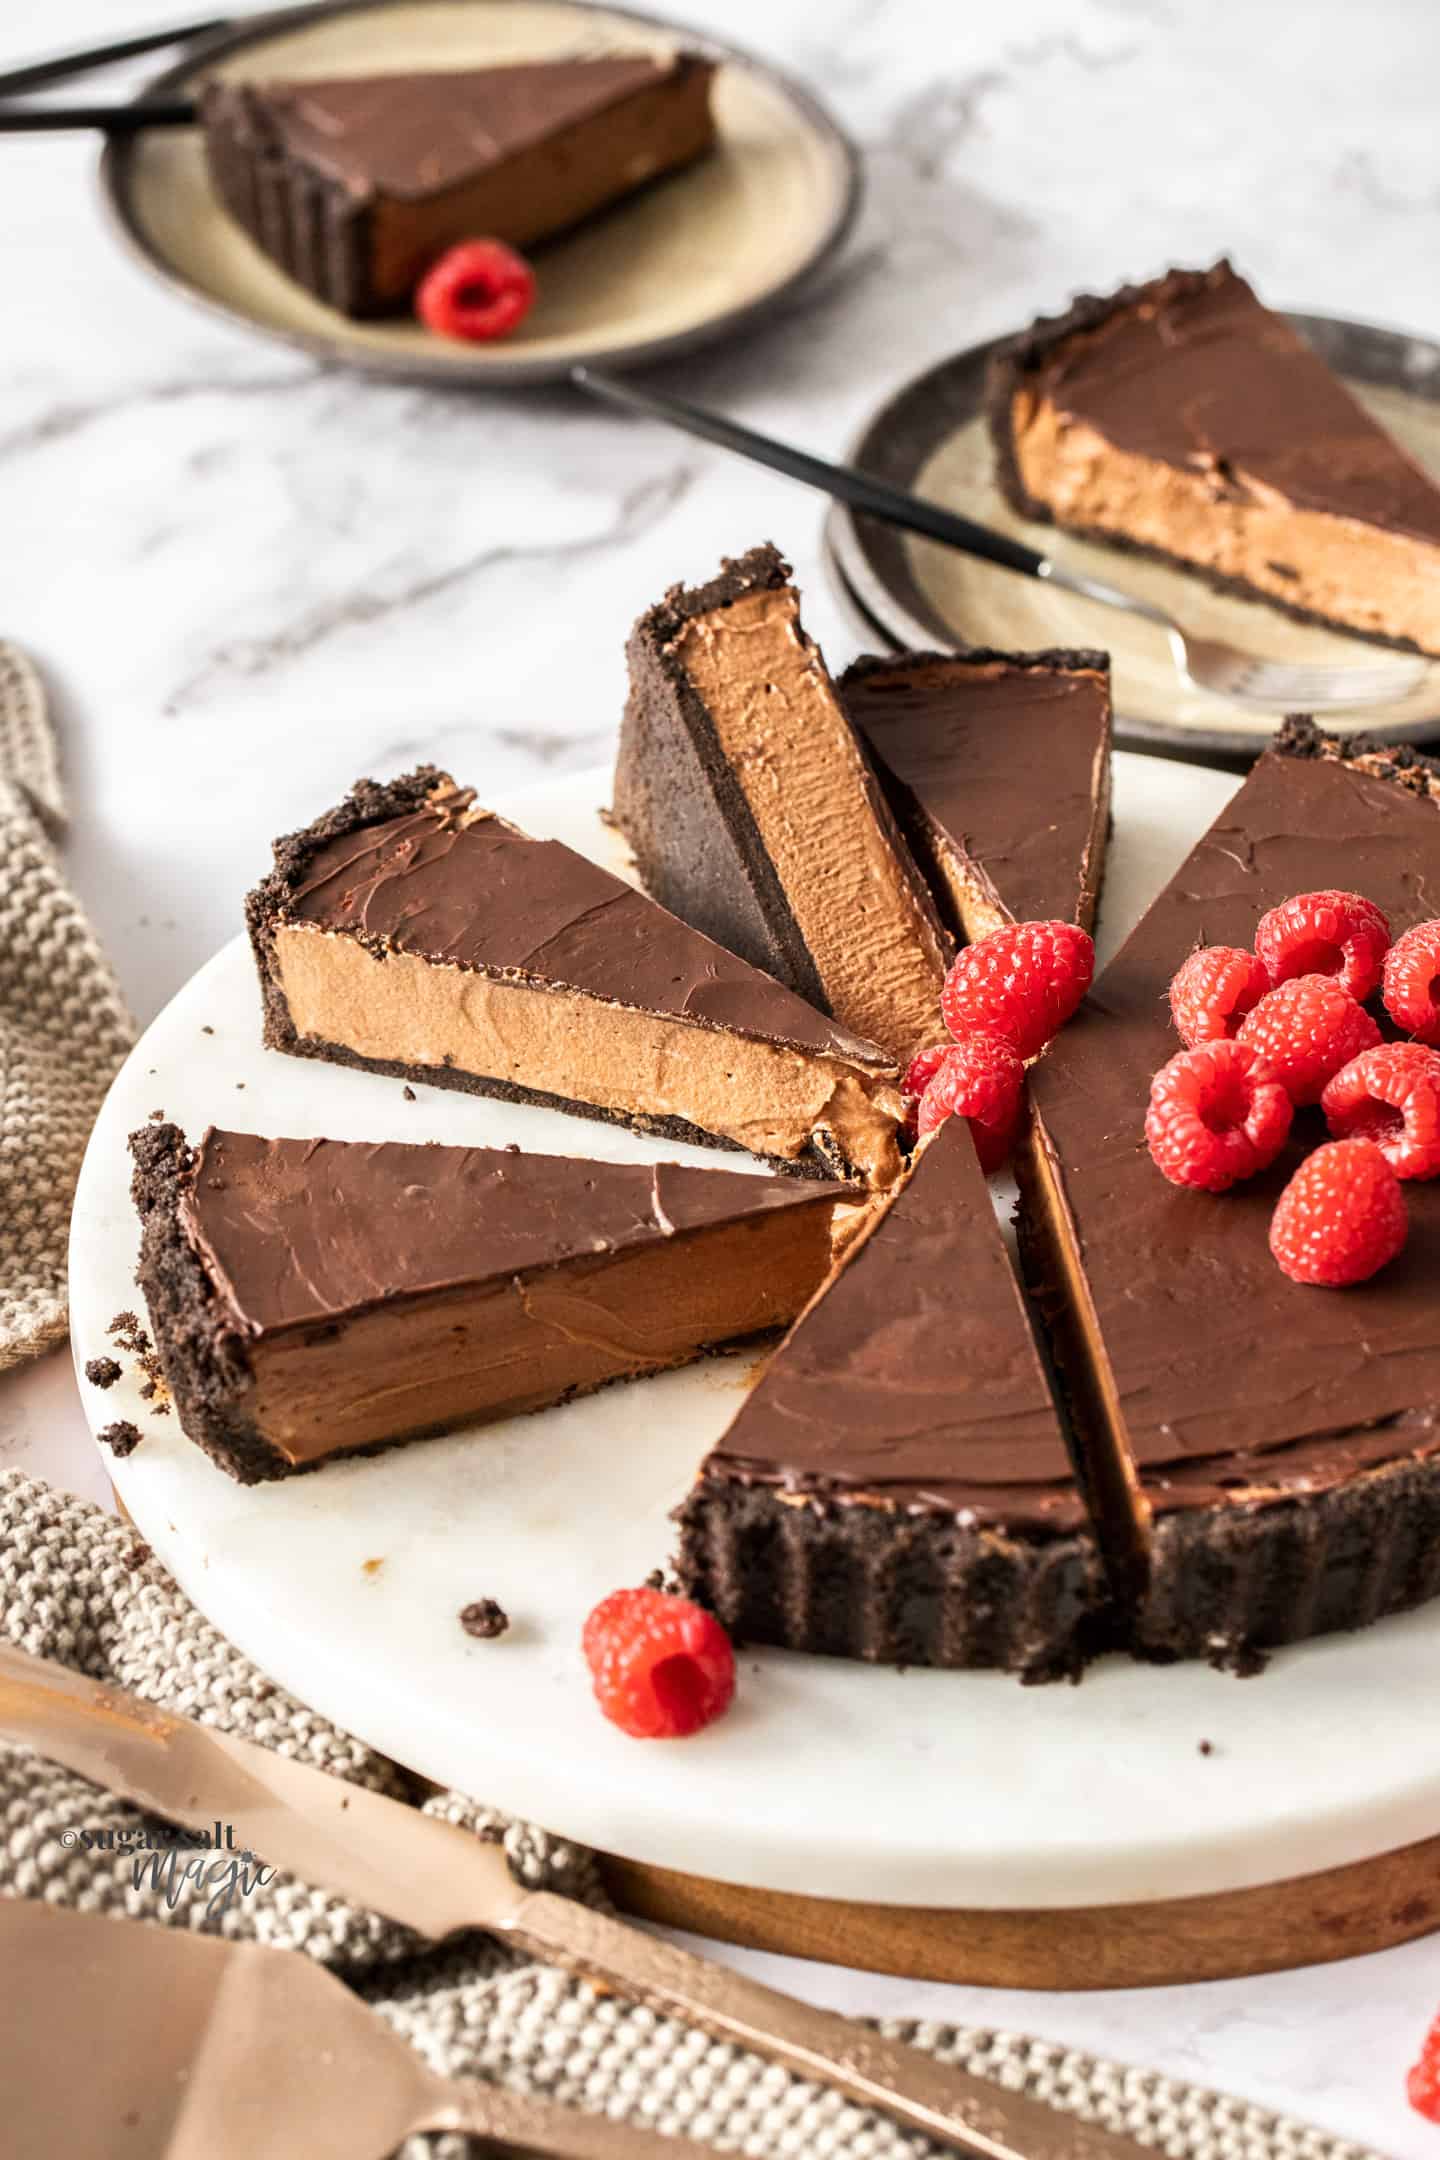
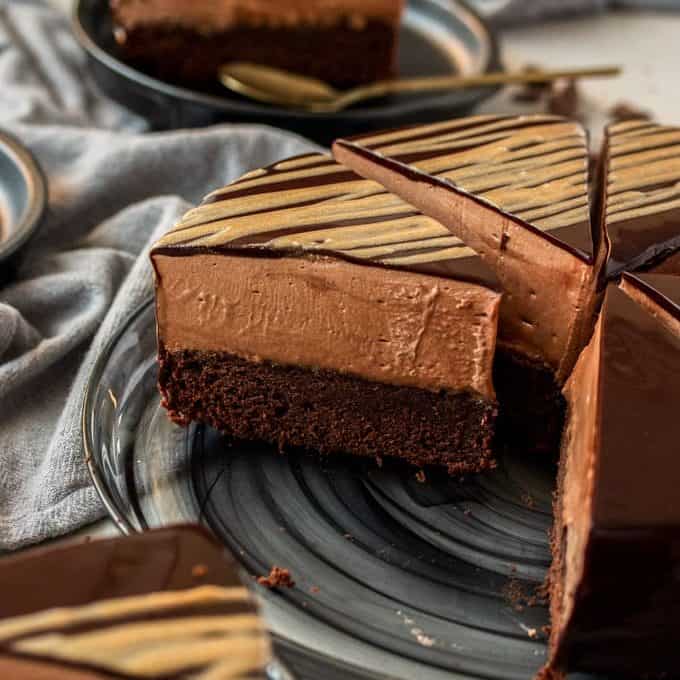
To cut through that chocolate topping (which is hard, while the filling is soft), heat the blade of your knife first. You can either do this in hot water, then dry it off or use a kitchen blow torch to gently heat the knife blade.
- Lay the knife blade down on the chocolate and let it melt it’s way through the chocolate then stop before going through the mousse.
- Repeat all the way around the tart, letting the heat of the blade melt a perfect line through the chocolate.
- Once all the chocolate has clean cuts, wipe off the knife and cut down through all those lines to cut your slices cleanly.
Doing it this way means the chocolate doesn’t crack into jagged pieces and push down into the mousse. Cleaning the blade before cutting through the mousse ensures the edges of the mousse stays clean and not covered in melted chocolate.
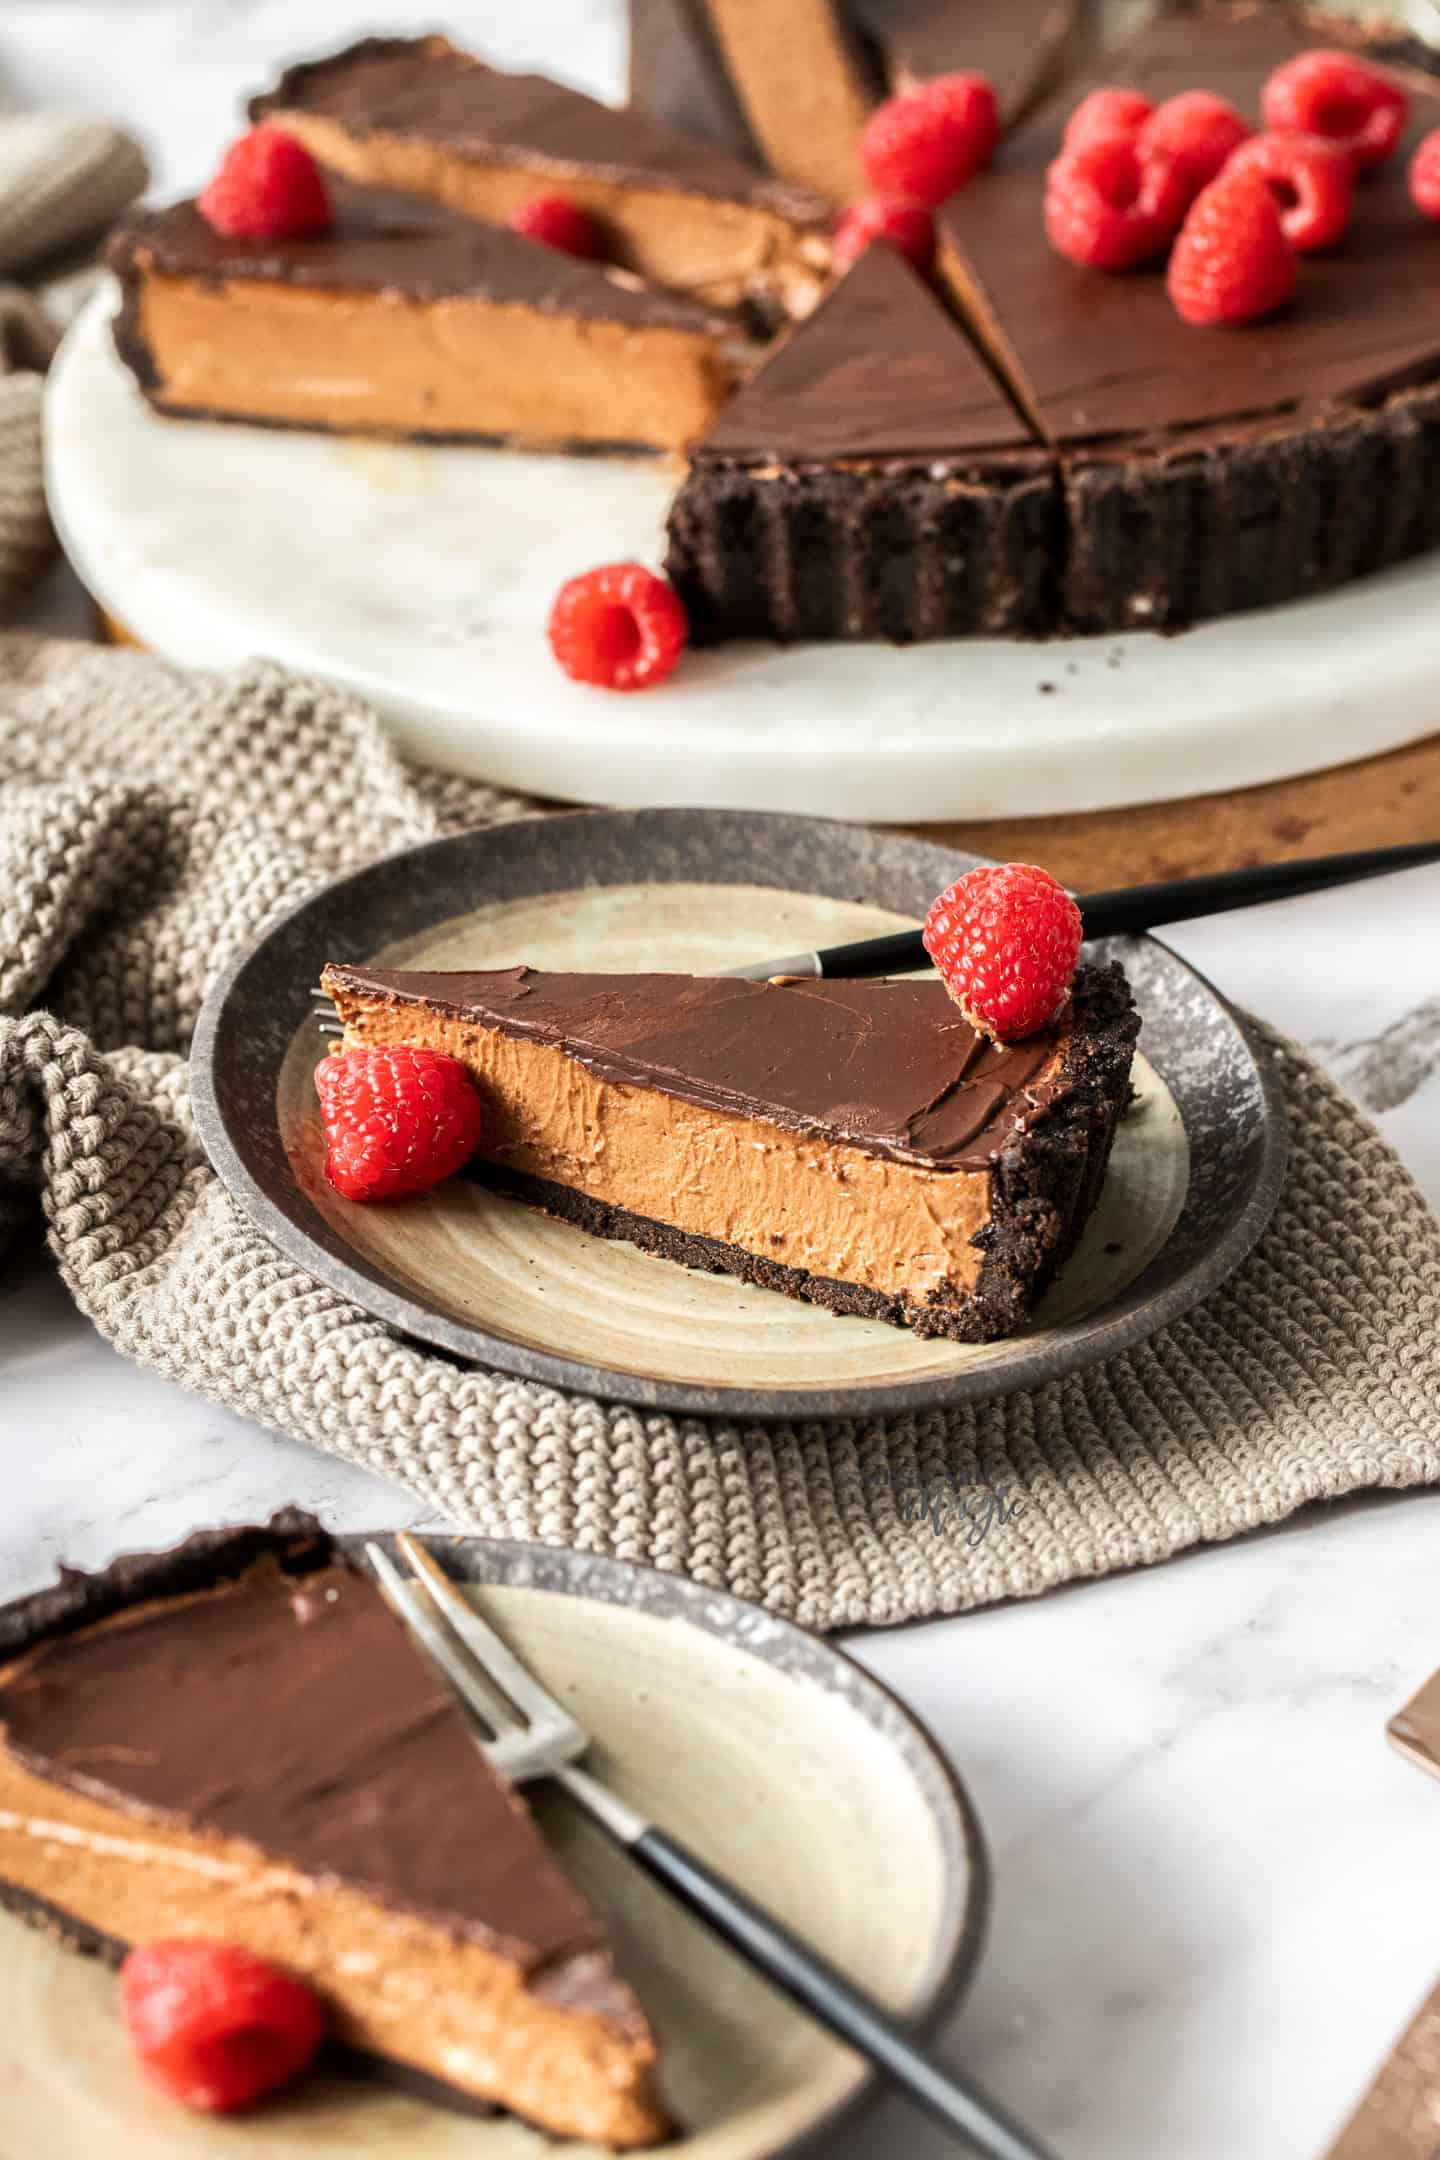
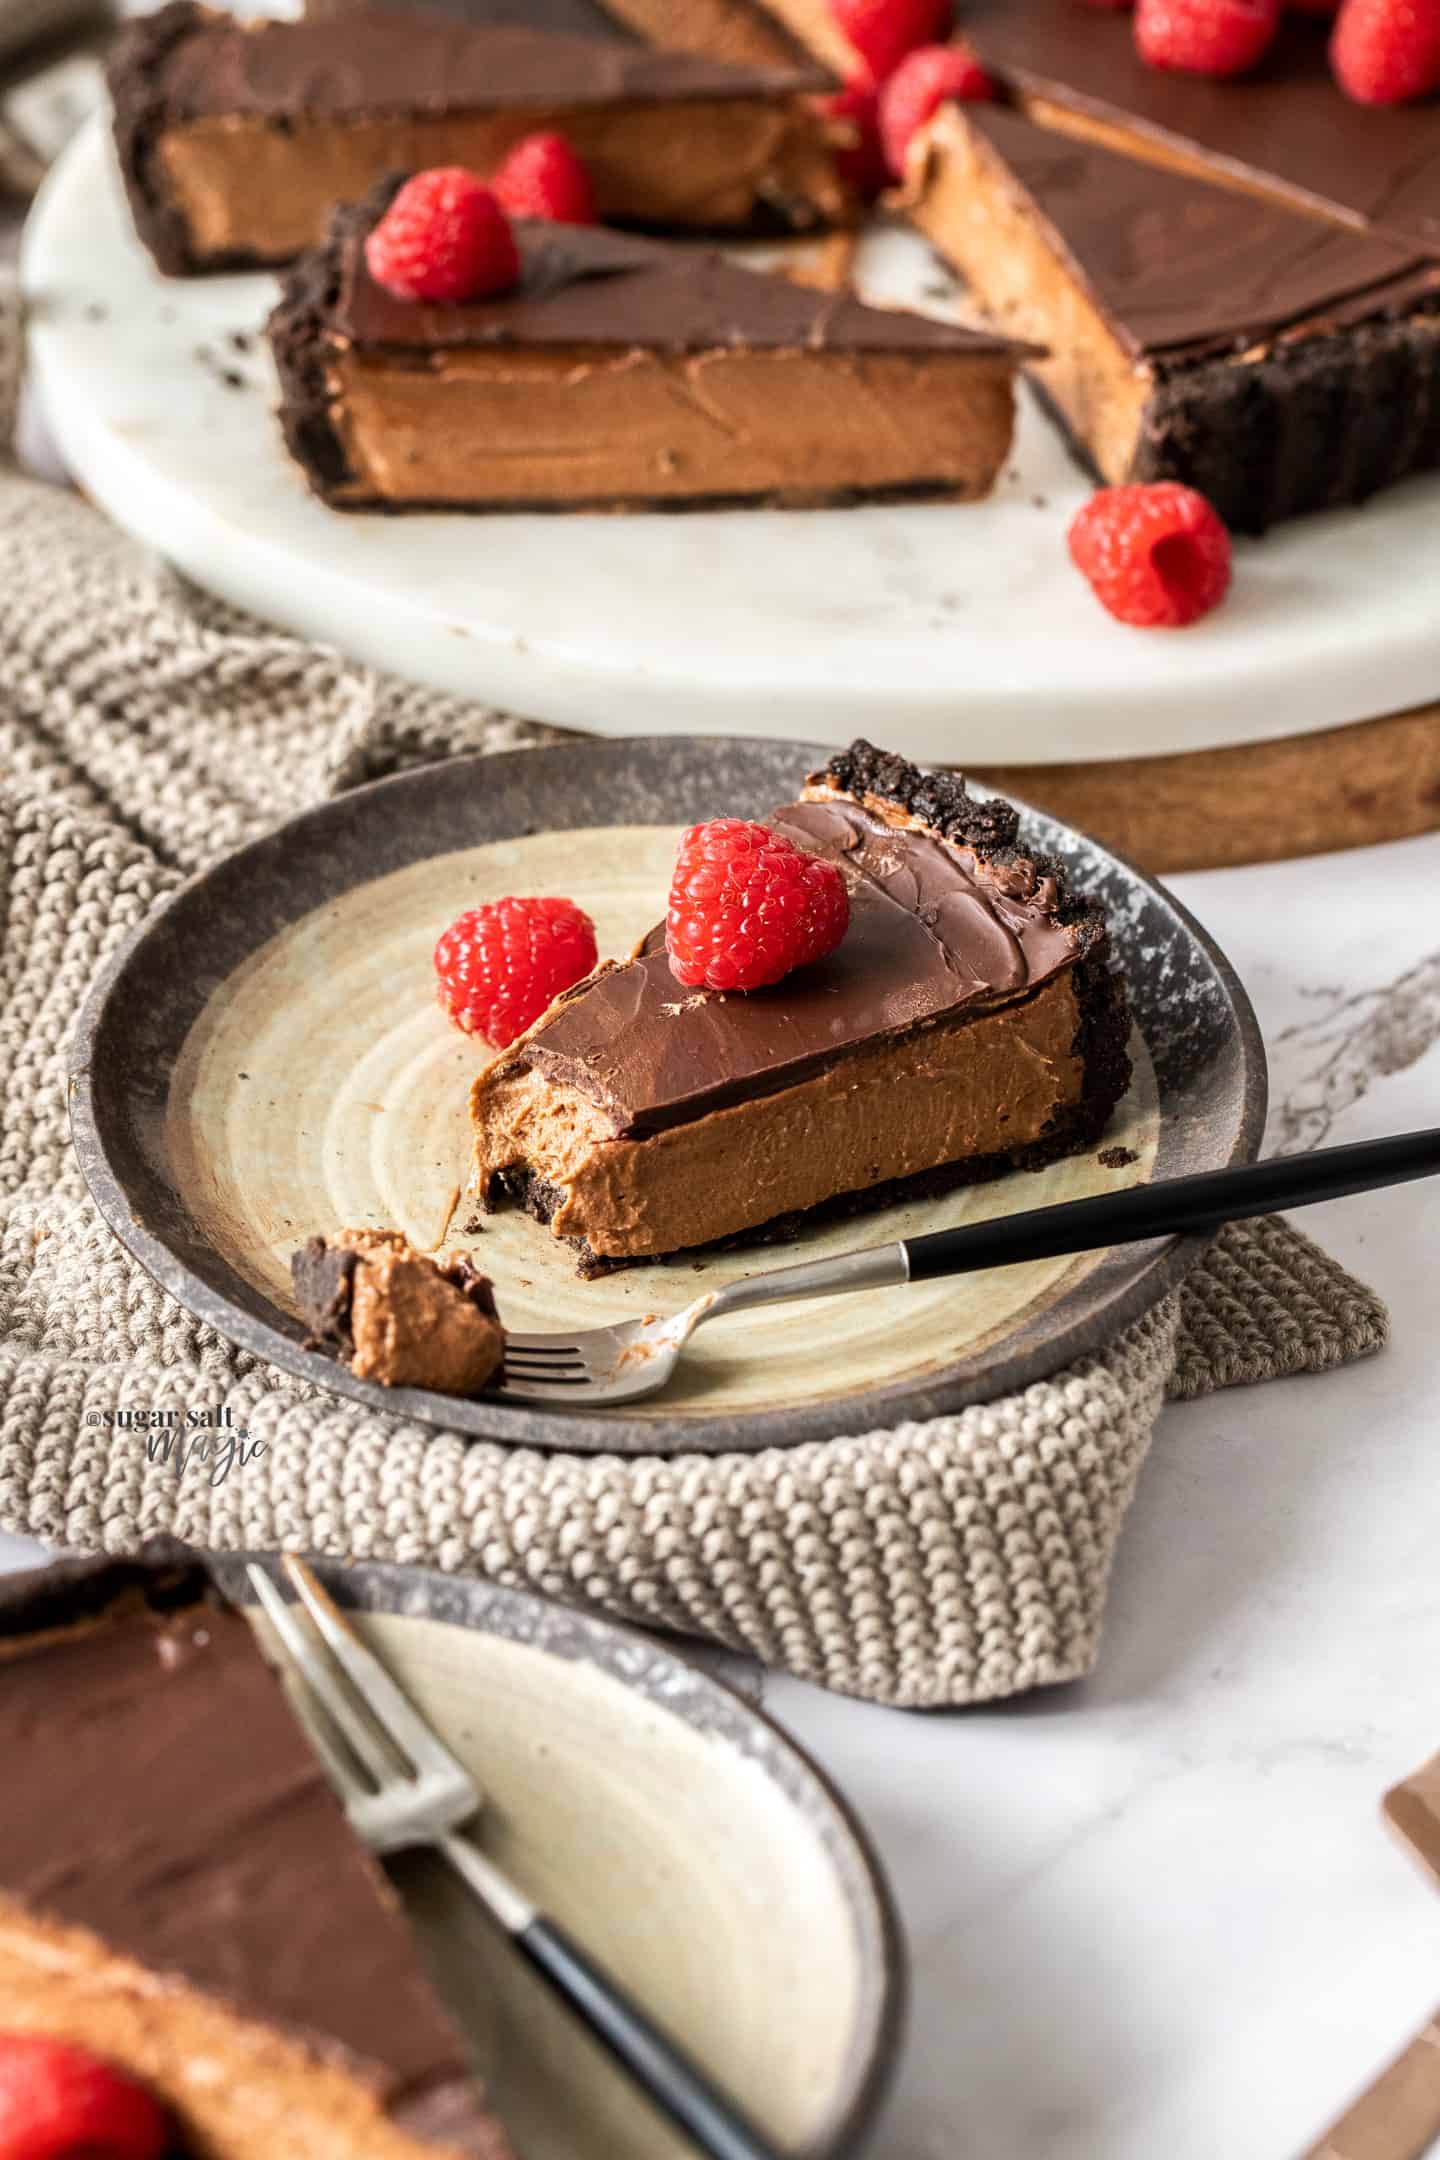
A creamy chocolate filling with the satisfying crunch of that oreo cookie crust, this chocolate mousse tart is all about simplicity and decadence. It looks stunning and tastes even better, but it won’t leave you tearing your hair out in the kitchen.
If you try this no-bake chocolate mousse tart, make sure to leave a rating and comment below.
Never Miss a Recipe!
Get the latest recipes straight to your inbox!
Ingredients
THE OREO COOKIE CRUST
- 266 g Oreos (2 packets / 28 cookies)
- 85 g unsalted butter, melted (3oz / ¾ stick)
- ¼ teaspoon salt
THE CHOCOLATE MOUSSE FILLING
- 600 ml whipping cream, divided (roughly 2 ½ cups)
- 200 g dark (50%) chocolate, finely chopped (7oz)
- 57 g unsalted butter (2oz / ½ stick / ¼ cup)
- 1 tablespoon icing (powdered) sugar (notes)
- Pinch of salt
- 1 teaspoon vanilla
- 85 g dark (50%) chocolate, extra (3oz)
For best results, always weigh ingredients where a weight is provided
Instructions
THE OREO COOKIE CRUST
- Line the base of a 9 inch loose-based tart tin with baking paper.
- Use a food processor or blender to process the cookies to crumbs. Add the melted butter and mix well.
- Tip the crumbs into the tart tin then use a glass to press it firmly all over the tin and up the sides. Place in the fridge to chill.
THE CHOCOLATE MOUSSE FILLING
- Pour 2 cups of cream into a large glass bowl and place in the fridge.
- Pour the remaining ½ cup cream into a medium saucepan, and add the 200g chocolate and butter. Heat over very low heat, stirring regularly until about 90% melted.
- Remove from heat and keep stirring until it’s a smooth ganache. Add the vanilla and salt, then set aside to cool to room temperature (1 hour).
- Once the ganache has cooled, beat the remaining 2 cups cream to firm peaks (careful not to overwhip). Quickly, beat in the icing sugar.
- Using a spatula, stir about ½ cup of the whipped cream straight through the ganache to lighten it.
- Now gently fold in half of the remaining whipped cream until there are just a few streaks left. Follow that with the remaining whipped cream, just carefully folding until it’s all mixed in.
- Tip the mousse into your prepared crust and level out leaving about a 1-2mm gap between the top of the mousse and the top of the shell. Chill for 2 hours.
- Melt the remaining 100g chocolate in a bowl in the microwave in 30 second bursts, stirring well after each until 90% melted. Stir until completely smooth.
- Pour the melted chocolate over the mousse then immediately level out using an offset spatula to spread it right to the edges.
- Chill for a further hour before serving.
Notes
- When melting the chocolate, make sure to use very low heat to melt everything together and stop when it’s 90% done so you don’t burn or overheat the chocolate.
- Make sure to fold so you don’t knock the air out of the whipped cream.
- Can be made a couple of days ahead and should be stored in the fridge covered with plastic wrap. Will last 3-4 days.
- The tart shell, unfilled, can be frozen for 2-3 months, wrapped well.
- For clean slices, heat the blade of a knife under hot water then dry, or with a kitchen blow torch, then sit it on top of the chocolate until it melts through. Stop when it hits the mousse, then repeat all the way round for the number of slices you’re cutting. Wipe off the knife, then go and cut all the way through on each slice.
- This tart will begin to soften at room temperature. Serve it straight from the fridge for best results.
RELATED POSTS
This post may contain affiliate links that earn me a small commission for my referral, at no extra cost to you. Thank you for supporting Sugar Salt Magic.



6 Comments on “Chocolate Mousse Tart”
I made this for an evening with my besties. Needless to say it was a massive hit. I found it one of the easier recipes I have made and it turned out perfect, a must make chocolate lovers recipe for any occasion ❤️
So happy to hear you love it, Lesley. Thanks for sharing!
600 mls was too much whipping cream, next time I’d use 450 mls. I used digestive biscuits for the base as I don’t like Oreos. It tasted lovely, just needs a few tweaks.
Interesting. 600mls works for me. Can I ask what it was that didn’t work for you – was it quantity, flavour, texture?
What a beautiful and elegant tart! The ganache luxuriously rich yet so aerated, silky, and smooth. That’s the winner!
Thanks so much Ben. It really is a winner.