Perfect for gifting, topping cakes or just for stashing away for when you want a sweet snack, these candied orange slices are super easy to make too. Just 3 ingredients and roughly 15 minutes of active time and you’ll have a batch at the ready.
If you love oranges too, you must try this blood orange curd or these orange donuts with pomegranate icing.
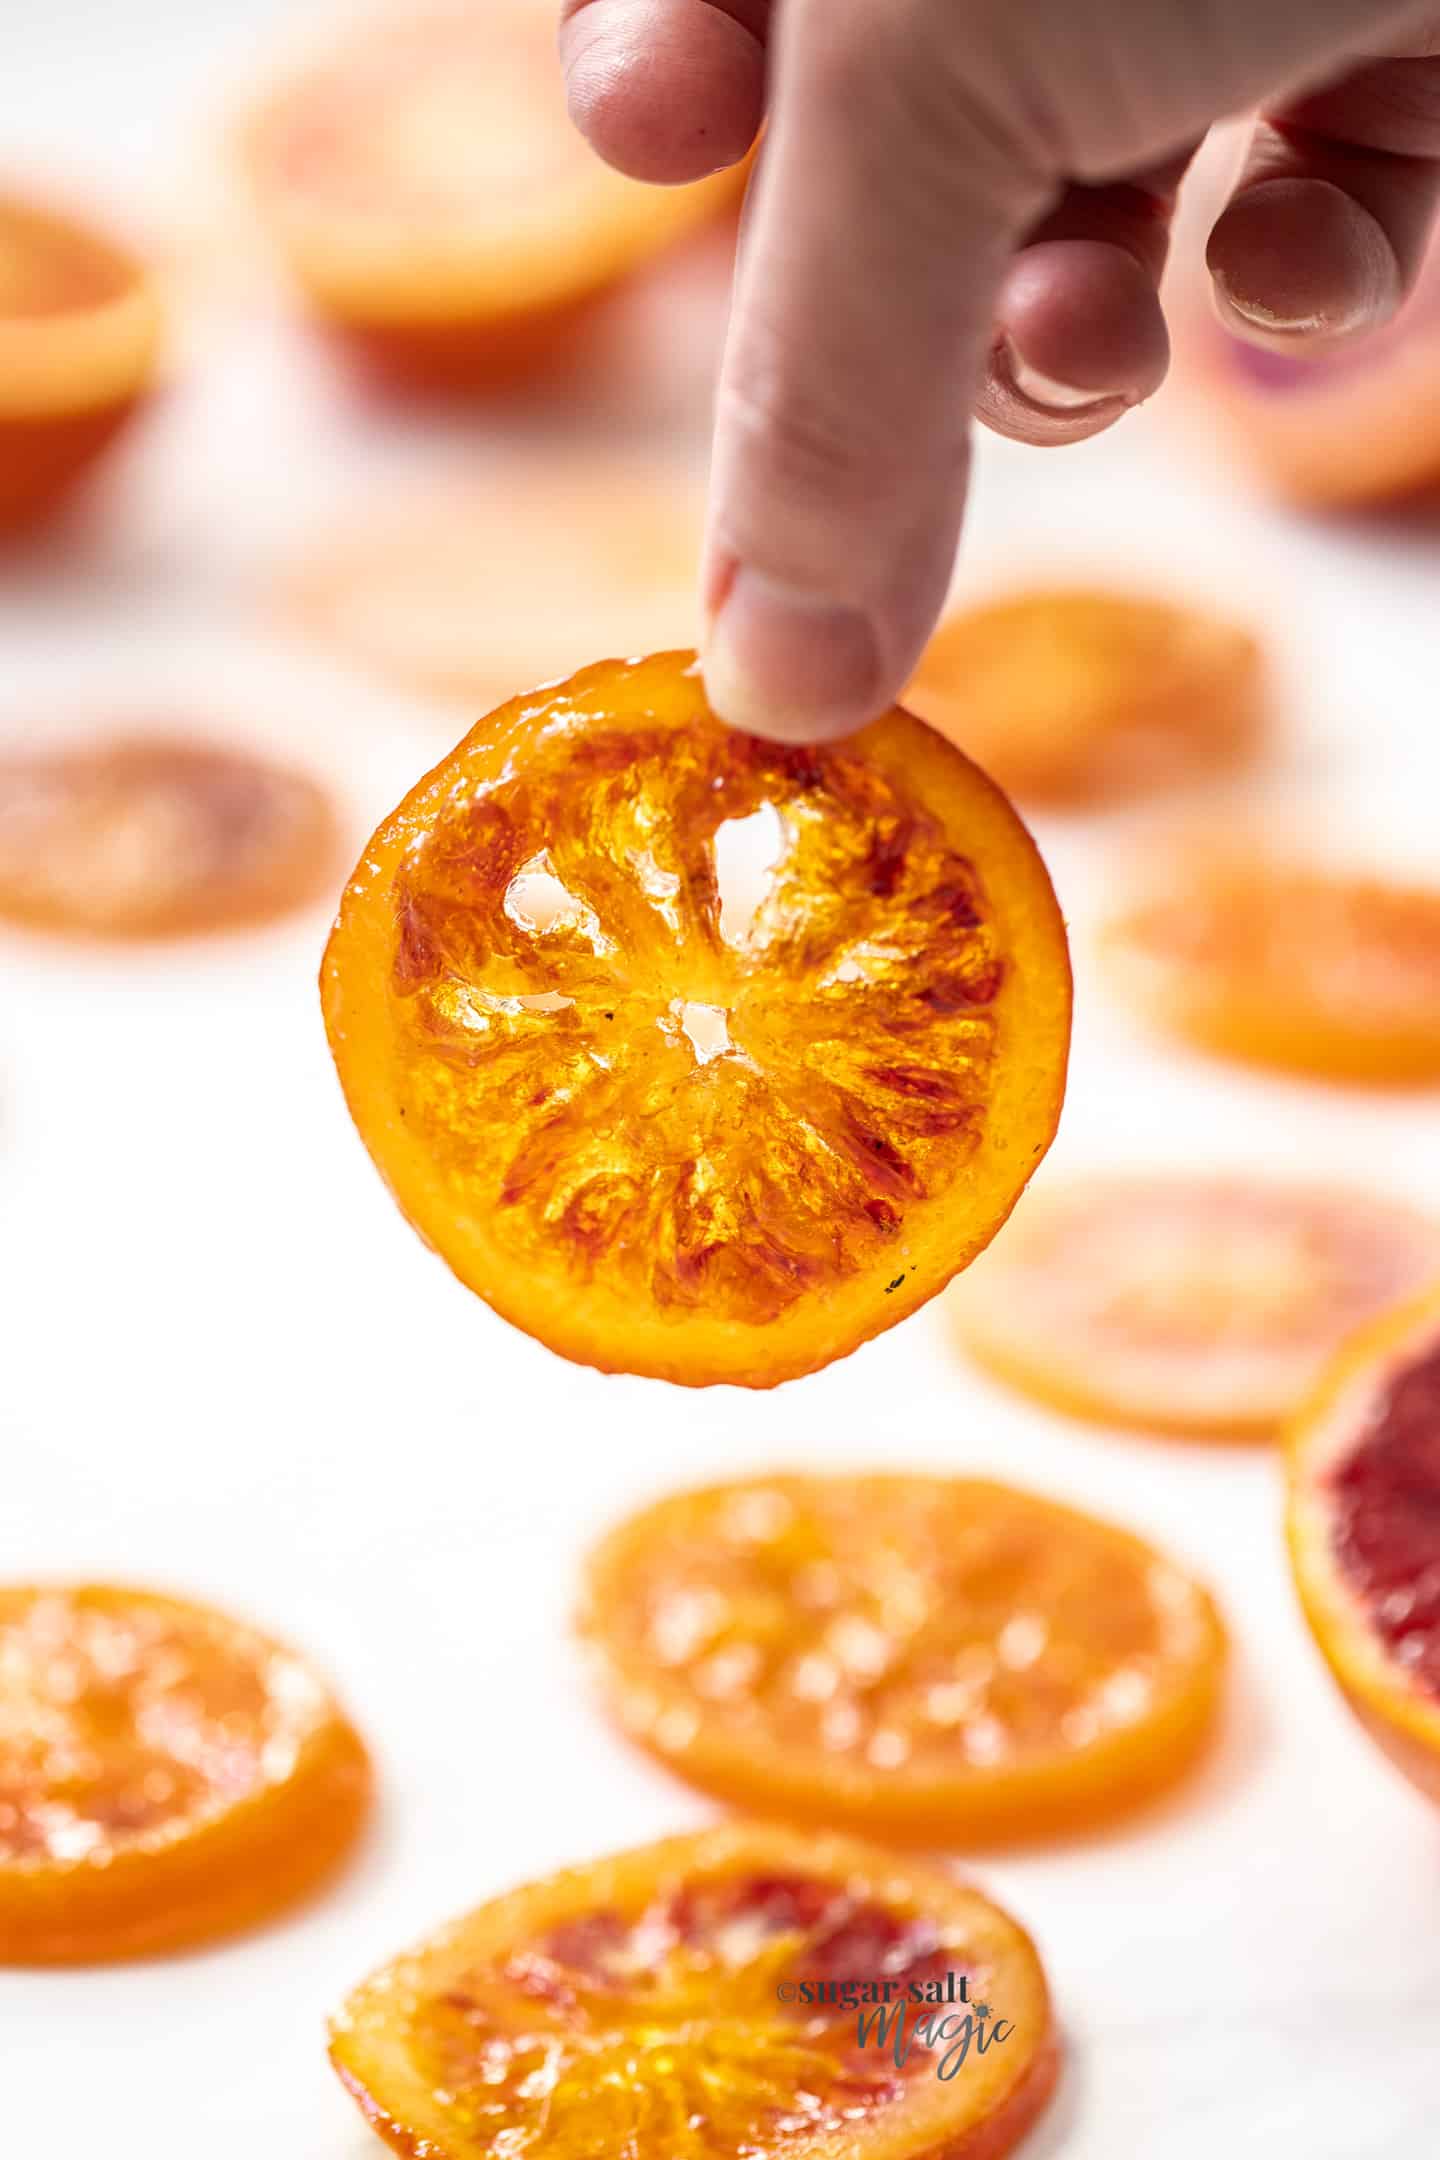
Table of contents
- Why you’ll love them
- What is candied orange?
- Ingredients you’ll need
- How to make candied oranges (summary)
- Don’t throw out the syrup!
- Tips and tricks
- Is the candied orange peel bitter?
- How to use candied orange slices
- How to store candied orange slices
- Can you candy other fruits?
- Download the printable gift tag!
- More recipes you’ll love
Why you’ll love them
I love just about any kind of candy and especially ones I can gift to family and friends. These candied orange slices definitely fit the bill.
- Chewy and sweet
- Easy to make
- Only 3 ingredients (including water)
- Use your favourite citrus (I’ve used blood orange here)
- They keep well
I’ll be honest – before I tried these, I didn’t think I’d like them but I wanted them to top a gorgeous blood orange loaf cake. It turns out I love candied oranges. The first batch I made, I practically inhaled 3 of them straight away.
What is candied orange?
Different from dried orange, these candied orange slices are thin slices of orange, poached in sugar syrup until they’re translucent. Basically, you end up with caramelised orange slices or glace orange, that is still chewy where as dried oranges become crisp.
Any bitterness from the peel completely disappears and the slices can be further coated in sugar to make them a little less sticky.
Did you know? Caramelised or crystallised fruit like this has been around since the 14th century as a way of preserving food.
Ingredients you’ll need
You just need 3 simple ingredients to make this sweet citrus treat.
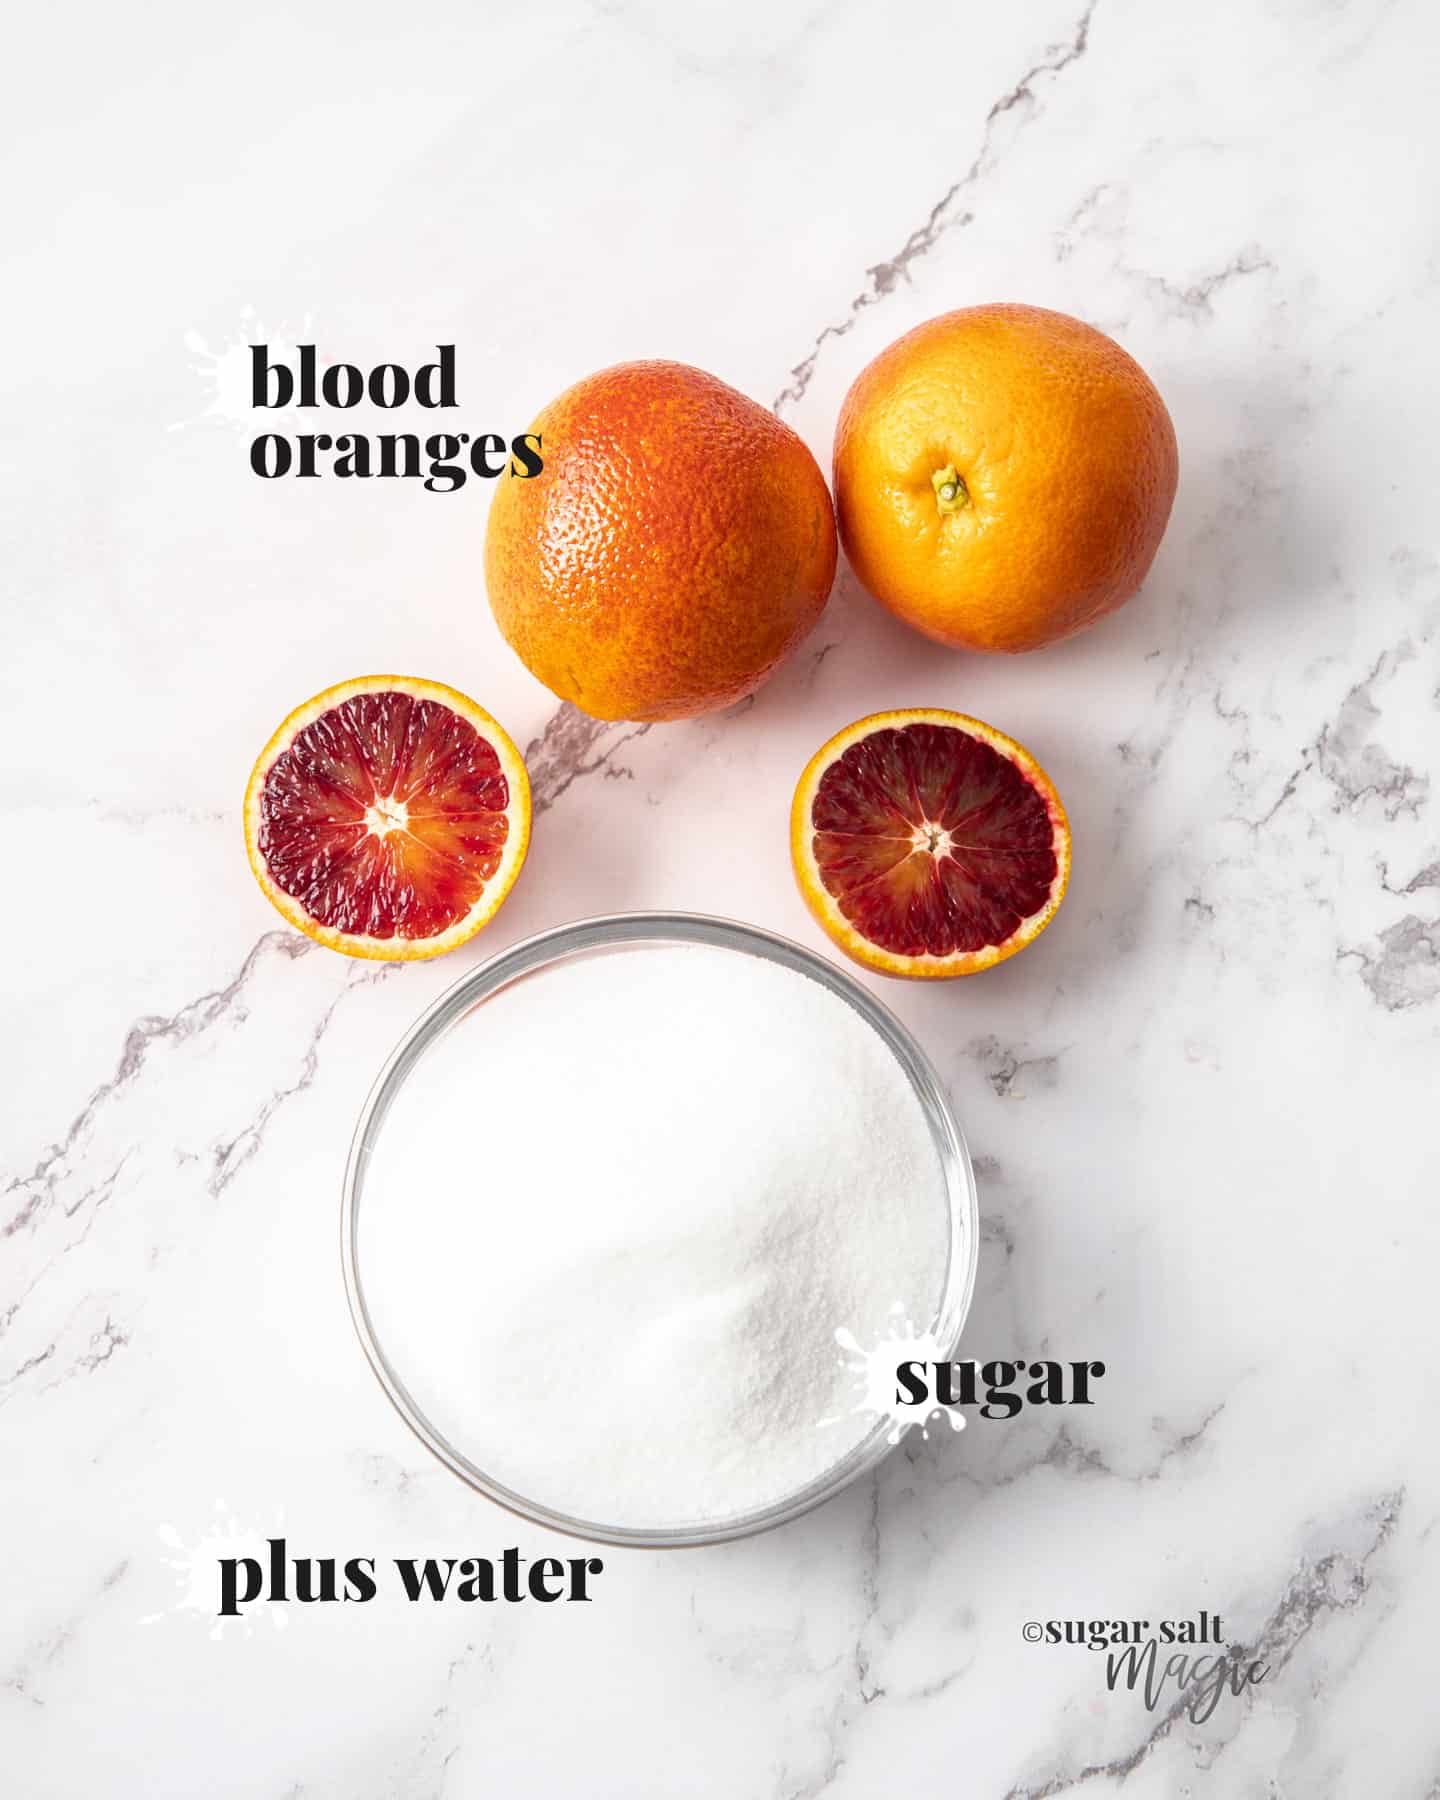
Detailed quantities and directions in the recipe card at the bottom of the post.
- Oranges: You can use any you like but I’ve made candied blood oranges here. I just love the sweet flavour of blood oranges as well as the gorgeous colour and slight berry flavour. Don’t use waxed citrus fruits.
- Sugar: These are candied, so don’t be surprised by the amount of sugar you need. The wonderful part is you’ll have a delicious sweet treat that keeps for a long time.
- Water: Simple tap water is the final ingredient and helps you make the syrup that the orange slices poach in.
How to make candied oranges (summary)
You’ll love how simple the process is to make these candy orange slices. Whilst they do need to cook on the stove anywhere up to an hour, there is very little active time required by you.
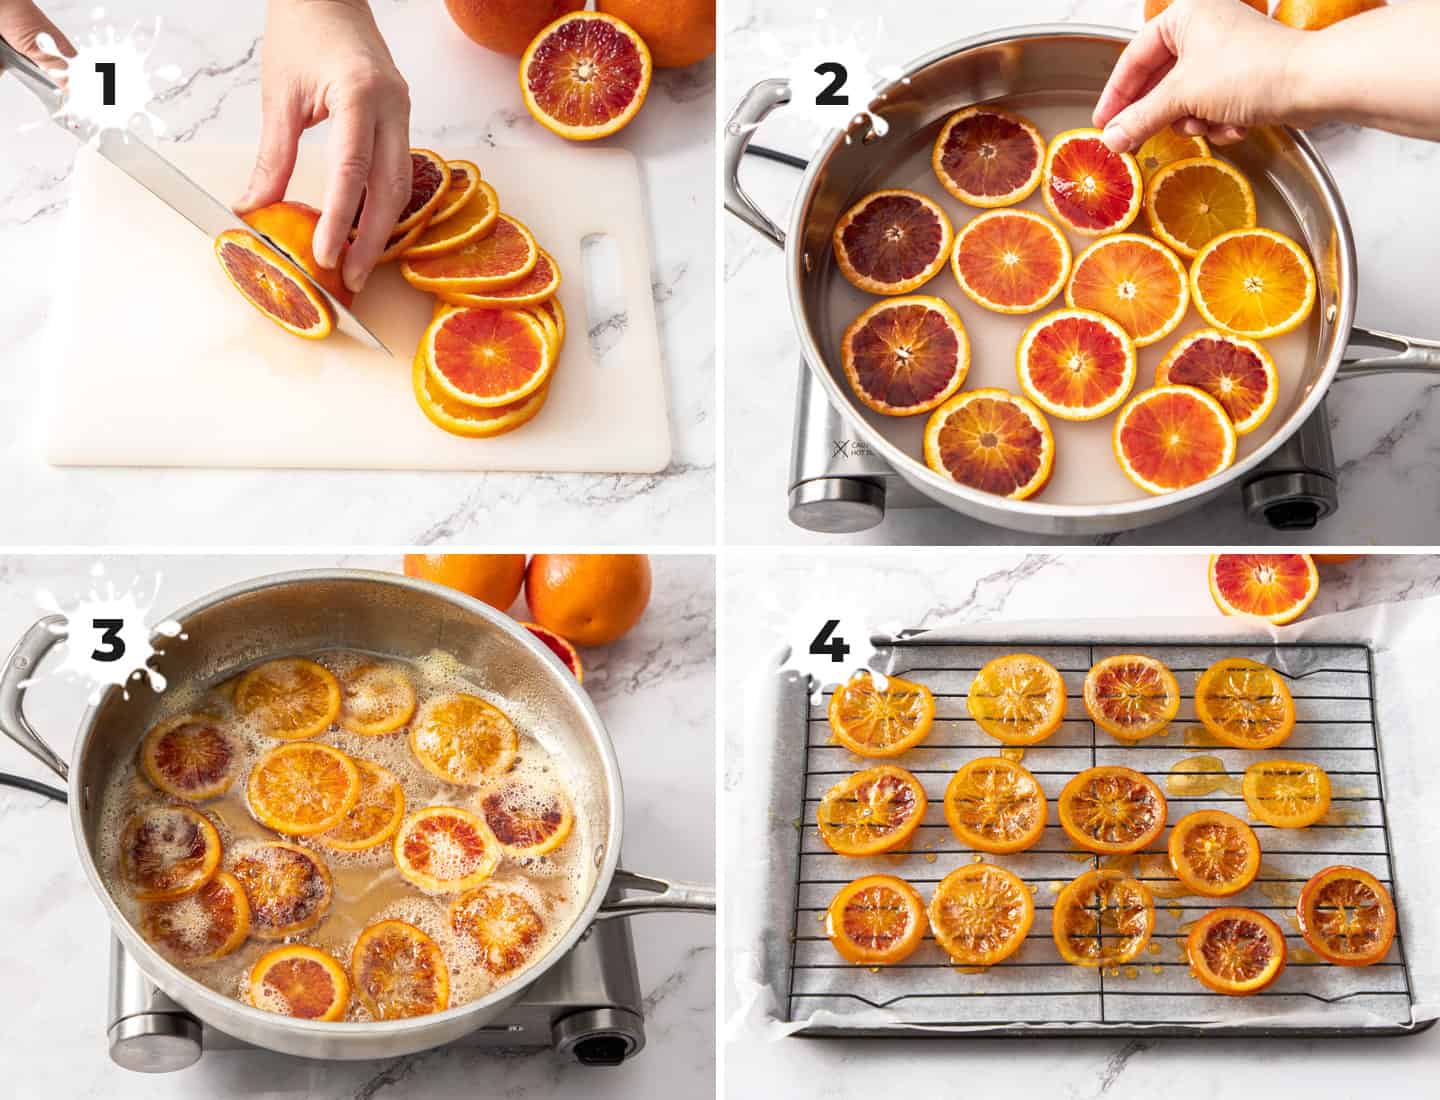
See the recipe card below for the full recipe details.
- Prep the oranges: You’ll first need to wash the oranges since everything including the skin will be eaten, then slice them into 4mm / ⅙ inch slices (photo 1).
- Cook the oranges: Add water and sugar to a wide pan, then place the orange slices in a single layer on top (photo 2). Bring the syrup to a simmer, stirring to dissolve the sugar, then let it simmer away for 45-60 minutes, gently flipping them from time to time, until the white part looks nearly translucent (photo 3).
- Dry and set: Carefully scoop out the slices and lay them on a wire rack over a lined baking tray to catch any drips (photo 4). Now just let them dry / set overnight or up to 48 hours.
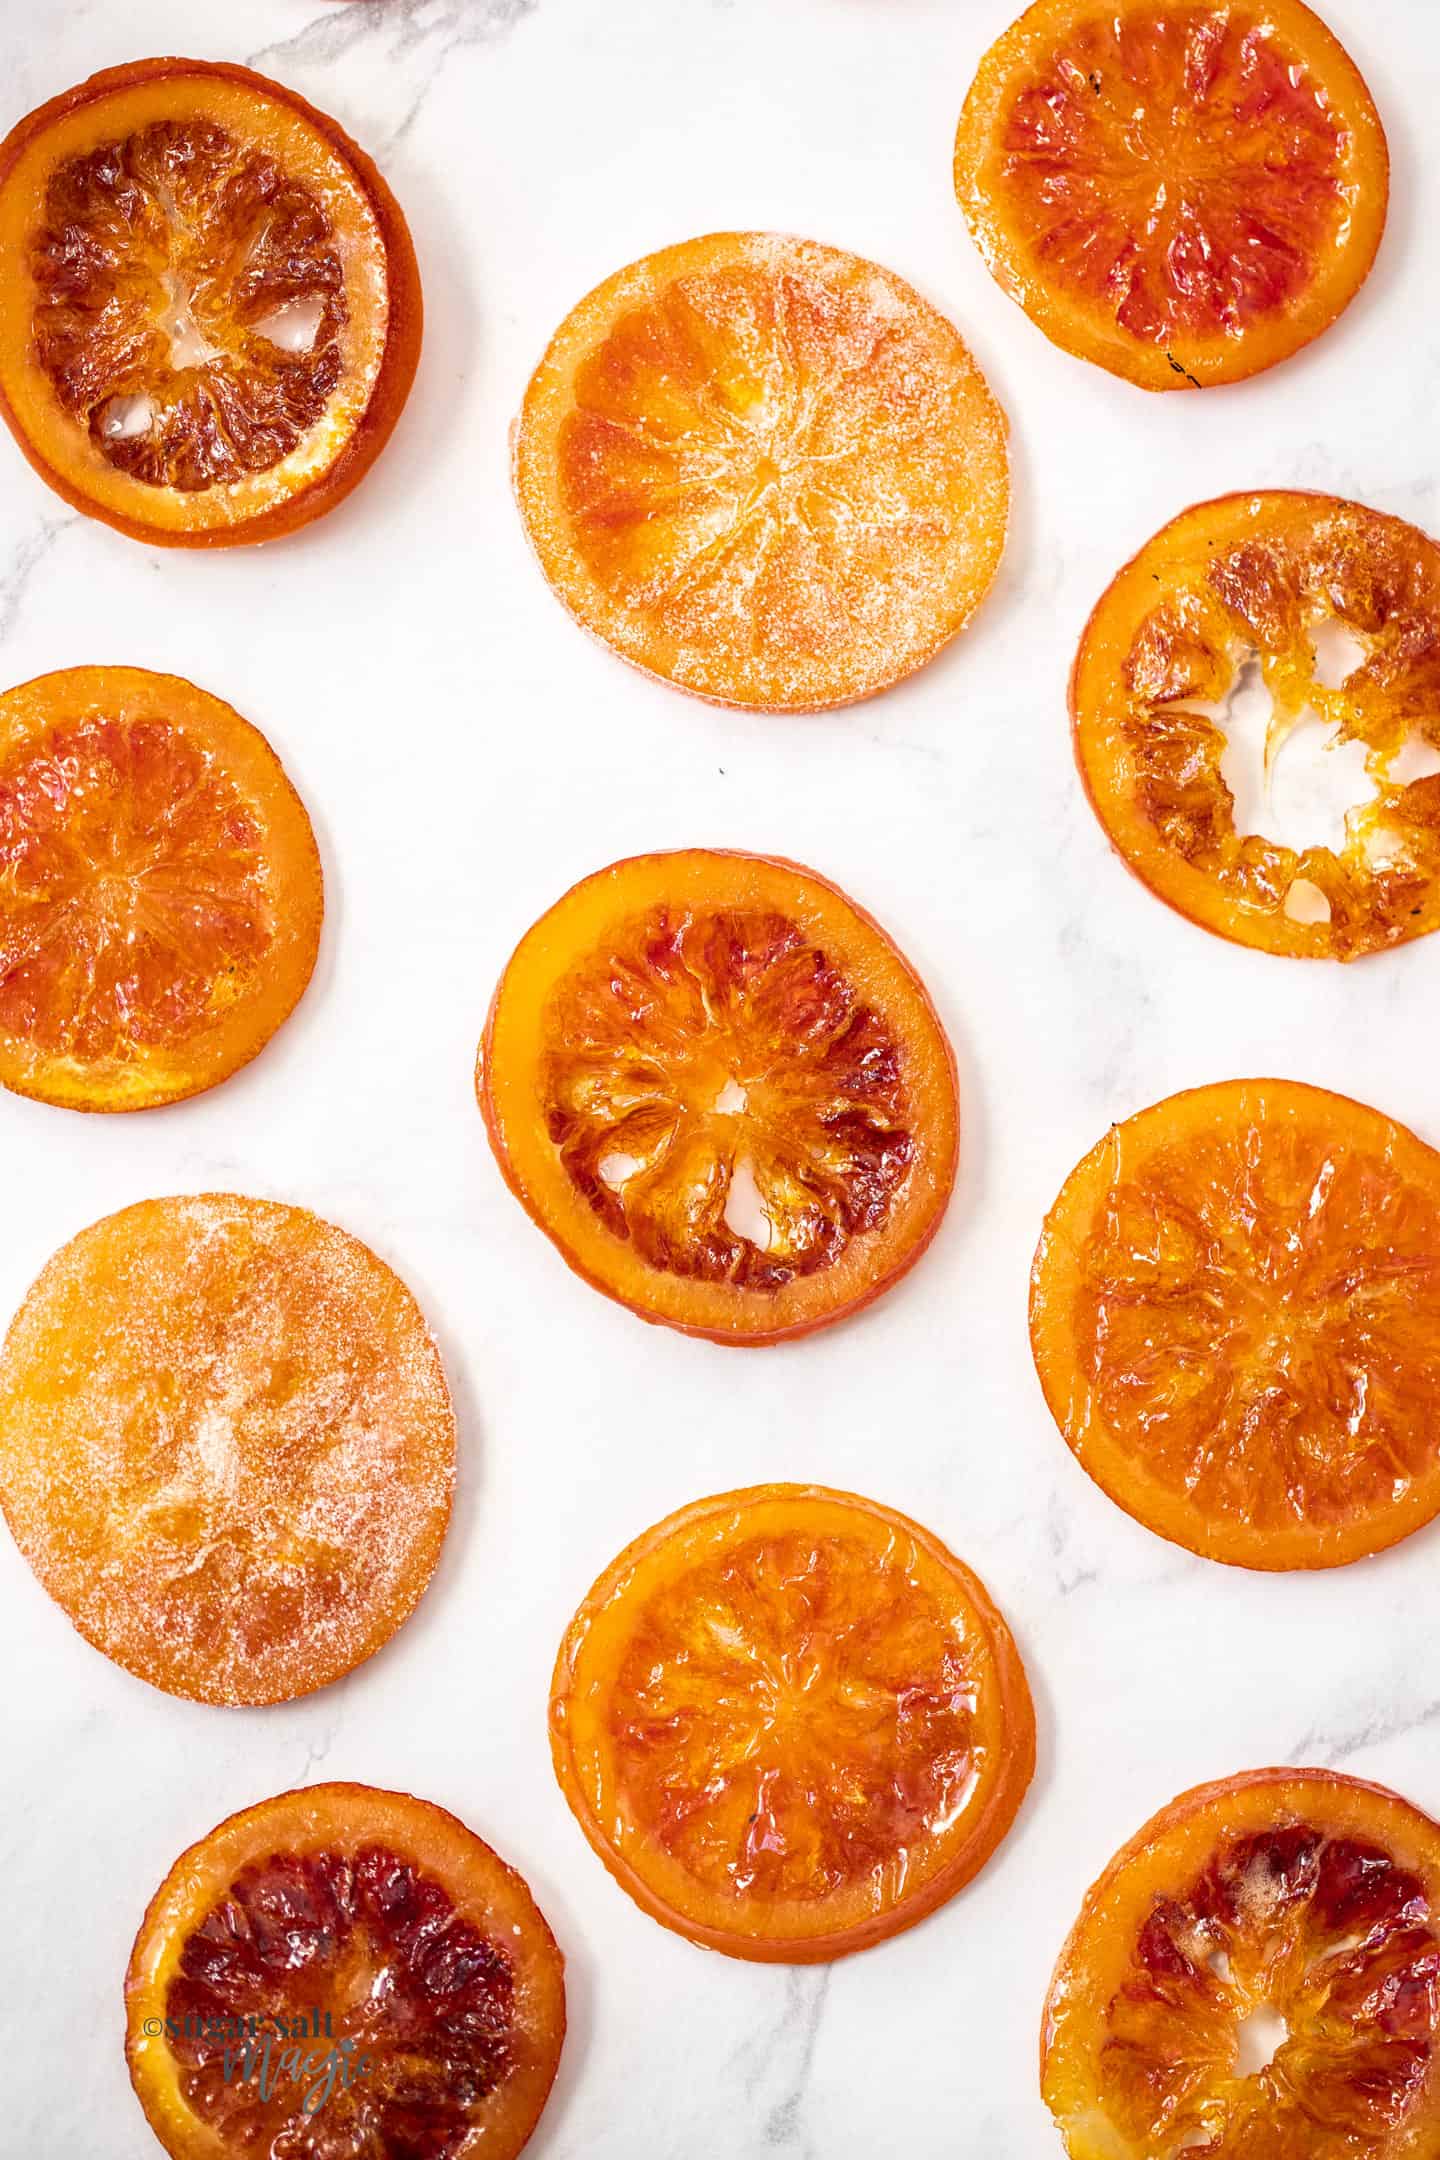
Once made, the candied fruit stays tacky which is perfectly fine and how I like mine but you can make them a little easier to handle by coating them in sugar to give the outside a drier surface. It does make them even sweeter though.
Don’t throw out the syrup!
The syrup that the orange slices are cooked in becomes almost caramel-like by the time they’re done. If you let it set, it will become chewy toffee. But you don’t need to throw it away.
- You could use it to sweeten black tea.
- Turn it into orange caramel sauce. Just add a little butter and cream (see the details in the recipe notes) and mix it all through, then let it boil for a minute. It’s super sweet but divine and absolutely perfect for pouring over ice cream or a galette. See picture below.

Tips and tricks
- The right oranges: Choose evenly shaped, blemish free, firm but ripe oranges. This way you’ll have a lovely flavour as well as perfectly pretty slices. Firmer fruit is also easier to work with.
- Cutting the orange slices: You want the orange slices thin enough to cook through well so that all bitterness can be removed but thick enough that they don’t break apart as they cook. I find about 4mm / ⅙ inch works well. Make sure to use a sharp knife.
- The best pan to use: You’ll want to use a pan, that’s deep enough for the water but one that’s wide enough that the orange slices can be in one layer.
- Cover them to dry: When you’re drying the slices out, it’s a good idea to place an upside-down baking tray over them to stop any dust from settling and sticking to them.
Is the candied orange peel bitter?
I personally don’t find the peel bitter at all when candying oranges, especially if they’re nice and ripe.
If your fruit is not very sweet, or if you’re using lemon or grapefruit which are naturally more bitter, you can boil the slices for 1 minute in plain water, then discard the water and proceed as per the recipe.
How to use candied orange slices
- Eaten as is: Candy orange slices can be eaten as soon as they’ve set, on their own, so they make a wonderful diy food gift to be eaten as candy.
- Cake toppers: They’re also perfect for topping cakes, cupcakes and tarts or serving as an edible garnish on something like this panna cotta.
- Chocolate dipped: You can also turn them into chocolate orange slices simply by dipping one half in melted dark chocolate and allowing it to set.
- Added to granola / trail mix: Add a sweet kick to your granola or trail mix by chopping it into small pieces and mixing it through.
- Cocktails: They can be lovely as a cocktail garnish.
- In salads: Replace the cranberries in your salad with some chopped candied oranges.

How to store candied orange slices
There are a number of ways you can store your now beautifully caramelised orange slices.
- In the syrup: You can store the orange slices in some of the leftover syrup, in a jar in the fridge. For this method, you don’t need to dry them on a wire rack first – just transfer them to a sterilised jar to cool before chilling.
- With baking paper separators: Once you dry the slices on a wire rack, transfer them to a mason jar or airtight container in the pantry with small pieces of baking paper between them. As they remain tacky, the baking paper will make them easier to separate.
- Dusting in sugar: Once the slices have dried for 48 hours, coat them with caster (superfine) sugar and store in a mason jar or airtight container in the pantry. Crystallising them like this stops them from sticking together.
Whichever way you choose, the candied orange slices will keep for up to 3 months depending on how carefully you store them.
Can you candy other fruits?
Absolutely. You can candy any citrus with this same method.
I suggest, if using the more sour citrus varieties or if your orange has particularly thick peel, to first boil the slices for a minute in water. Remove them, discard the water, then proceed with the recipe. This process will remove any bitterness from the pith.
Cherries and pineapples are other great options for candying, as is ginger and even carrots!
You could also try these Toffee Apples (Candy Apples).
PIN IT:
Click to PIN this recipe for later!
Download the printable gift tag!
Download this gift tag and paste it into a Word or Google doc, then print out as many as you need.

If you try this candied orange slice recipe, please take a moment to leave a rating and comment below. I love hearing from you and it helps other readers too! You can also take a photo and tag @sugarsaltmagic on Instagram.
More recipes you’ll love
- Blood Orange Loaf Cake
- Homemade Lemon Curd
- Apricot Bliss Balls
- Greek Orange Semolina Cake
- Buttermilk Panna Cotta with Blood Orange Jelly
- Blood Orange Scones
Never Miss a Recipe!
Get the latest recipes straight to your inbox!

Ingredients
- 2 small / medium oranges
- 2 cups water
- 2 cups sugar
For best results, always weigh ingredients where a weight is provided
Instructions
- Wash and dry the blood oranges, then slice them into rounds, 4mm / ⅙ inch thick.
- Place the sugar and water into a wide pan then place the orange slices on top, in a single layer.
- Over medium heat, bring the mixture to a simmer, stirring gently to dissolve the sugar.
- Let the mixture simmer for around 40-60 minutes until the white pith of the oranges is translucent.
- Line a baking tray with baking paper, then place a wire cooling rack over the top. Rub just a little oil over the rack.
- Gently scoop the slices out of the syrup with a slotted spoon and place on the rack allowing them to cool, set and firm up for 24-48 hours.
To store
- 1: With baking paper between them in a mason jar or airtight container in the pantry. 2: Coat with caster / superfine sugar and store as above. 3: Store in the fridge in a preserving jar covered with the syrup.
- See notes to turn the remaining syrup into orange caramel.
Notes
- Candied orange slices will keep up to 3 months if stored correctly.
- If the pith is particularly thick or you decide to candy a more bitter citrus, like lemon, boil the slices in water for 1 minute first. Discard that water, then start the candying process. This will remove bitterness from the pith.
- As an added bonus, the sugar and water they cook in will turn into a thick orange flavoured syrup. To turn it into an orange caramel sauce, you’ll need to have 2/3 cup of this syrup left, if not just top up to ⅔ cup with a little more orange juice. Add ¼ cup (57g) butter, ⅔ cup thickened (heavy) cream and ¼ teaspoon salt. Stir over low heat whilst it comes back to the boil. Boil for 1-2 minutes, then cool slightly before storing in a preserving jar. Be very careful when handling and measuring out the syrup as it will be molten hot. Do not get it on your skin.
This post may contain affiliate links that earn me a small commission for my referral, at no extra cost to you. Thank you for supporting Sugar Salt Magic.


7 Comments on “Candied Orange Slices”
how long do these stay in the fridge?
If you store them per the directions in the post and make sure the seal is airtight, they can keep for up to 3 months.
I am planning to make these next week. If I am planning to do wedge slices of candied orange, should I cut them before or after candying them? Thank you
Hi Anna. Cut them before candying.
I love this recipe, I am making it for my family for Christmas Day and it’s so easy to make that my sister helped me and they were so yum
Such an amazing recipe
So wonderful to hear, Adele. Thanks so much for trying my recipe
Too thin
Need to be 1/4 “to stay intact