
I grew up with scones. Not Blood Orange Scones, mind you, but plain or sultana filled English scones. Broken open at the centre and topped with a dollop of jam and clotted cream.
Try the ever popular Lime Coconut Scones or these fragrant Earl Grey Scones too.
What is a scone?
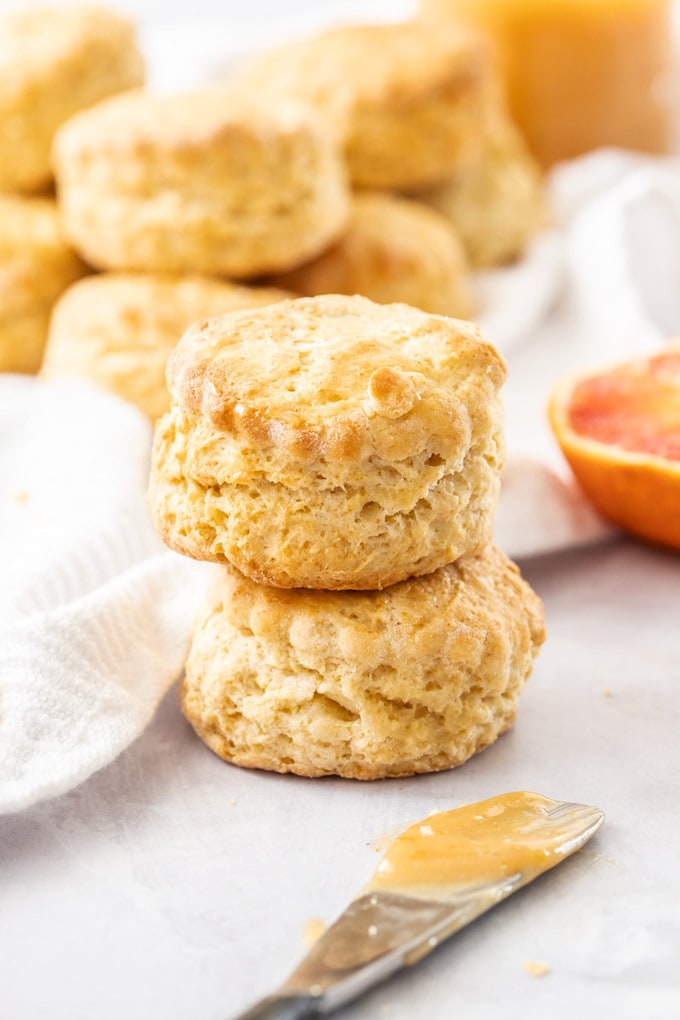
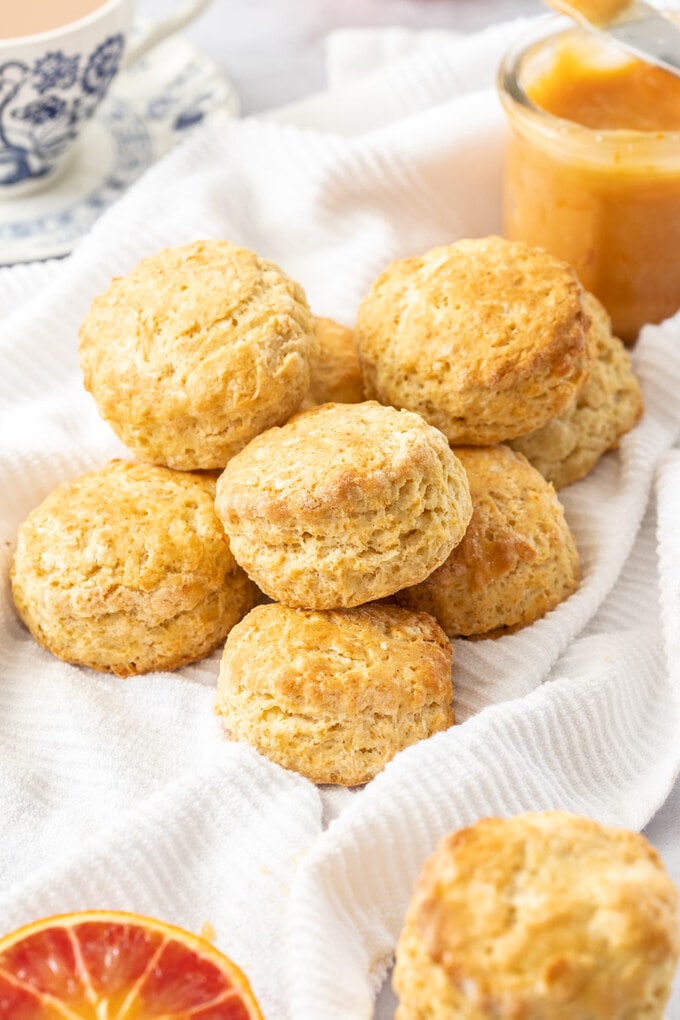
A scone is a British quick bread, made into a little single portion and normally eaten as a mid-morning or afternoon snack with tea. They are very lightly sweetened and have a soft, fluffy texture on the inside, while the outside has a light crust.
They are very closely related to what’s known in the US as a biscuit, the only real difference being the traditional scone uses milk while a traditional biscuit has buttermilk.
Ingredients For Scones
Traditional English scones are made with just 6 ingredients;
- flour
- sugar
- baking powder
- salt
- butter
- milk
They only have a little sugar, not enough to make them a dessert on their own as they rely more on their toppings to determine how sweet they are. These, as traditional scones should be, are eggless scones. While egg can both add richness but also a lighter texture, traditional scones should be eggless. It’s great actually since less ingredients mean easier to make.
How to make perfect scones
Creating perfect scones with a soft, fluffy inside and light crusty outside is incredibly simple.
- Mix the dry ingredients
Add the dry ingredients to a food processor and blitz to disperse everything evenly. - Add the butter
Add the butter and zest and process just long enough to cut the butter down into small pieces. You don’t want the butter to disappear. The mixture and the resulting dough should look a bit rough and lumpy. - Add the liquids
Tip the mixture into a bowl and add the liquids (in this case milk and blood orange juice) and mix with a fork to combine. - Pull the dough together and flatten out to about 1 inch thick
Just lightly pull the dough together with your hands and tip it out onto a lightly floured surface. Once it’s just holding together, flatten it out to about 1 inch thick. - Cut out rounds of dough
Do this with a floured round cookie cutter, then place them on a baking tray. - Bake until golden on the top and bottom
I use a food processor for convenience (aka impatience and maybe a little laziness).
The technically correct way is to use a pastry cutter, fork or knife (the latter being the way my mum always made them) to cut the butter into the flour. The process is literally called ‘cutting in’ and it’s done to create small pockets of fat that will give the scones slight layers and flakiness.
Whether you want to use my cheats method or the technically correct method, the most important part is making sure the butter does not melt in and disappear. There should still be small, flour-coated pieces of butter visible, meaning the resulting dough will look rough and not smooth. This is perfect.
Tips For The Best English Scones
- Mix the dry ingredients well first – this is to make sure everything is evenly dispersed
- Use cold butter and leave small lumps – these lumps help create pockets of steam whilst cooking which gives scones their flaky almost layered texture
- Don’t play with the dough too much – keeping the scone texture soft and flaky depends on the cold lumps of butter and glutens not developing which means not messing with the dough too much
- Gently press the dough out, using your hands or a rolling pin, until it’s about 1 inch thick
- Dip your cutter in flour. This ensures, the cutter cuts straight through the dough rather than press all the layers together. If the edges get flattened, it may inhibit the rise of your scones and they might rise unevenly (aka wonky scones) or not at all and you won’t get that classic crack through the centre.
- Don’t be tempted to add more flour or you’ll end up with dry scones. The dough should be slightly sticky and nice and soft
- Sitting them quite close together on the baking tray will result in the signature brown top and bottom, with a soft, white middle. Sitting them further apart is not wrong by any means and you will get a more defined crust on the outside this way.
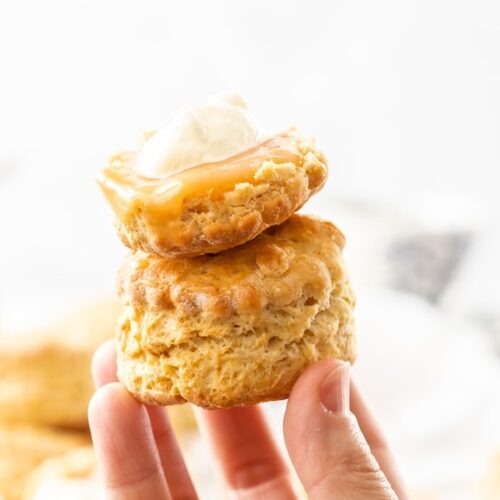
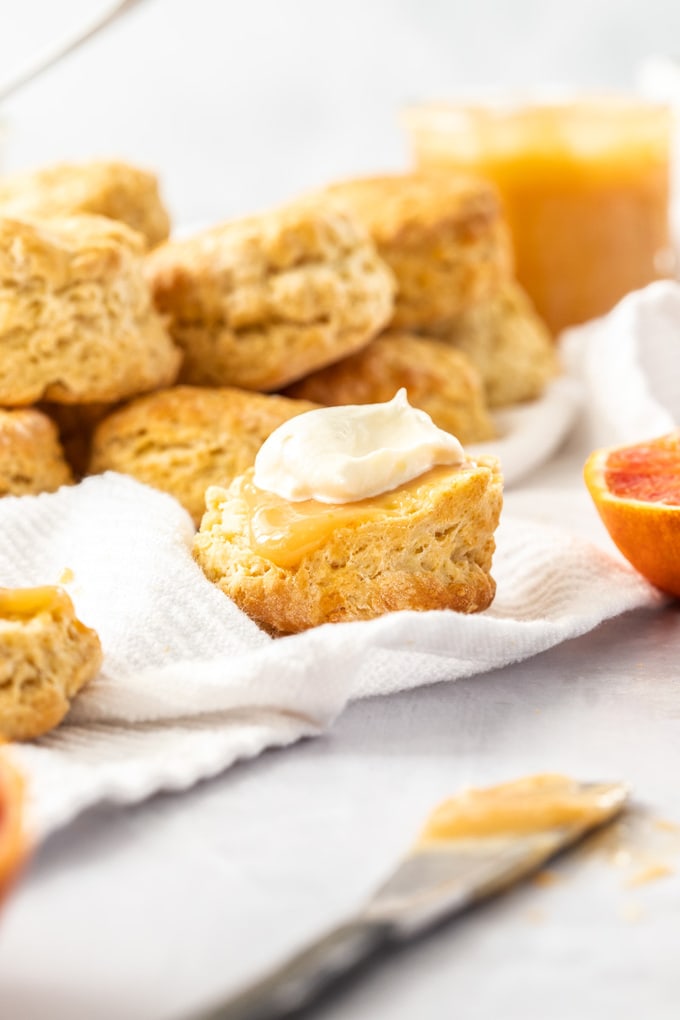
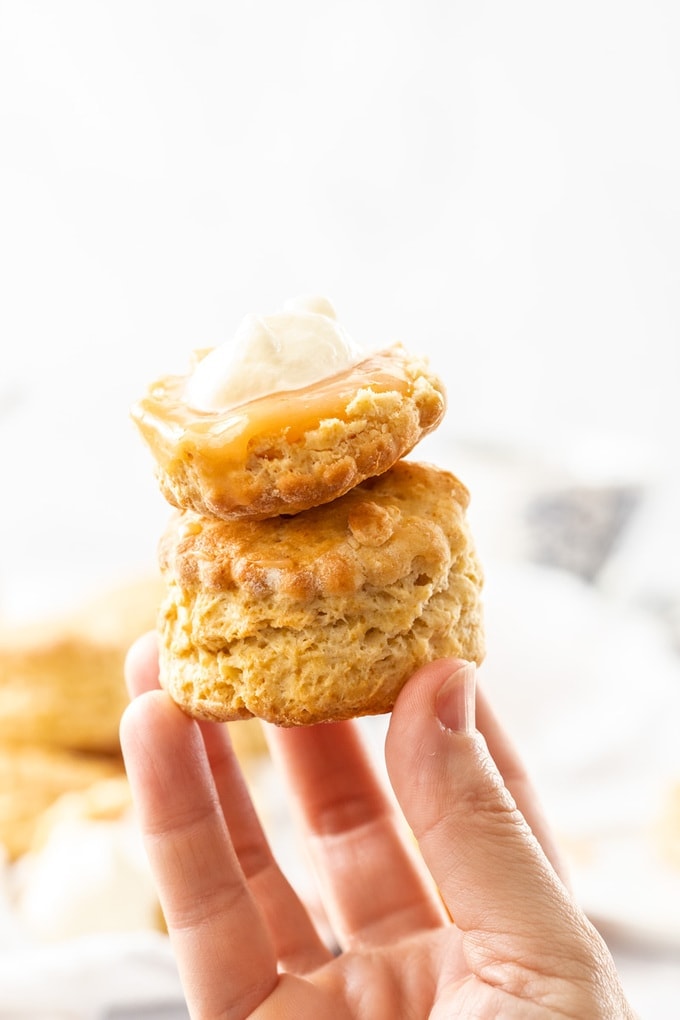
Since they aren’t super sweet, scones just like these Blood Orange Scones make the perfect morning or afternoon tea, just like the traditional version. You can top them with anything from marmalade, jam and compotes to one of my homemade curds like Blood Orange, Lemon or Passionfruit.
Traditional English scones are served with jam and clotted cream (or sometimes whipped cream) on the side and there is a traditional way to eat a scone.
You start by breaking it in half where the crack runs around the middle (although it is acceptable slice it). Then you top it with jam and cream (the Cornish way and my preference) or cream first, followed by jam (the Devon way). I adore traditions like this.
PIN IT:
Click to Pin this recipe for later!
Whichever way you want to top them and whatever you want to top them with, if you love orange, you’ll love these Blood Orange Scones. While the flavour is subtle, it will complement most toppings or you can increase the orange flavour by adding more zest.
Other recipes you’ll love
- Earl Grey Scones
- Blueberry White Chocolate Scones
- Orange Donuts with Pomegranate Icing
- Cranberry White Chocolate Scones
- Cheese and Herb Scones
- Chocolate Scones
Never Miss a Recipe!
Get the latest recipes straight to your inbox.

Ingredients
For the Scones
- 325 g plain (all-purp) flour (2 ½ cups / 11.4oz)
- ¼ cup icing (powdered / confectioners) sugar
- 3 ½ teaspoons baking powder
- ¼ teaspoon salt
- 75 g cold unsalted butter (¾ stick / 3oz)
- 1 tablespoon, packed blood orange zest
- ½ cup blood orange juice
- ½ cup whole (full cream) milk
For best results, always weigh ingredients where a weight is provided
Instructions
- Preheat oven to 200C / 400F / 180C fan forced. Line a large baking tray with baking paper.
- In a food processor, combine the flour, icing sugar, baking powder and salt, then process to disperse everything well.
- Add the butter and zest and process for about 20-30 seconds just until the butter is small lumps (don't blend it in completely). If you don't have a food processor, use a pastry cutter or knife to gradually cut the butter into the flour mix.
- Tip the mix into a bowl and gently mix through the milk and orange juice with a fork until you have a rough, sticky clumping dough.
- Turn the dough out into a lightly floured surface and gently pull together then flatten the dough into a disk about 1 inch high.
- Use a 2 inch circle cookie cutter to cut out rounds of dough and place them on the prepared baking tray. Brush with the 2 teaspoons of milk you put aside.
- Bake for 20-25 minutes until golden on top.
- Serve with Blood Orange Curd and cream
Notes
- I use a standard Australian 20ml tablespoon (4 teaspooons worldwide)
- For best results you should always weigh ingredients like flour and sugar. Kitchen scales are relatively cheap but if you can’t weigh the ingredients, use the spoon and level method (don’t scoop).
This post may contain affiliate links that earn me a small commission for my referral, at no extra cost to you. Thank you for supporting Sugar Salt Magic.


7 Comments on “Blood Orange Scones”
Easy to make and delicious! Thank you for this recipe!
Thanks so much Sarah. So happy you love them 🙂
Marie, orange is my favorite flavor for dessert and these scones look so soft, tender, and wonderful! So irresistible with the curd slathered on top!
Thanks so much Kelly 🙂
This is such a fabulous idea, Marie! I love scones and I love blood oranges = win win! Thanks so much for sharing.
Thanks Katherine, I agree 😀
Oh boy, I love scones, these sound amazing, so perfect with the blood orange curd from a couple days ago, I need!!!