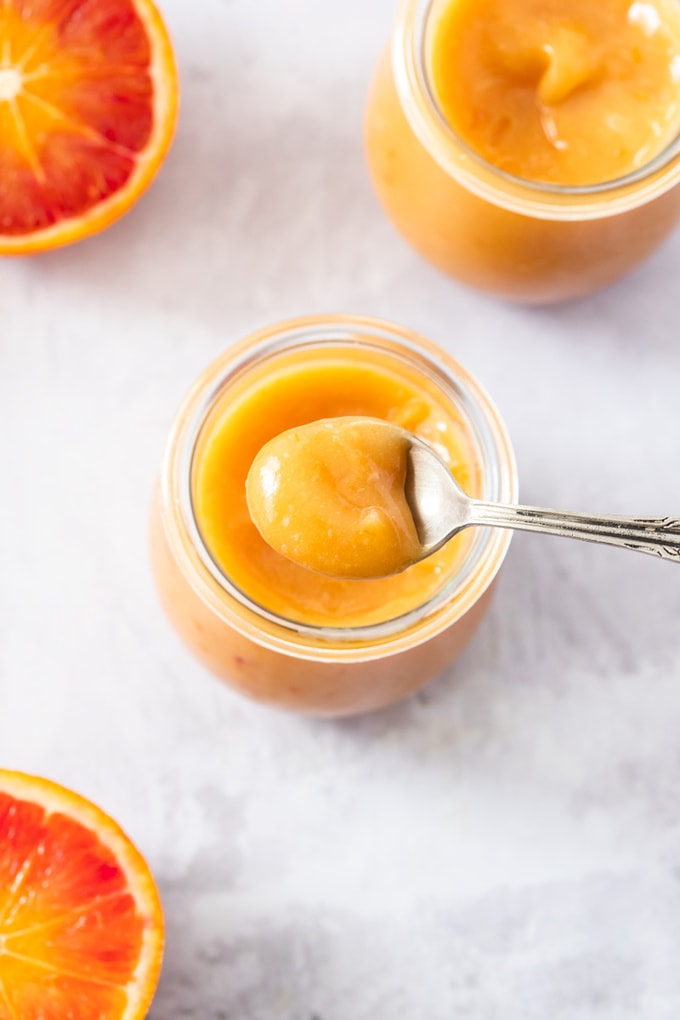
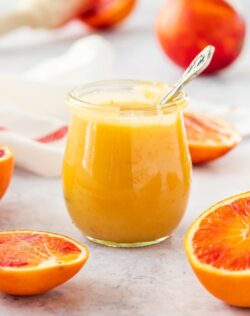
Easy to make, sweet, slightly tangy and bursting with flavour, Blood Orange Curd is like a little jar of sunshine. In fact, I have 2 jars of sunshine in my fridge right now.
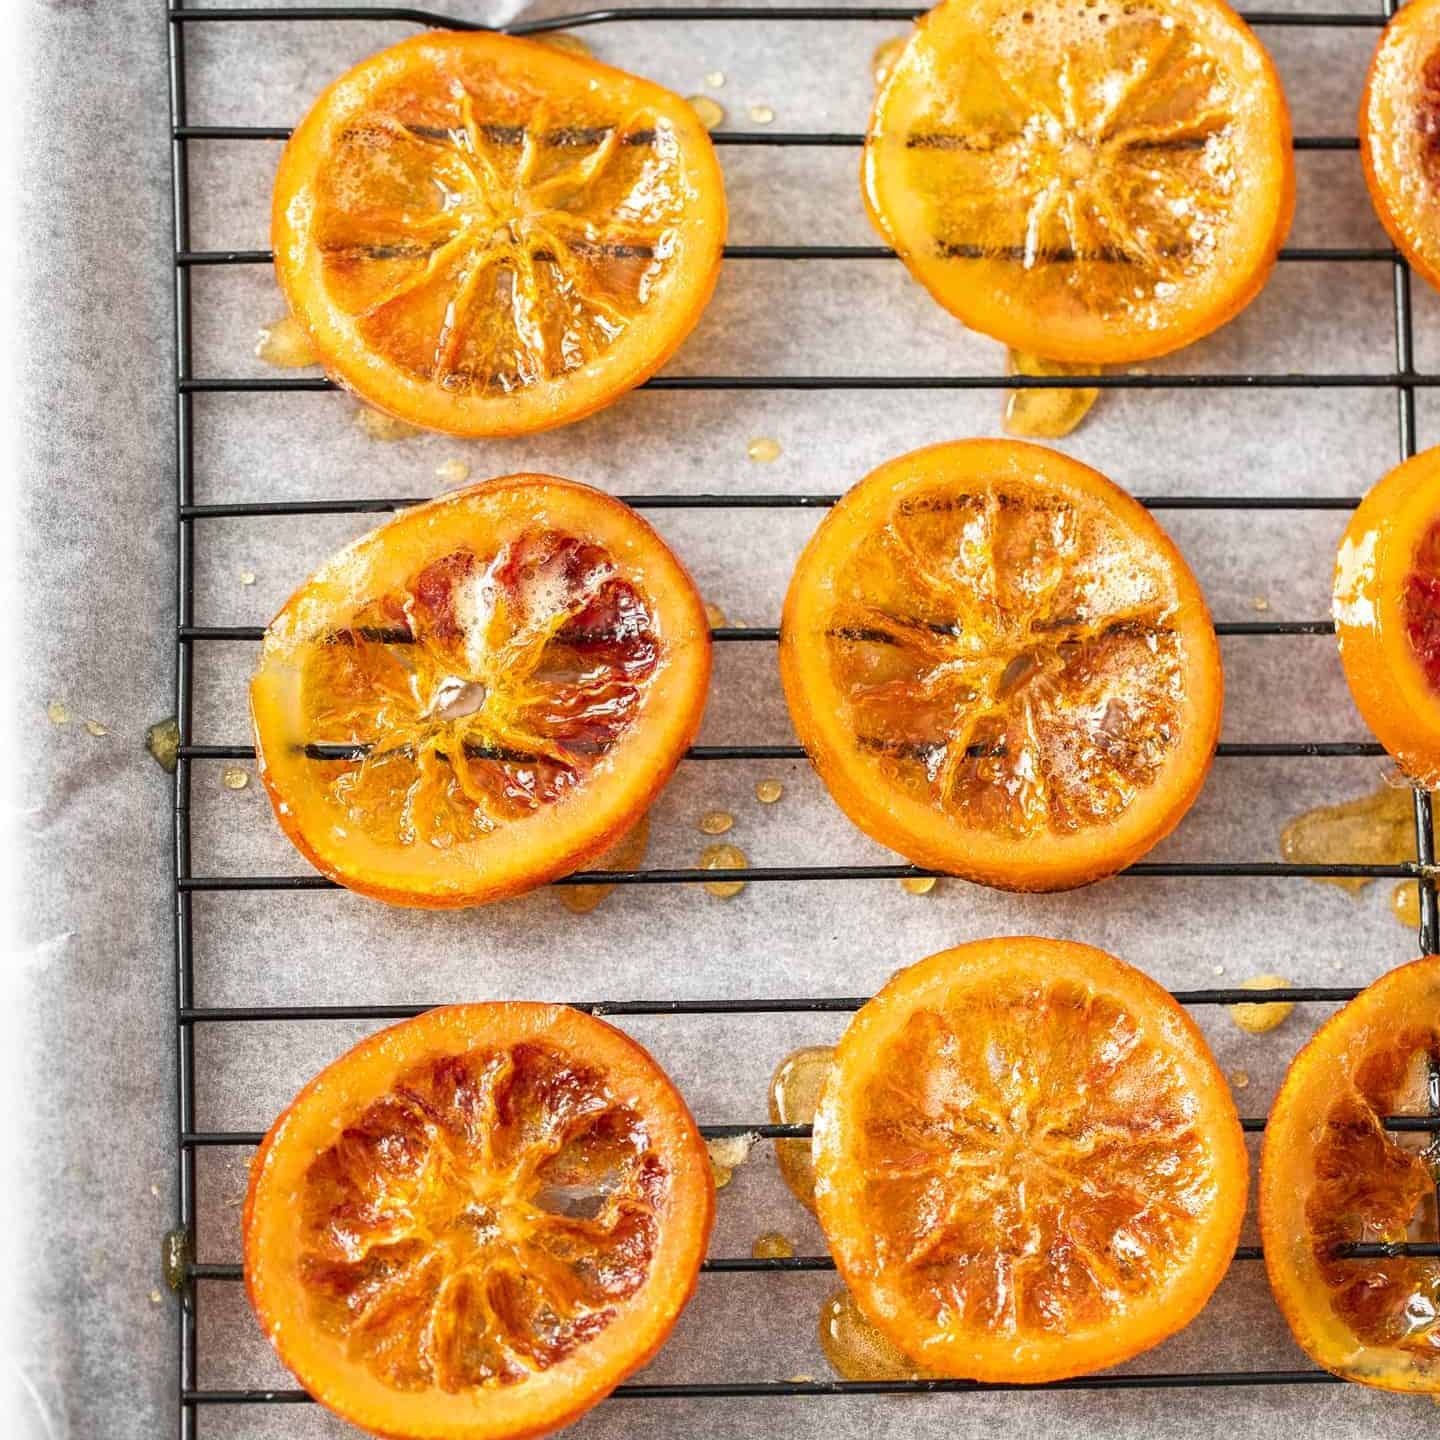
Love blood oranges as much as I do? You must try these candied blood orange slices.
Why you’ll love this recipe
This blood orange curd recipe is;
- bursting with flavour – there’s a secret to it’s intense flavour
- incredibly easy to make – no double boiler necessary
- versatile – use in everything from cakes to pancakes
- just a handful of ingredients
- less than 15 minutes
I adapted this blood orange curd recipe from my Homemade Lemon Curd recipe which is one of the most popular recipes on this blog.
It’s popular because it’s silky-smooth, flavourful and is super simple to make. No double boiler necessary – just low heat and good ingredients right in a saucepan.
This orange curd uses the same method with one slight difference – I reduce the orange juice first to get a concentrated juice. This intensifies the flavour. You can certainly make this without reducing and the orange curd will still be lovely but it won’t have such an intense flavour.
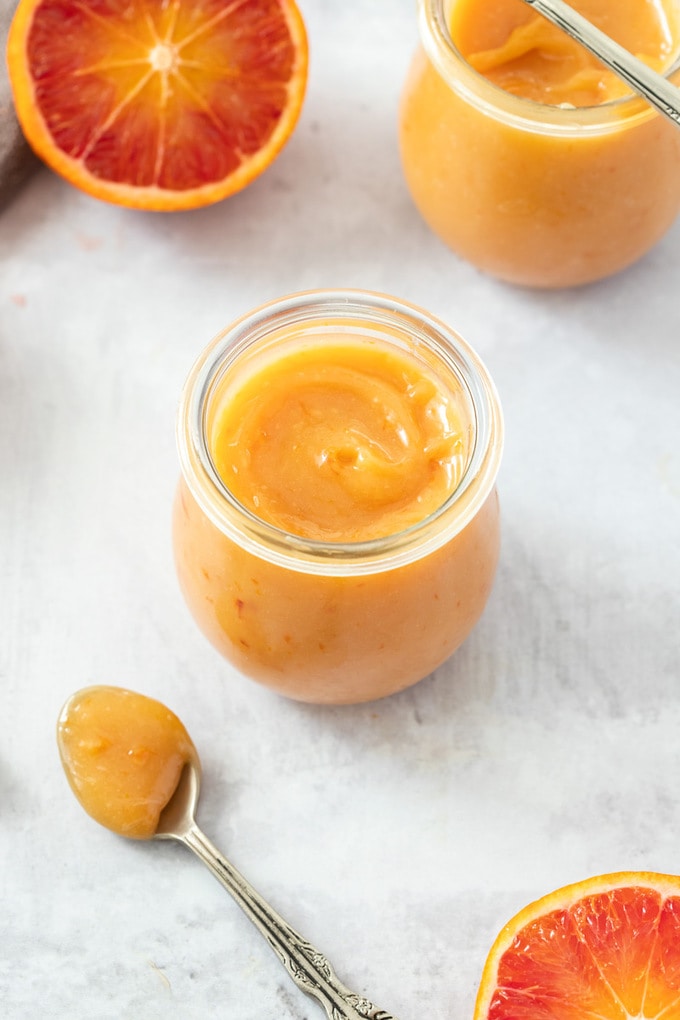
With such a short season, I’m always chomping at the bit for blood oranges to show up in stores. I’ve previously made this gorgeous Buttermilk Panna Cotta with Blood Orange Jelly which is also divine.
What is orange curd?
Orange curd is a thick, smooth citrus flavoured spread made with simple ingredients – eggs, sugar, orange juice and butter.
How to make orange curd
This method uses just low heat and a single saucepan to make this luscious curd.
- Start by reducing the orange juice to 1/2 a cup. This is an optional step to intensify the orange flavour. If you want to skip it, just use 1/2 cup of blood orange juice.
- Add sugar, eggs and blood orange zest and whisk over low heat until the sugar has dissolved. This should only take about 2 minutes.
- Start adding the butter, 3 cubes at a time and whisking until it is melted and fully dispersed.
- Once all the butter is added, continue to whisk and heat just until it’s thick enough to coat the back of a spoon (or 75C / 170F if using a thermometer)
Straight away, remove it from the heat and pour it into your sterilised preserving jars. I just adore these small Weck tulip jars.
How to store orange curd
Store the curd in airtight preserving jars, in the fridge for up to 1 month unopened. Once opened, use within 7-10 days.
Can you freeze orange curd
Yes, orange curd freezes well. For best results, thaw it in the fridge for 24 hours before use.
Blood Orange Curd Recipe Tips and Tricks
- Concentrate the orange juice first – to intensify the flavour. This is an optional step but well worth it to get a real burst of orange flavour.
- Whisk it well – before turning the heat on to make sure all ingredients are well distributed.
- Keep the heat low – You don’t need to set up a double boiler, so long as you use a heavy-based saucepan over the lowest heat. The low heat stops the eggs from scrambling
- Make sure the sugar is dissolved – before beginning to add the butter
- Add the butter slowly – just 2-3 cubes at a time, whisking constantly to incorporate then adding more. If you add too much butter at once, your mixture won’t emulsify which is a very important component of making fruit curds.
- It’s done when it coats the back of a spoon and you can draw a line through it that doesn’t run. If you prefer using a thermometer, aim for 75C / 170F.
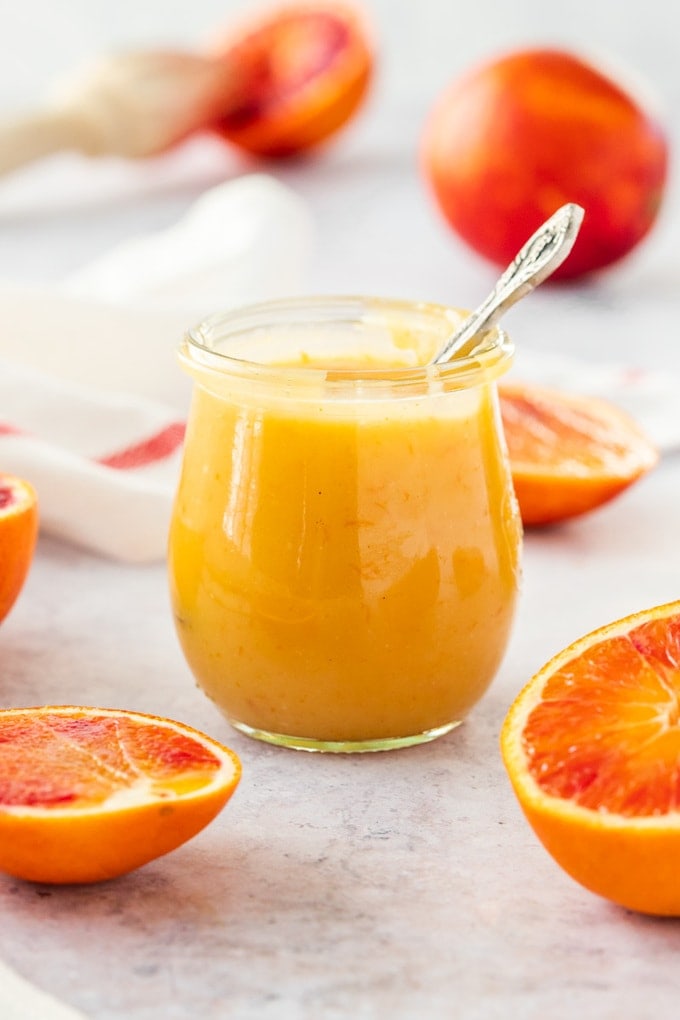
What Colour Should Blood Orange Curd Be?
I wanted to add this note about the colour of blood orange curd as it will depend on a couple of factors
- Egg yolks – as with any fruit curd, the colour of your egg yolks will affect the colour of the curd. I always use free range eggs, which have a more orange hue than their cage counterparts.
- The colour of the oranges – Blood oranges are known for having a distinctive red hue but sometimes, they will just be very dark orange. This curd can range anywhere from the colour of orange rind to a peach colour depending on how much red is in the oranges. Oranges with a darker colour on the outside, most often are darker on the inside as well.
Troubleshooting orange/lemon curd
While researching and testing for this recipe, I came across comments like – My curd is too runny. My curd is not thickening. Why is my curd grainy? So, I decided to make a little troubleshooting guide.
- Curd too runny – you may have added too much liquid, although if you stick to the ratios in this recipe, that won’t be a problem. In that case, it may be that you have not cooked the curd quite long enough. The fix? You can actually put it back on the stove and cook it a little longer until it coats the back of a spoon and you can draw a line through it that doesn’t run.
- Curd is not thickening – remembering that curd is not meant to be thick like a set custard, it may be that it wasn’t cooked long enough (see above). If you still want it thicker, try adding in another egg yolk (making sure to cook it through as per the instructions).
- Why is my curd grainy? In my research, I felt sorry for the cooks who were saying my curd turned grainy after refrigeration and, despite them knowing it was not due to the eggs scrambling, the only responses they were getting were “sounds like your eggs scrambled”.
- My answer to this? Not necessarily true. You will know if your eggs have scrambled. You can see it in the warm curd as you pour it into your jars and they don’t scramble by themselves in the fridge overnight.
- The sciency solution: It’s likely the graininess is caused by the breakdown of the emulsification – ie: the fats (in this case butter) and liquids (orange juice here) not emulsifying properly or that emulsification breaking. This can be caused by not whisking and agitating the mixture enough or by overheating or a combo of both. In any case, I tested this out and it can be fixed. Yay!
How to fix grainy curd:
Add one egg yolk and 1 tablespoon of the juice (in this recipe, orange juice) to a saucepan and whisk them together fully. Turn the heat on the lowest possible setting. Add one tablespoon of your cold curd back to the pan. Whisk it in well. Continue to do this until all the curd is added back. Now heat it to 75C / 170F on a thermometer or to the point that the hot curd will coat the back of the spoon again. Pour it back into your jars and refrigerate again.
How to use orange curd
- over pancakes or waffles for breakfast
- spread on toast, crumpets or scones
- baked into a cake like this Lemon Vanilla Butter Cake
- inside cupcakes like these Fluffy Lemon Cupcakes
- in tarts like this Passionfruit Tart
- as a cheesecake topping
- swirled through buttercream
PIN IT:
Click to Pin this recipe for later!
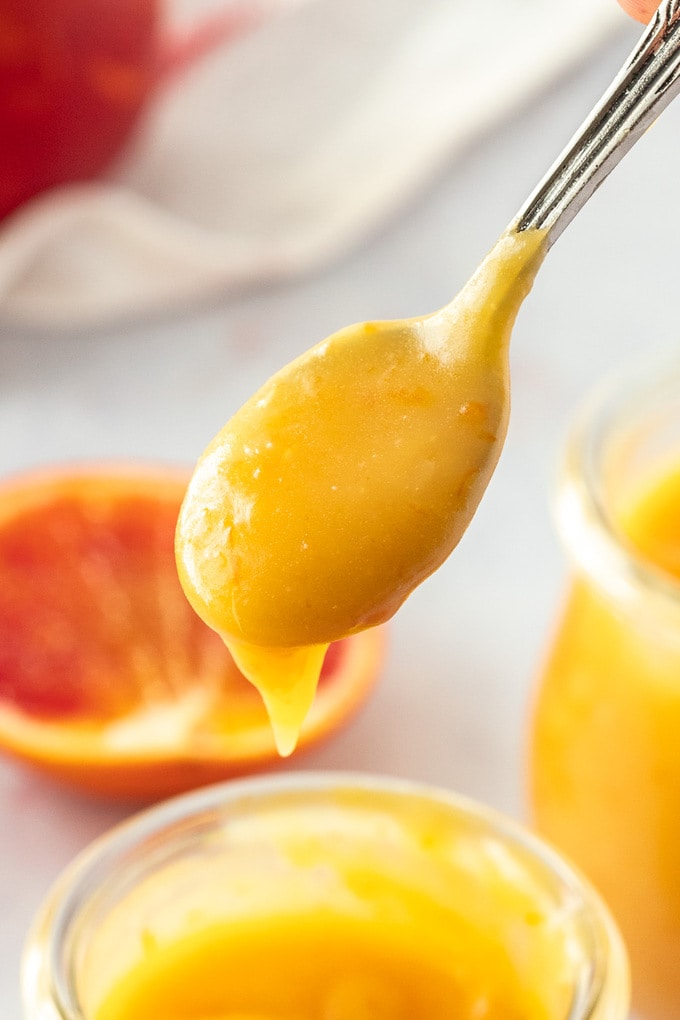
This luscious, smooth Blood Orange Curd can be the tangy, sweet and rich addition to so many treats and being that it keeps so well in the fridge and takes around 15 minutes to make, why not take advantage of the jewel-like blood oranges when they show up.
If they aren’t in season where you are, there’s no need to wait, just use regular oranges, lemons, limes, grapefruit – whatever takes your fancy.
More fruit curd recipes
- Blood Orange Loaf Cake
- Lime Curd
- Homemade Lemon Curd
- Creamy Easy Pineapple Curd
- Homemade Passionfruit Curd
- Homemade Blackberry Curd
Never Miss a Recipe!
Get the latest recipes straight to your inbox!
Ingredients
MAKES ABOUT 1 1/3 CUPS
- 2 large eggs
- 2 egg yolks
- 150 g caster (superfine) sugar (¾ cup / 5.3oz)
- 1 cup fresh blood orange juice (notes)
- 1 tablespoon blood orange zest
- 150 g unsalted butter, cubed and cold
For best results, always weigh ingredients where a weight is provided
Instructions
- Pour the orange juice into a heavy based saucepan and bring to a simmer over low-medium heat. Let it simmer for 6-8 minutes until it has reduced to half a cup. (See notes if you want to skip this step)
- Take the juice away from the heat and add the sugar, zest then eggs and egg yolks, – in that order. Whisk really well until everything is combined. Place it back over very low heat and whisk until the sugar has dissolved.
- Add the cold butter a couple of pieces at a time, whisking until each addition is melted and incorporated before adding the next.
- Continue cooking the mixture for 4-5 minutes until it is thickened and coats the back of a spoon or leaves a thick coating on the side of the pan when you tilt it. If you use a thermometer, the temperature should be 75C / 170F.
- Pour into sterilised conserve jars and store in the fridge.
Notes
- This recipe makes approximately 1 1/3 cups of curd.
- If you prefer to skip step one, only use 1/2 cup of juice. Keep in mind the flavour won’t be quite as intense.
- This curd will keep for up to 3 weeks in the fridge, unopened. Once opened use within a week. It will also freeze well.
- To sterilise the jars, boil them in a saucepan of boiling water for 10 minutes then set aside to drain, dry and cool. The second way is to wash the jars well with soapy water, rinse and then place them in an oven at 120C / 250F for 10 minutes. Let them cool.
- You can swap the butter for a vegetable based spread if you would like to make this curd dairy free.
- You can also use regular oranges, lemons, limes or grapefruit.
This post may contain affiliate links that earn me a small commission for my referral, at no extra cost to you. Thank you for supporting Sugar Salt Magic.



14 Comments on “Blood Orange Curd”
A good recipe. I’m lucky enough to have a mature blood orange tree which is prolific. The resulting curd is very intensely flavored. I’m going to have a go with Meyer lemons soon. Double batch reducing a/ the moment. Thanks very much.
Oh wow! I wish I had your blood orange tree. So happy you loved this.
I can’t wait to try your recipe. I tried one similar already. That was before I found blood oranges in my store, lol. The part I tried that was similar was reducing the juice. That recipe had me using reg oranges AND cuties. It also called for triple sec but it did say that was “optional”. Well, after wasting all of my ingredients I’d say the triple sec should have been an actual ingredient because what I landed out with was a very sweet, light lemon curd. The ingredient list did call for a very small amount of lemon juice, like a tsp. Had I known it would have overpowered the 2 different kinds of reduced oranges I wouldn’t have added it. Down the drain it went. I have a few blood oranges to use up so I’m really hoping this recipe is successful. I’ll be back to let you know, lol…
I’m positive you’ll love it.
had some leftover lemons to use so made this as a lemon curd and did step 1 and it is amazing!
That would really intensify that gorgeous lemon flavour. I do have a lemon curd recipe too that you might be interested in.
made some last year that I converted from lemon juice. The hint to reduce the blood orange juice is AMAZING. The taste is intense. When the oranges are available again I’m going to try larger quantity and reduce it down as directed. May blow my mind with the flavor, I’ll keep you informed. BTW I squeezed and froze the juice from last season but forgot to keep the rind, next time.
So glad you love it Kym
Thank you for the troubleshooting guide! I stepped away from my curd for a moment and it overheated and separated. I was able to use your instructions for fixing grainy curd and it worked great! I had been looking for a blood orange curd recipe and went with yours specifically because of the troubleshooting section. Thanks for saving my afternoon!
Thank you so much for the thoughtful feedback, Kelly. I’m so, so happy my tips were able to save your curd.
It tastes amazing but im worried its too loose 🙁 it was definitely coating the side of the pan and when i ran my finger across the coating on the spoon, the streak stayed separated (hopefully I explained that well lol). Its still warm but so im hoping it will thicken up more once it cools
It will definitely thicken as it cools. Homemade fruit curds tend to be looser than regular peanut butter for instance, but certainly still spreadable. Enjoy.
Thanks for such a comprehensive post! I made orange curd once and I think I scrambled it lol. I need to try it again as this sounds so delicious on everything 🙂
Sure is. Thanks so much Trang