



Fun and simple to make, these Biscoff truffles are only 3 ingredients – Biscoff spread, Biscoff cookies and white chocolate – which morph into a sweet and delicious treat.
Biscoff is such a unique flavour that’s comforting and warming and super addictive. These truffles have the softness of Lotus Biscoff spread with the crispy bits of Lotus Biscoff cookies inside, and a smooth and creamy Biscoff-spiked chocolate coating that I adapted from my Biscoff rocky road recipe.
It’s no secret I love creating a good Biscoff dessert, but I also love creating all kinds of giftable candy!
❤️ Why you’ll love them
- Quick & no‑bake: Ready in ~30 minutes, minimal cleanup.
- 3‑ingredient magic: Uses pantry staples.
- Perfect for gifts: Makes 24 bite‑sized candies.
- Fun and easy: Great for getting the kids in the kitchen.
- Rich and delicious with the comforting flavour of cookie butter.
- They keep well: Another reason they’re great for gifting.

Never Miss a Recipe!
Get the latest recipes straight to your inbox.
Ingredients you’ll need
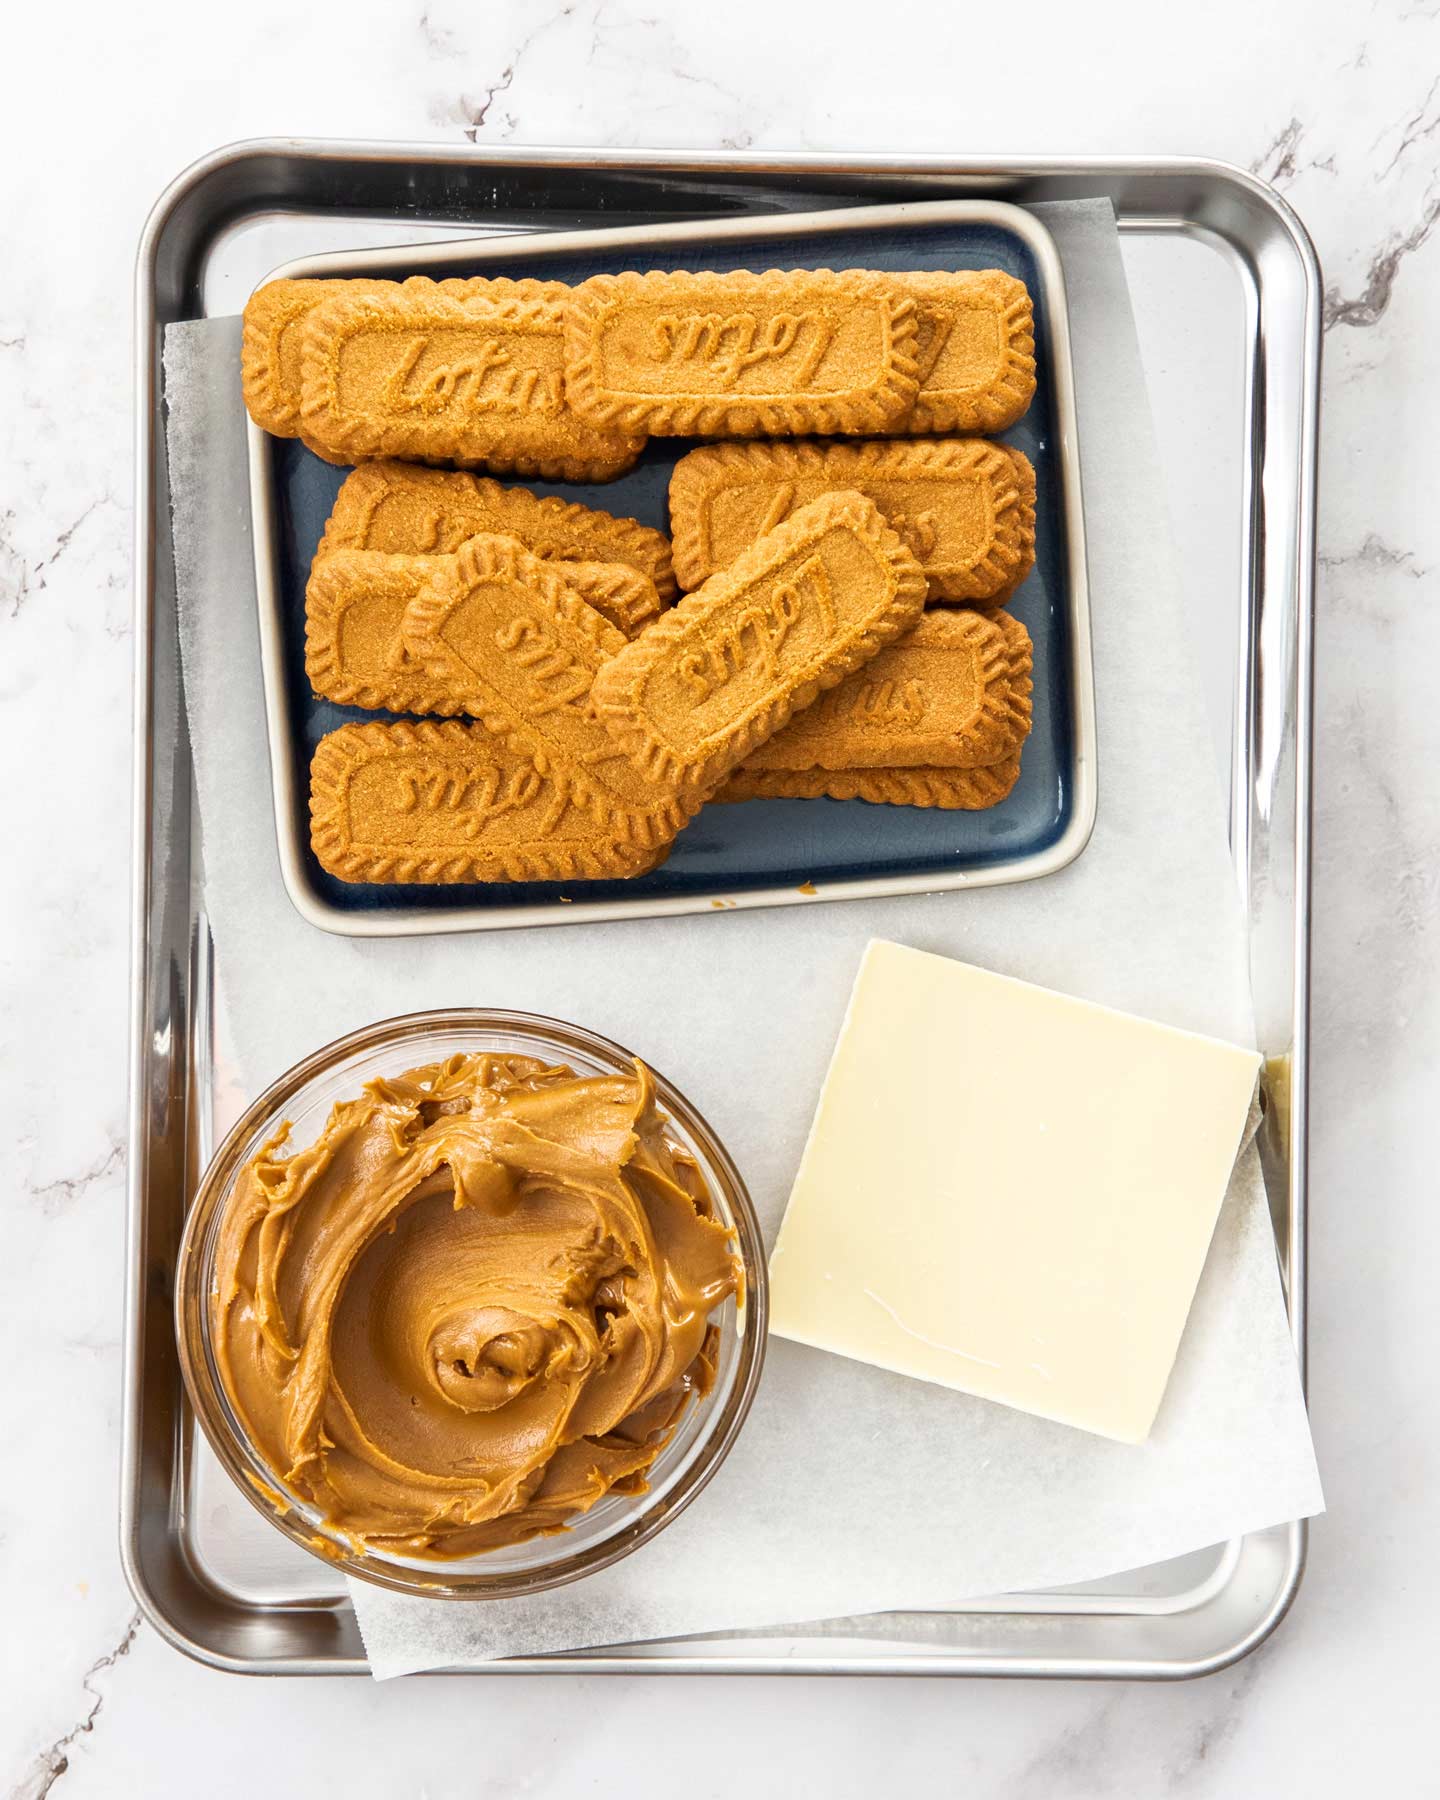
Detailed quantities and instructions in the recipe card below.
All you need are 3 ingredients – Lotus Biscoff spread, Lotus Biscoff cookies and good quality white chocolate.
Biscoff spread is a type of cookie butter with the flavour or speculoos. Cookie butters are readily available in the US and Biscoff is now available almost everywhere. It’s a lovely flavour of spice like cinnamon and nutmeg combined with caramel. You can use any cookie butter in it’s place or even peanut butter if you want to change up the flavour.
The Biscoff cookies can be swapped for other speculoos cookies or even gingersnap cookies if you prefer.
For the white chocolate, I love to use Lindt but any good quality one that melts nicely will make coating the truffles easier. I find some white chocolate chips don’t melt as well as others so make sure you get the right ones for melting if using chips.
How to make Biscoff Truffles (step-by-step)
The steps to making these biscoff cookie balls are all very easy though I really suggest not skipping any chilling time. The filling is soft and can melt in your hands, so make sure to chill where recommended and work quickly if you can.
Detailed quantities and instructions in the recipe card below.
1. Make the Biscoff truffle filling
Start by blending cookies in a blender or food processor to fine crumbs. Add Biscoff spread and blend agian.

Add melted white chocolate and mix it all together (or you can do that in the food processor as well).

2. Shape the truffles
Chill the truffle filling until it’s firm enough to scoop. Then scoop/roll into balls.

3. Coat the Biscoff balls
First, combine melted white chocolate and Biscoff spread. Now dunk your balls of Biscoff filling into the chocolate coating and use 2 forks to help coat them and let any excess drip off.


4. Chill to set
Place the coated Biscoff truffles onto a baking tray lined with baking paper. Decorate with white chocolate drizzle or Biscoff cookie crumbs and then chill for 2-3 hours until firm.

These no bake Biscoff truffles are so easy to make and your whole family will be clamouring to get to them so why not make a double batch?
Tips and tricks
- Make space in the freezer first: While chilling in the freezer isn’t absolutely necessary, it does speed things up so make some room in the freezer first. Or you can double or triple the chill time and just use the fridge.
- Don’t skip chilling: The filling for these truffles is quite soft and room temperature and the warmth from your hands will soften them too so don’t skip the recommended chilling time.
- Wash your hands: If you notice the balls have a rough surface as you roll them, just give your hands a wash and they’ll be perfectly smooth again. By the time they’re coated with chocolate though, you won’t notice the rough finish.
- Reheat the chocolate if needed: As you’re coating the balls of Biscoff filling, the chocolate coating may begin to cool and firm up making it harder to use. You can reheat it slightly but don’t let it get to hot or it will melt the balls as you’re coating them.

Variations
- Cheesecake style: Try swapping half of the Biscoff spread or the Biscoff biscuits for cream cheese or mascarpone for a cheesecake inspired Biscoff truffle and a little tang.
- Chocolate: Try dark chocolate or milk chocolate for the coating.
- Add more spices: Mix in a pinch of cinnamon or nutmeg for extra warmth. This option is great if you do try the cream cheese or mascarpone option.
Yield and storage
This recipe makes 24 truffles.
Since these Biscoff truffles contain only shelf stable ingredients, I would suggest they’ll keep very well even up to 4 weeks stored in the fridge in an airtight container.
They also freeze well. Freeze in an airtight container ready for you to take as you desire them.
FAQ’s
Yes. Lotus biscoff biscuits and spread are both vegan so you’ll just need to change the chocolate here. Use a vegan white chocolate or swap to any vegan chocolate you like.
The chocolate will soften at room temperature, even more so if it’s a warm day so they’re best stored in the fridge or at least somewhere cool. That said, they’ll be fine out of the fridge for a couple of hours.
Yes, these Lotus Biscoff truffles freeze well. Freeze them in an airtight container.
More recipes you’ll love




If you made this Biscoff truffles recipe,
be sure to leave a ⭐⭐⭐⭐⭐ rating below. Thank you!
Hungry for more?
- Subscribe via Email, Facebook, Pinterest and Instagram.
- Add Sugar Salt Magic as a Google Preferred Source.

Ingredients
BISCOFF FILLING
- 100 g white chocolate, melted (3 ½oz)
- 275 g biscoff spread (1 cup / 9 ¾oz)
- 200 g biscoff biscuits / cookies (26 cookies / 7oz)
BISCOFF CHOCOLATE COATING
- 200 g white chocolate (1 cup / 7oz)
- ¼ cup Biscoff spread (70g / 2 ½oz)
- 50 g white chocolate extra for drizzle (1 ¾oz)
For best results, always weigh ingredients where a weight is provided
Equipment
- food processor / blender
- baking sheet / plate
- microwave safe bowl
Instructions
- BISCOFF FILLING:Melt the 100g of white chocolate in a microwave-safe bowl in the microwave, in 30 second intervals, stirring well between each.
- Use a food processor or blender to process the cookies to very fine crumbs. Add the Biscoff spread and 100g of melted chocolate and blend until it forms a paste.
- Pour into a wide, shallow dish and chill in the freezer for 20-30 minutes (time will depend on how warm the mixture got in the processor). Chill until scoopable.
- Use a very small cookie scoop to scoop balls (approx 1 tablespoon) of the filling and roll to a smooth ball. Place the balls on a plate or baking tray and freeze for 1 hour.
- COATING THE TRUFFLES:Melt the remaining chocolate just like in step 1. Transfer 50g to a small ziplock bag and set aside. Add the extra Biscoff spread to the larger portion and mix to combine.
- Use two forks to dip the balls into the Biscoff chocolate, let the excess drip off, then set onto a paper lined baking sheet. Reheat the chocolate mixture if needed to keep it fluid but not too hot or it will melt the truffle filling while you’re dipping.
- Warm the extra melted white chocolate, in the ziplock bag, again if needed. Push it into one corner and cut a tiny bit of the tip away. Drizzle lines of chocolate over the top of the truffles. You can also decorate with crushed Biscoff cookies or chocolate sprinkles.
- Place the truffles into the fridge to chill for 2-3 hour until firm.
- Please take a moment to leave a comment & rating. It's appreciated and so helpful.
Notes
- DECORATING: I’ve used Biscoff cookie crumbs, white chocolate and chocolate sprinkles for my decoration. You can used melted dark chocolate too.
- STORAGE: Biscoff cookie truffles will keep for 3-4 weeks in the fridge in an airtight container. They can also be frozen for up to 3 months.
- GIFTING: Wrap a few truffles up in cellophane and tie with some ribbon for a cute gift.
This post may contain affiliate links that earn me a small commission for my referral, at no extra cost to you. Thank you for supporting Sugar Salt Magic.


2 Comments on “Biscoff Truffles”
A great recipe for Christmas gifts for friends and family.
So happy you love them, Edna.