


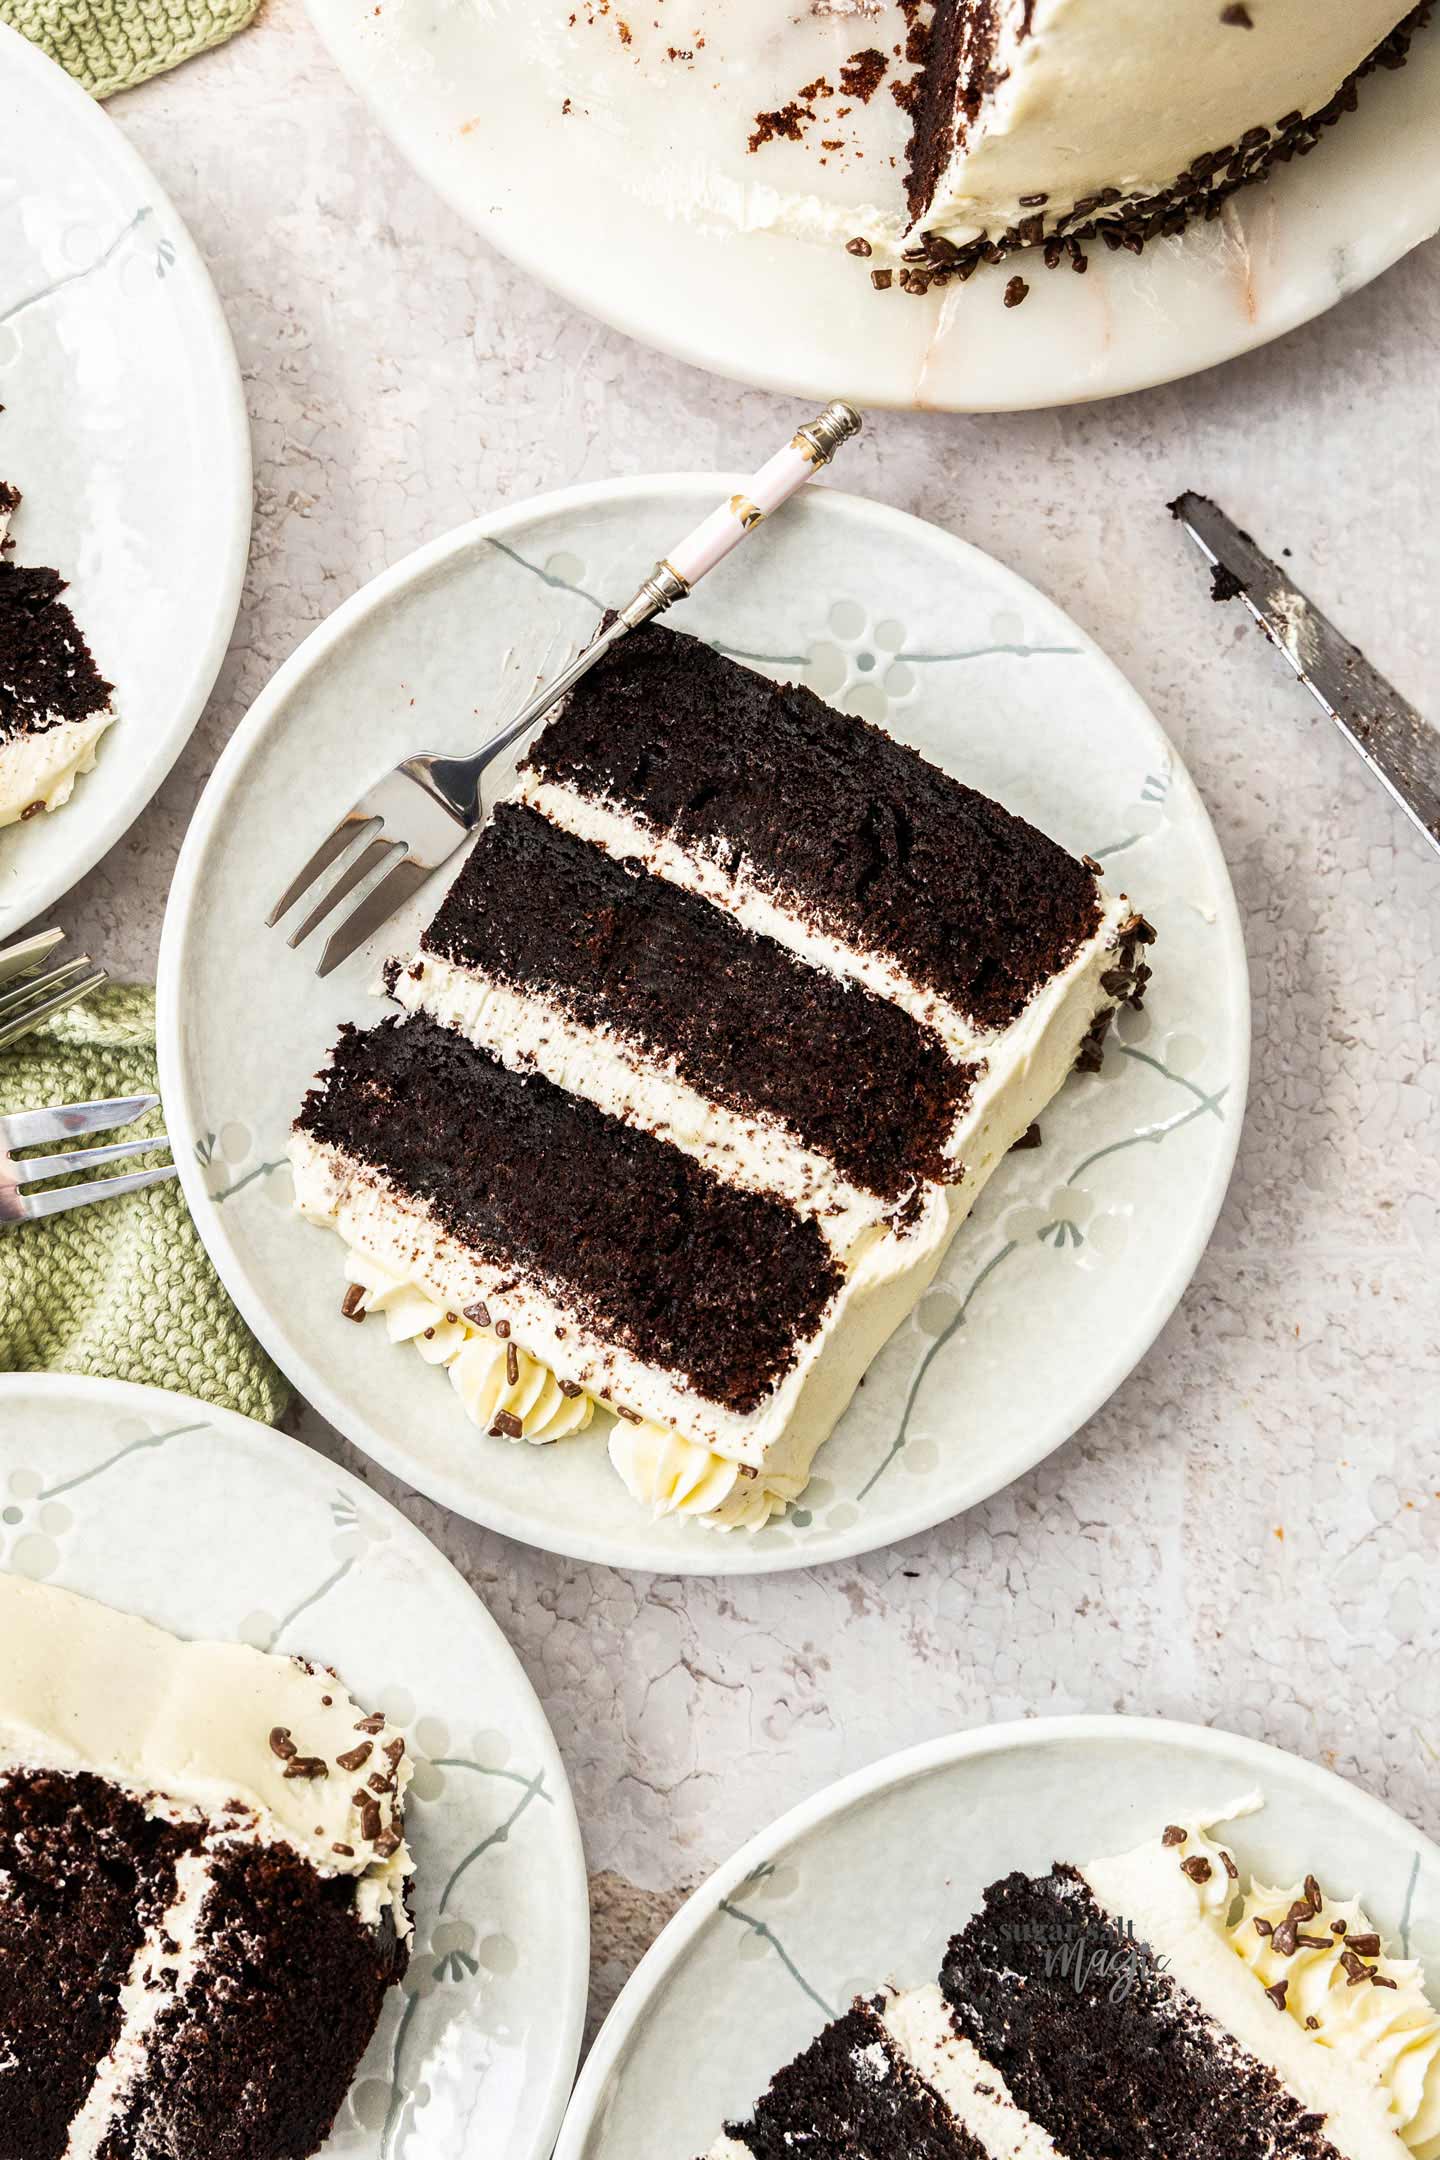
What could be better than rich chocolate cake and vanilla frosting?! Also known as black and white cake, it’s scrumptious and totally decadent. Three slightly fudgy layers of the best chocolate cake are filled and topped with a very simple whipped vanilla buttercream.
It starts with the best chocolate cake recipe – it’s my go-to for birthdays, truly delicious and ridiculously easy to make. You can also see it turned into this Oreo chocolate cake and this salted caramel chocolate cake. Perfect for a birthday, Mothers Day or any celebration, you can decorate it however you like.

Never Miss a Recipe!
Get the latest recipes straight to your inbox.
Ingredients & substitutions
All the ingredients in this chocolate and vanilla cake are fairly basic baking ingredients. Flour, sugar, eggs and cocoa, for instance. A few are worth elaborating on.

Jump to the recipe card for full ingredient quantities and instructions.
- Cocoa: Using Dutch process cocoa powder is best here.
- Instant coffee granules don’t give any coffee flavour here but it does magically intensify the chocolate flavour.
- Oil is used in the cake to keep it moist and fudgy.
- Buttermilk is used in the cake to keep it tender and moist as well.
- Baking powder and baking soda are both used in this cake but make sure not to mix up the quantities as they both do a very different job.
- Thickened cream (aka heavy cream) or even whipping cream are used in the frosting to make it lighter in texture.
How to make black and white cake
This cake is truly very easy to make. If you aren’t great at frosting cakes, don’t worry, neither am I. Just spread it on as neatly as you can or leave it more rough to give it a rustic look. You can just pipe between the layers which gives a lovely effect too like my Oreo chocolate cake and this salted caramel chocolate cake.
Jump to the recipe card for full ingredient quantities and instructions.
1. The dry ingredients
In a very large bowl, sift together the flour, cocoa, baking powder and baking soda. Then whisk in the sugar and salt.

2. Add the wet ingredients
Now, to a well in the centre of the flour mixture, add hot coffee, buttermilk, oil, eggs and vanilla. Give it a stir with a spatula, then mix with an electric mixer for 1 minute.

3. Portion and bake
Pour the chocolate cake batter evenly between 3x 8 inch round cake pans that have been greased and dusted with cocoa. Bake for 30-35 minutes until a toothpick comes out with just a crumb or two attached (but no wet batter).

4. Flatten the cakes
Sounds weird but one of the tips to getting the slightly fudgy texture in these cakes is to flatten the domes a little. The cakes will dome up as they bake and as soon as you remove them from the oven while they’re still hot, use another cake pan to press down lightly on top. You’re just looking to flatten the dome a little so that the cakes can sit flat when stacked. Don’t flatten them right down to the height of the side edge of the cake or the cakes will just be way too dense.
5. Whip the butter
The buttercream for this chocolate cake is a whipped vanilla buttercream. It gets very airy, creamy and light. I find it best to use a stand mixer for this as you’ll need to beat the butter for quite a while to get it really pale and that whipped consistency.
Start by beating the butter and just ½ cup of the icing sugar for 4-5 minutes until it’s looking really creamy and pale. Make sure to scrape down the sides of the bowl every so often.

6. Add the sugar
Add the vanilla and another half of the remaining sugar and beat on low until incorporated. Next, add the rest of the sugar bit by bit so that it doesn’t create a sugar cloud in your kitchen with the mixer still on low. Turn it up to medium for the next 2 minutes.

7. Add the cream
Finally, add the cream and beat on low to incorporate, then beat on medium for a further 2 minutes.

8. Assemble the cake
Now, it’s just a matter of layering it all up. Place a cake on a cake plate, flat side down and spread over about ¾ cup of the whipped vanilla buttercream. Repeat that process for a second layer. Now, add the last layer of cake, flat side up and spread most of the remaining buttercream over the top and around the sides.
I reserve about ½ cup of the frosting to pipe some pretty stars on top but other than that, all the buttecream is just spread over as neatly as I can get it.
Variations
You can change up this chocolate cake recipe in so many ways just by changing the buttercream. You’ll get amazing chocolate flavor from the cake, then use one of these buttercreams to change things up.
Tips and tricks
This chocolate cake and vanilla frosting is fairly simple to make but it’s worth keeping a few key baking tips in mind;
- Weigh the flour and cocoa powder. This is so important as even a little bit too much flour can result in a dry cake. Too much cocoa and you might find it too sticky. Kitchen scales are so important when baking. They’re cheap and will last your forever.
- Don’t overmix the batter. Just beat it for the 1 minute once everything is added and leave it at that. Longer and the cake may turn out tough.
- So the cakes bake evenly in the same time, use a kitchen scale to weigh the batter into the pans.
- Make sure your butter is softened but not so soft that it just turns to grease between your fingers. Not soft enough and it will be very hard to whip. Too soft and the buttercream may not have a good spreadable consistency.
- Let the cakes cool completely before frosting or the buttercream will melt.
Storage
Store your chocolate and vanilla cake in a large airtight container for 4-5 days in the fridge. It’s best eaten at room temperature though so bring it out of the fridge an hour before serving.
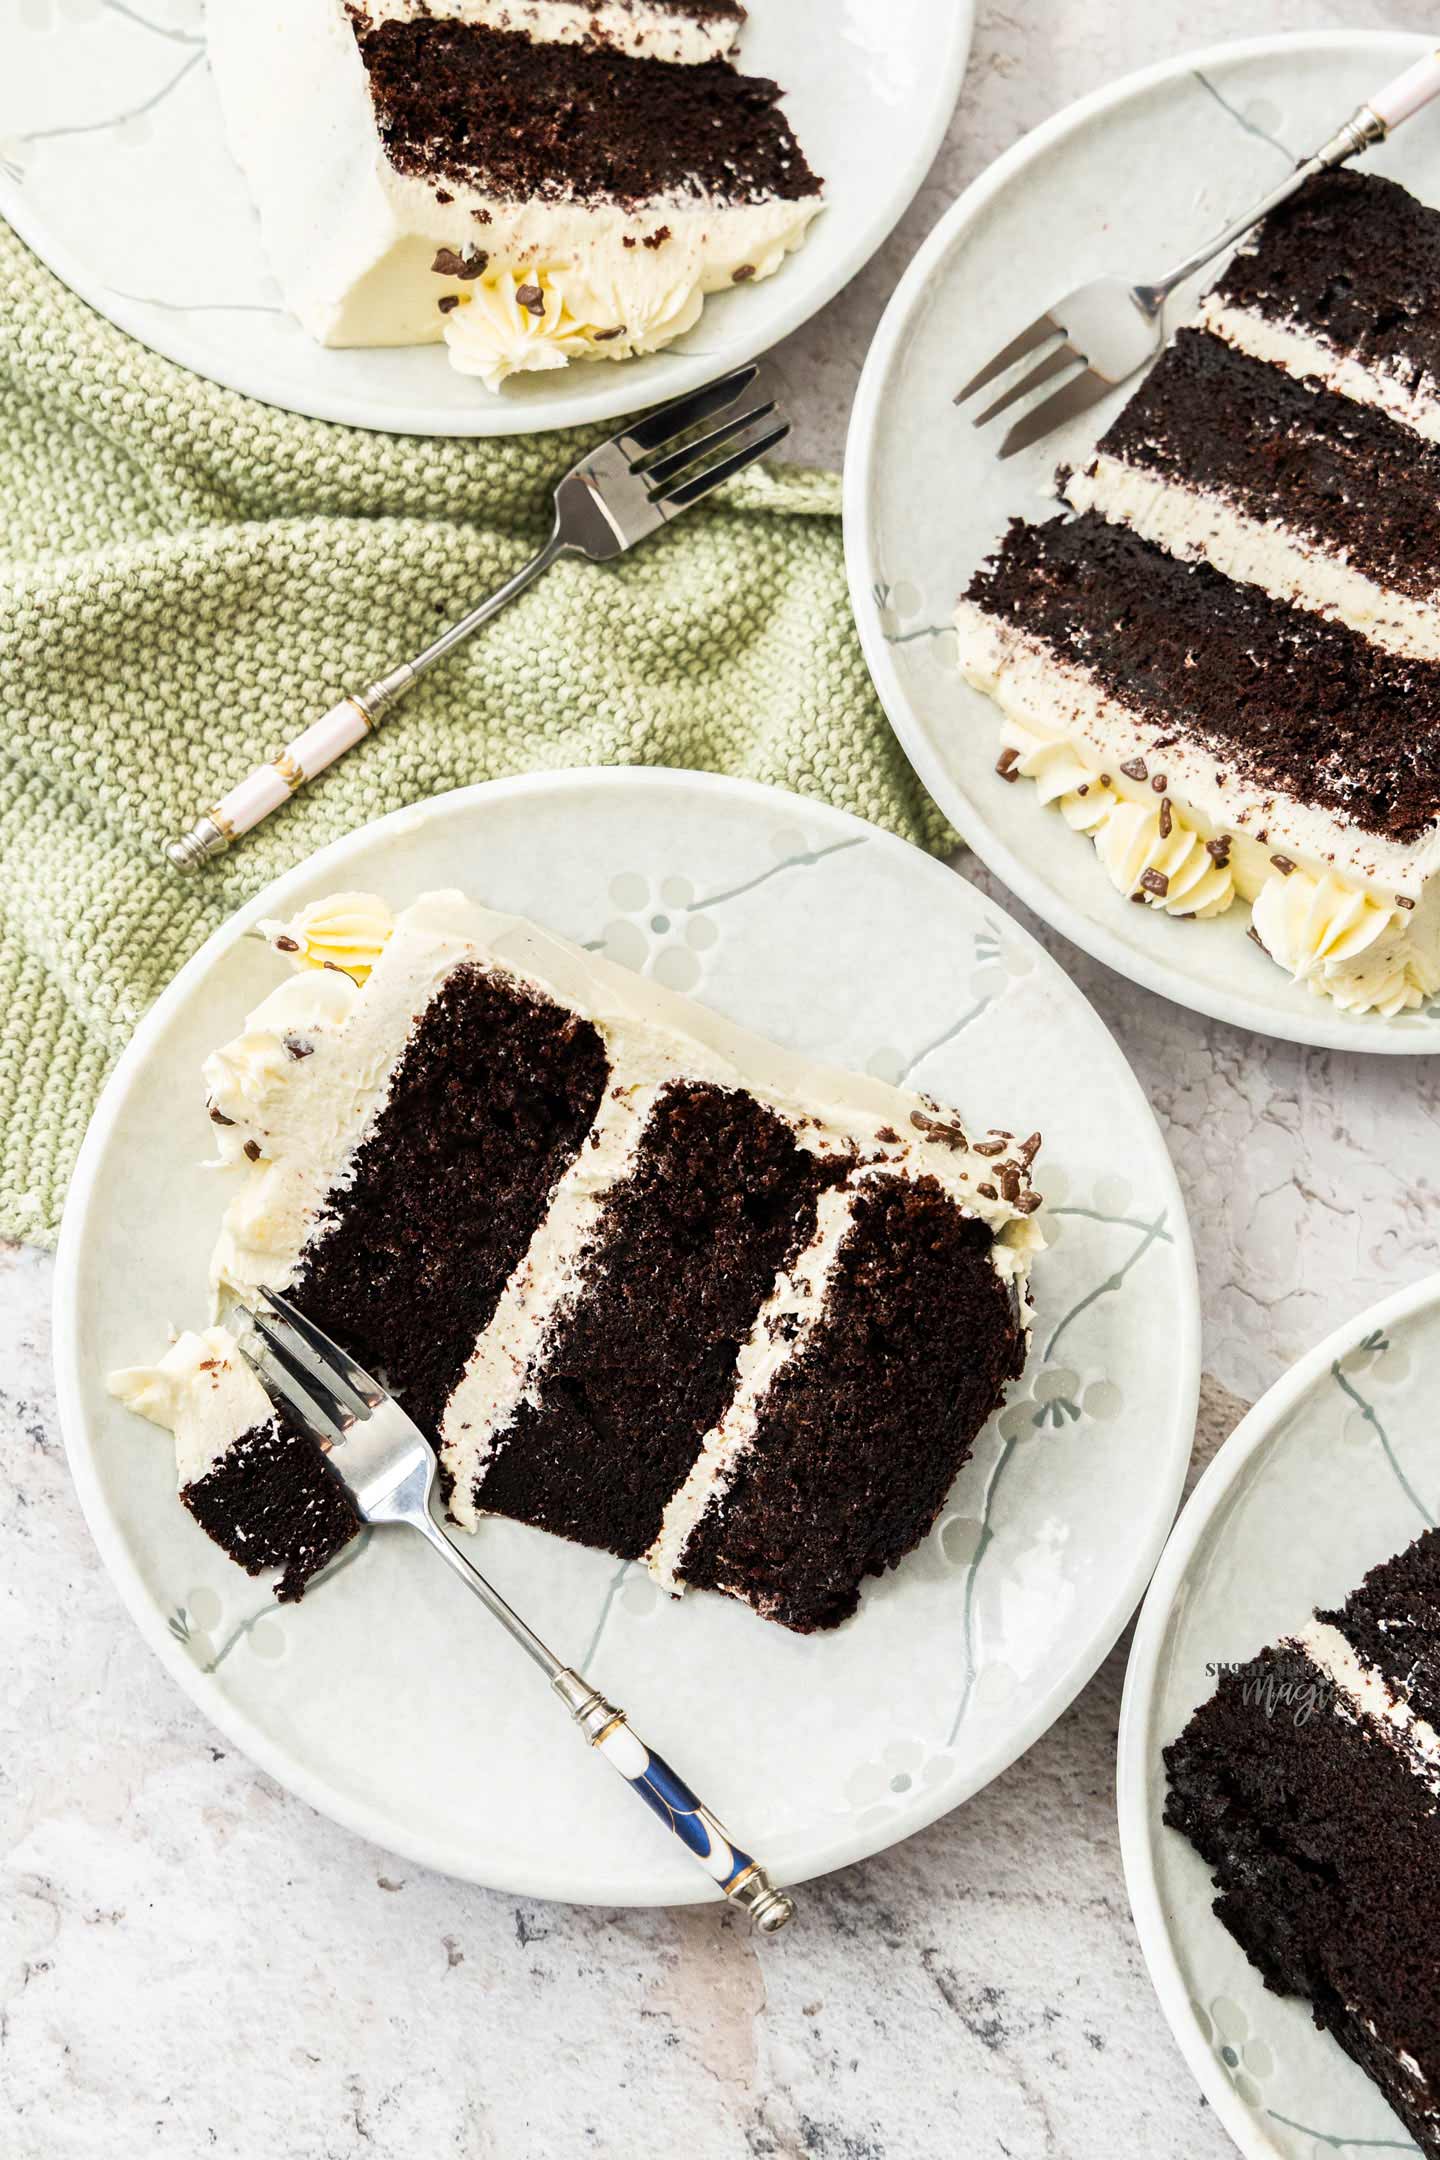
When the buttercream is soft, it can spread down the cake as you cut through it (you can see it a little in the second photo at the top). If you want nice clean slices, cut it when it’s cold, then let it come to room temperature before serving.
Slices can also be stored in the freezer, in an airtight contianer or wrapped tightly in plastic wrap for up to 3 months. Thaw at room temperature for an hour or so.
⭐⭐⭐⭐⭐
Did you try this chocolate cake and vanilla frosting?
Show it some love with a rating and comment below.
Hungry for more?
- Subscribe via Email, Facebook, Pinterest and Instagram.
- Add Sugar Salt Magic as a Google Preferred Source.

Ingredients
- 3 teaspoons instant coffee granules , dissolved in 1 ½ cups boiling water (375ml) (notes 2)
- 390 g plain flour (all purpose flour) (3 cups / ~13¾oz)
- 105 g Dutch process cocoa powder (1 cup / ~3¾oz
- 2 ½ teaspoons baking soda (bicarb soda)
- 1 ½ teaspoons baking powder
- 500 g white granulated sugar (2 ½ cups / 1.1lb)
- ¾ teaspoon salt
- ¾ cup vegetable oil (125ml)
- 1 ½ cups buttermilk room temp (375ml)
- 3 large eggs room temp
- 2 teaspoons vanilla extract
FOR THE WHIPPED VANILLA FROSTING
- 450 g unsalted butter , softened(2 cups)
- 4 cups icing sugar (powdered sugar) , sifted (520g) (more as necessary for consistency)
- ⅓ cup thickened cream (heavy cream) (60ml)
- 3 teaspoons vanilla extract
- ½ teaspoon salt
For best results, always weigh ingredients where a weight is provided
Instructions
- FOR THE CHOCOLATE CAKE LAYERS:Preheat the oven to 180C (160C fan forced) / 350F.
- If you haven't already, mix the coffee granules with boiling water.
- Grease 3 round 8-inch sandwich tins (cake pans). Dust all over with cocoa, tapping out the excess.
- In a very large bowl, sift the flour, cocoa powder, baking soda and baking powder together. Add the sugar and salt and use a balloon whisk to gently whisk it all together.
- Make a well in the centre of the dry ingredients and add the wet ingredients – coffee, oil, buttermilk, eggs and vanilla. Use a spatula to give it a rough mix, then swap to an electric mixer and beat for 1 minute.
- Evenly divide the batter between the prepared pans (you can weigh it to be extra sure but eyeballing is fine).
- Bake for 30-35 minutes, turning the pans at about the 20 minute mark, until a toothpick comes out with just sticky crumbs attached.
- As soon as the cakes come out of the oven, using another cake pan the same size or just a glass to gently push down the dome on the cake. You don’t want to flatten it completely but just enough that it can sit flat on a platter (this saves you trimming off the dome and contributes to the amazing texture of the cake).
- After 5 minutes, turn the cakes out onto a wire rack to cool completely.
- FOR THE FROSTING:In the bowl of a stand mixer with a paddle attachment, beat the butter and ½ cup of the icing sugar on medium speed for 5-6 minutes (seems a long time but we’re after whipped butter here). Scrape down the sides a couple of times during this process.
- Add the vanilla, salt and half of the remaining sugar and beat on low until combined. With the mixer on low, spoon in the remaining sugar. Scrape down the sides of the bowl. Beat for a further 2 minutes at medium speed.
- Add the cream and beat for a final 2 minutes at medium speed until it looks light, thick and whipped.
- At this point, if you feel it needs more sugar for a thicker consistency you can beat in as much as you need.
- ASSEMBLE THE CAKE:I reserve about ½ cup of the frosting to pipe some pretty stars on top at the end but that's optional.Start by placing 1 of the layers of cooled cake onto a cake platter, flat side down. Spread about ¾ cup of the frosting over the top. Repeat this same step with a second layer of cake and frosting.
- Place the final cake layer on top, flat side up. Spread the remaining buttercream over the top and sides. For clean slices, chill before slicing but it is best served at room temperature.
- Please take a moment to leave a comment & rating. It's appreciated and so helpful.
Notes
- Tablespoons: I use a standard Australian 20ml tablespoon (equal to 4 teaspoons). Check yours before measuring.
- Though the caffeine in the coffee in one serve of cake is nothing to be concerned about, if it makes you feel more comfortable, use decaf coffee. Chocolate actually has the same amount of caffeine as coffee and cocoa, used in cakes every day, has more.
- For best results you should always weigh ingredients like flour and sugar. Kitchen scales are relatively cheap but if you can’t weigh the ingredients, use the spoon and level method (don’t scoop).
- All ovens vary – check for doneness 2-3 minutes before the recipe suggests.
- Nutrition details are approximate only – scroll below the recipe to find the full nutritional information.
This post may contain affiliate links that earn me a small commission for my referral, at no extra cost to you. Thank you for supporting Sugar Salt Magic.


2 Comments on “Chocolate Cake with Vanilla Buttercream”
Fantastic height, very impressive! Cake is very tasty and frosting rich. (i would use 3/4 cup butter in the recipe.). Well received!
I’m so happy to hear this, Mpd. Thank you so, so much for dropping back to leave a review.
With the buttercream, if you cut down the butter, the buttercream will be much sweeter since the butter-sugar ratio will change, but absolutely this is al personal preference. I’ve also made this recipe using 1 part shortening to 2 parts butter and it was still delicious, just slightly less buttery.