


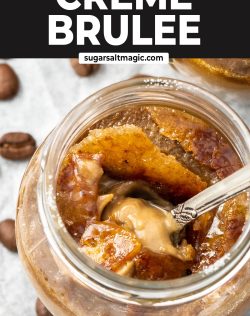
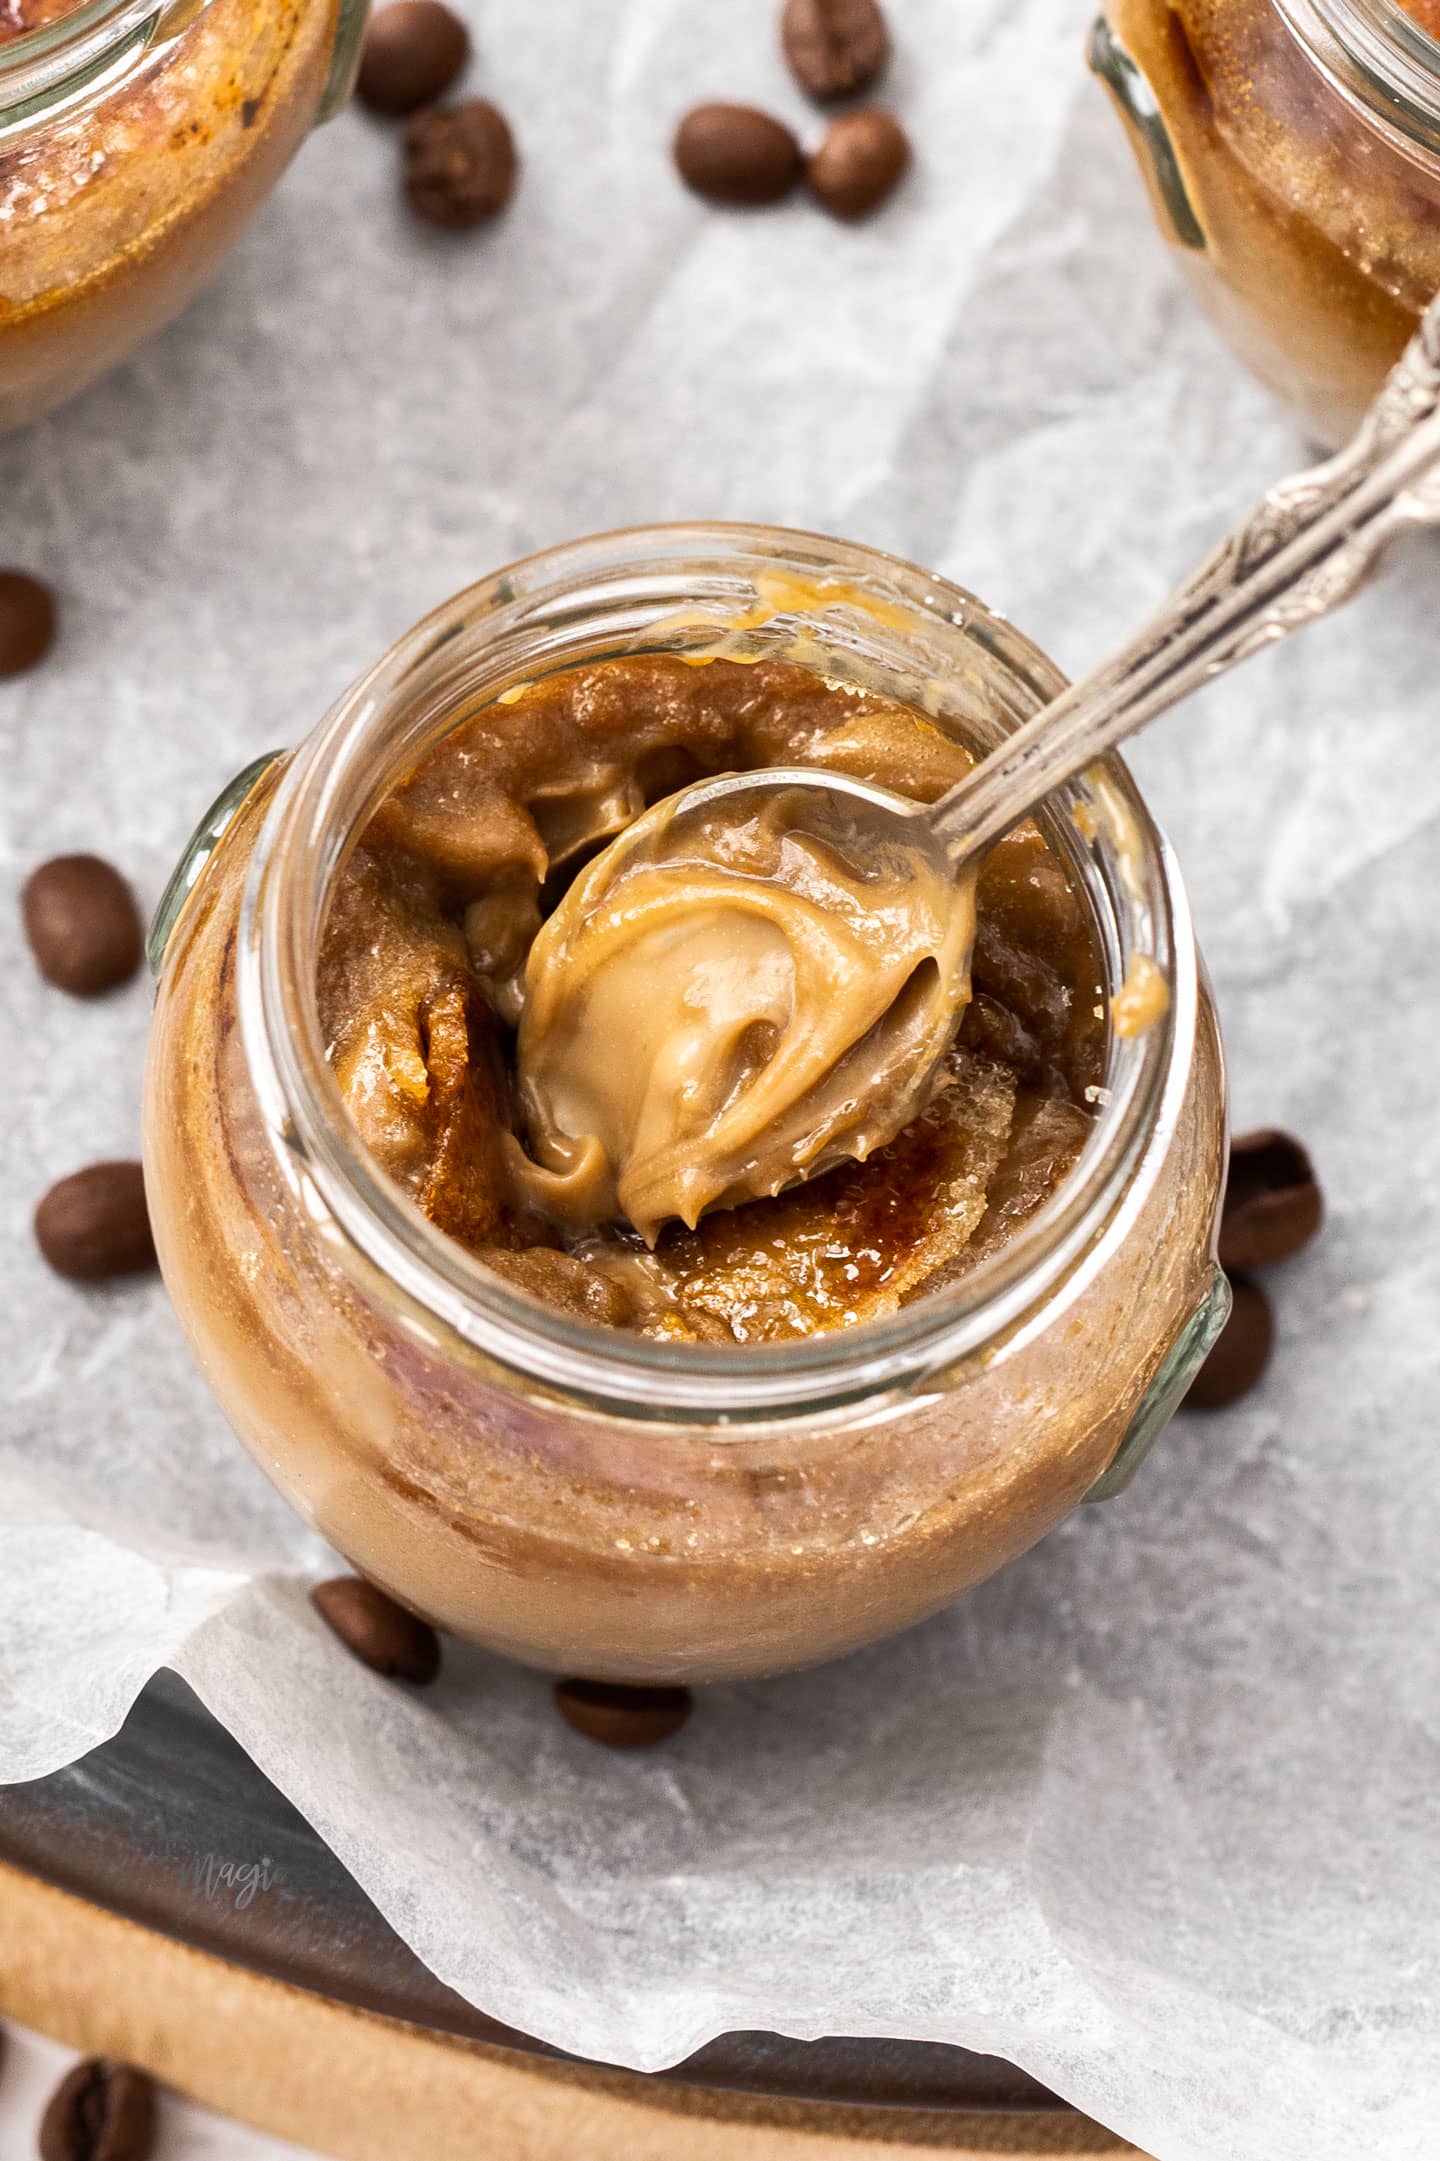
What’s not to love? Coffee creme brulee is like the most delicious coffee in creamy custard form, with a layer of crunchy caramelised sugar on top. Cracking through the crunchy topping into the melt-in-the-mouth, smooth, creamy custard is wonderfully satisfying.
If you want to really treat your guests, this easy coffee crème brûlée is the ticket. These luscious little custards are the work of minutes and can be made ahead of time, making them just as perfect for entertaining as they are a family dessert treat. The best latte a coffee lover could hope for.
Try this stunning orange creme brulee or these salted caramel pots de crème next.
❤️ Why you’ll love it
- Surprisingly easy – just 4 ingredients and 10-15 minutes effort
- Rich coffee flavour – silky smooth custard infused with coffee
- The classic sugar crack on top
- Make ahead friendly – perfect for dinner parties
- Elegant yet comforting
- Naturally gluten-free
This recipe was first published here on June 10th, 2021 and has been updated with clearer step by step images and helpful tips.
Never Miss a Recipe!
Get the latest recipes straight to your inbox.
Never Miss a Recipe!
Get the latest recipes straight to your inbox.
What is crème brûlée?
- Crème = cream: Pronounced “krem” this refers to the baked custard made up largely of cream and eggs.
- Brûlée = burnt: Pronounced “broo-lay” this refers to the ‘burnt’ sugar topping that goes hard and cracks when you hit it with a spoon.
So, creme brulee is a baked custard with a crisp sugar topping and it’s all kinds of delicious. It’s a much-loved French dessert that is best served chilled. This silky coffee creme brulee with 4 ingredients is perfect for a gathering.
Ingredients
Jump to the recipe for full ingredients and instructions.
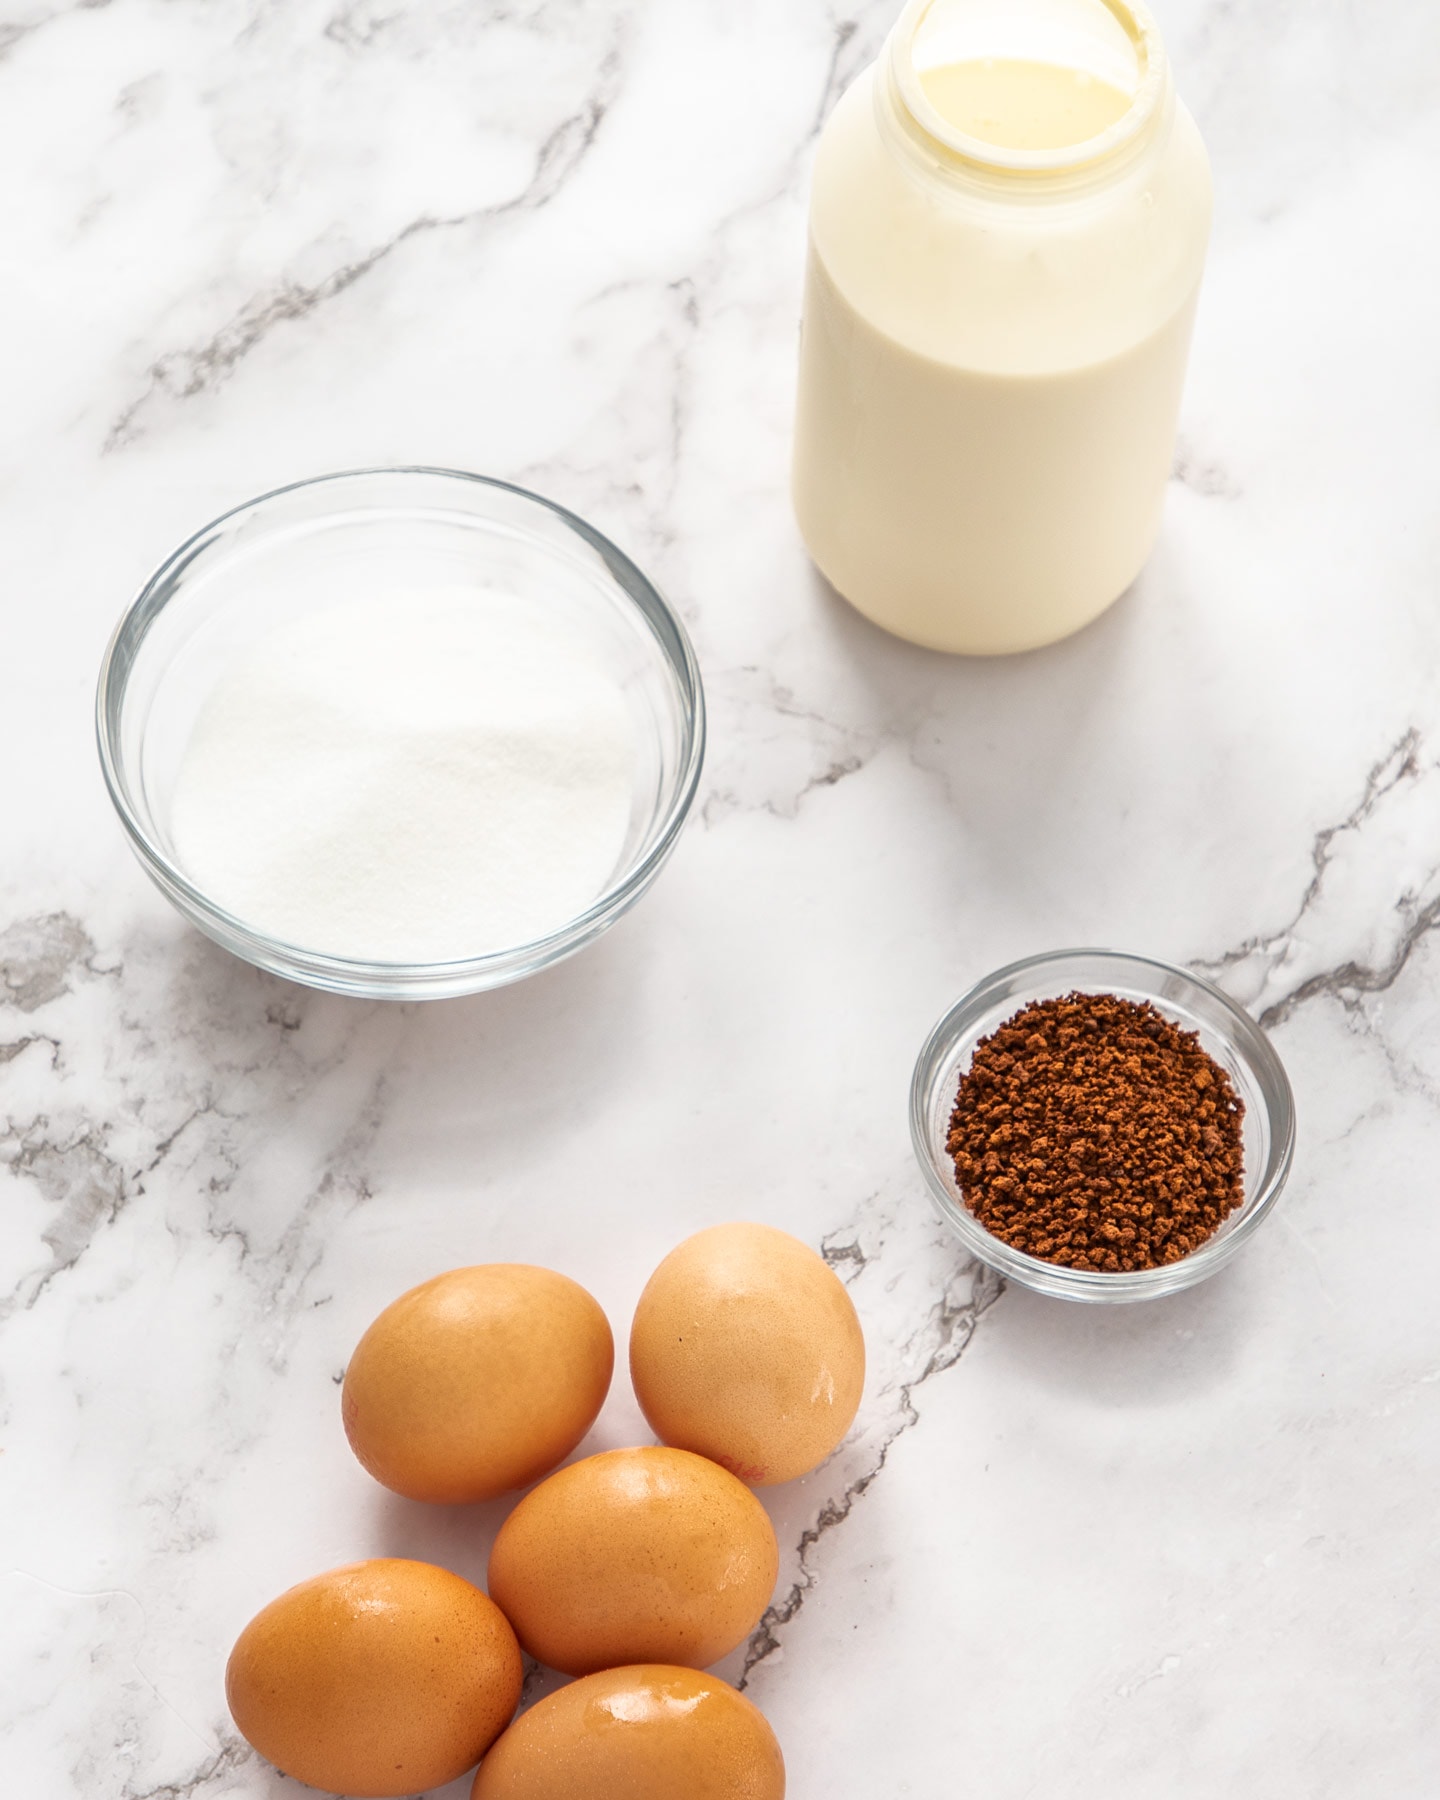
- Sugar: I prefer caster (superfine) sugar, but white granulated sugar works too. You can also use brown sugar which will give a slight caramelly edge.
- Cream: Use thickened or heavy cream.
- Large egg yolks: You’ll need the yolks from large eggs — try to find free-range eggs if possible.
- Coffee: Instant coffee granules are best here. If you use instant espresso powder, you’ll only need 3-4 teaspoons. Since it’s in powder form, it takes up less room in the measuring spoon. Don’t use coffee beans (even ground) as they won’t dissolve into the cream and will leave a gritty texture. And don’t use brewed coffee as the additional liquid and reduced fat in the recipe will alter the texture. You can even use a decaffeinated instant coffee so it’s safer for kids or if you can’t take coffee after 12pm like a certain blogger I know (aka me).
- Feel free to add up to 1 teaspoon of vanilla extract too.
How to make coffee creme brulee
It always amazes me how such simple things can make such a luscious, incredibly special dessert. You have to love a dessert with just 4 basic ingredients.
Jump to the recipe for full ingredients and instructions.
1. Recipe prep
Preheat the oven to 160°C/320°F and place the ramekins on a baking tray with high sides.
2. Steam the cream
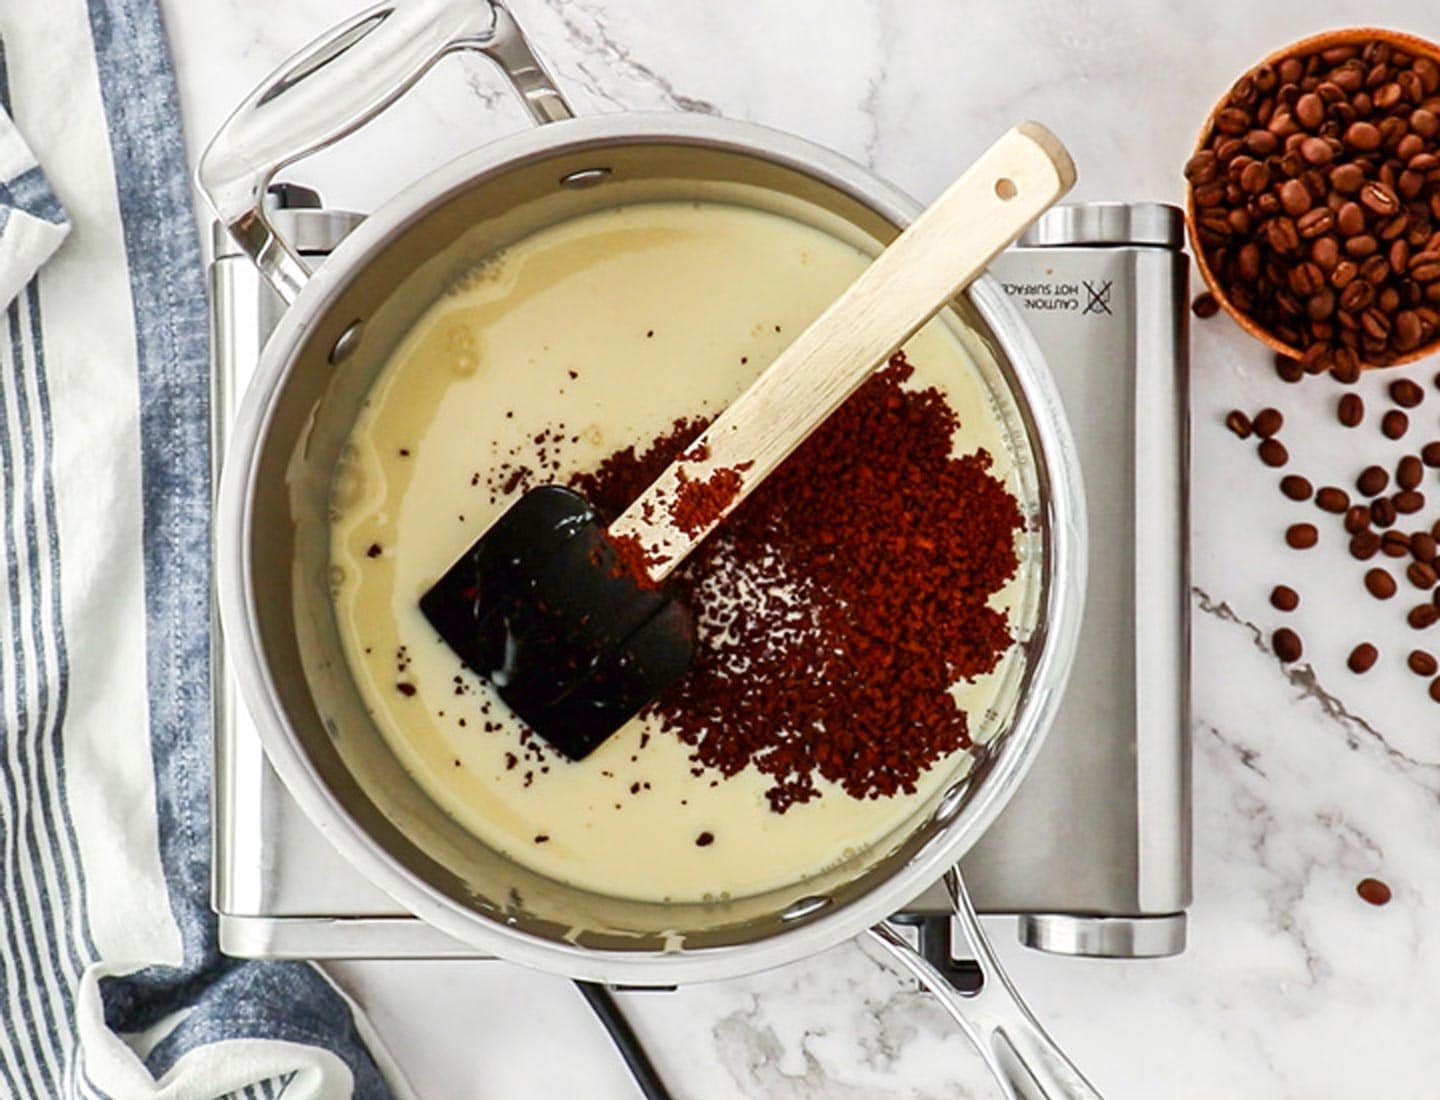
Add the sugar and cream to a saucepan over low heat and stir until the sugar dissolves.
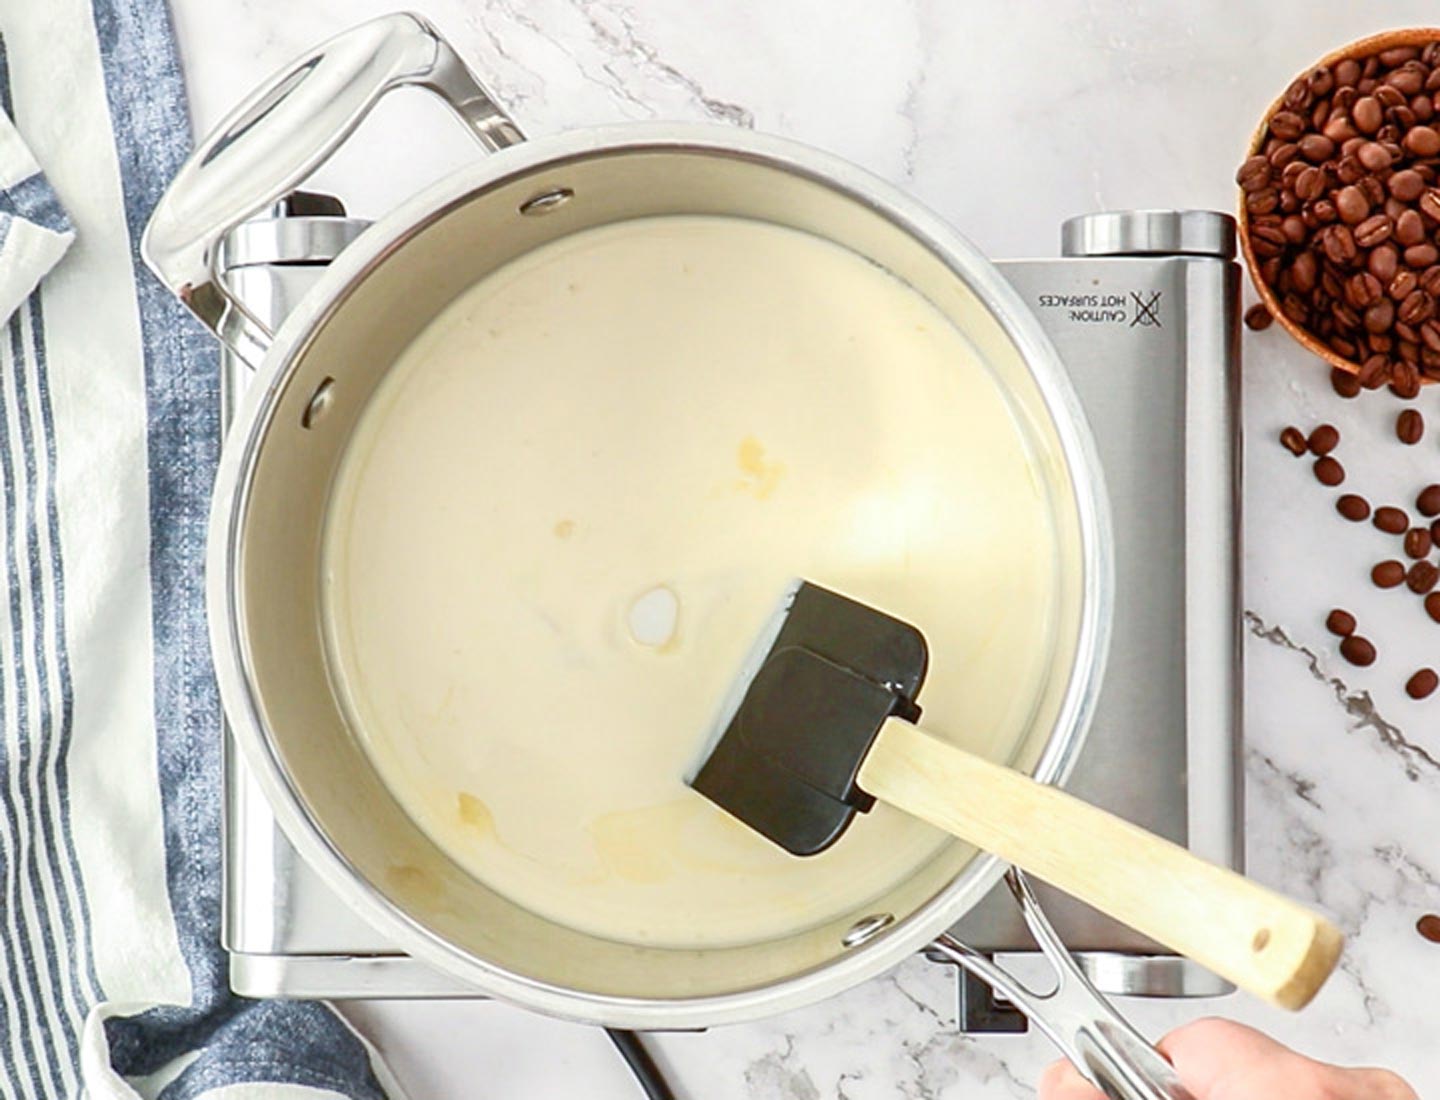
Add the coffee and stir to dissolve that too. Remove from heat and set aside.
3. Create the custard
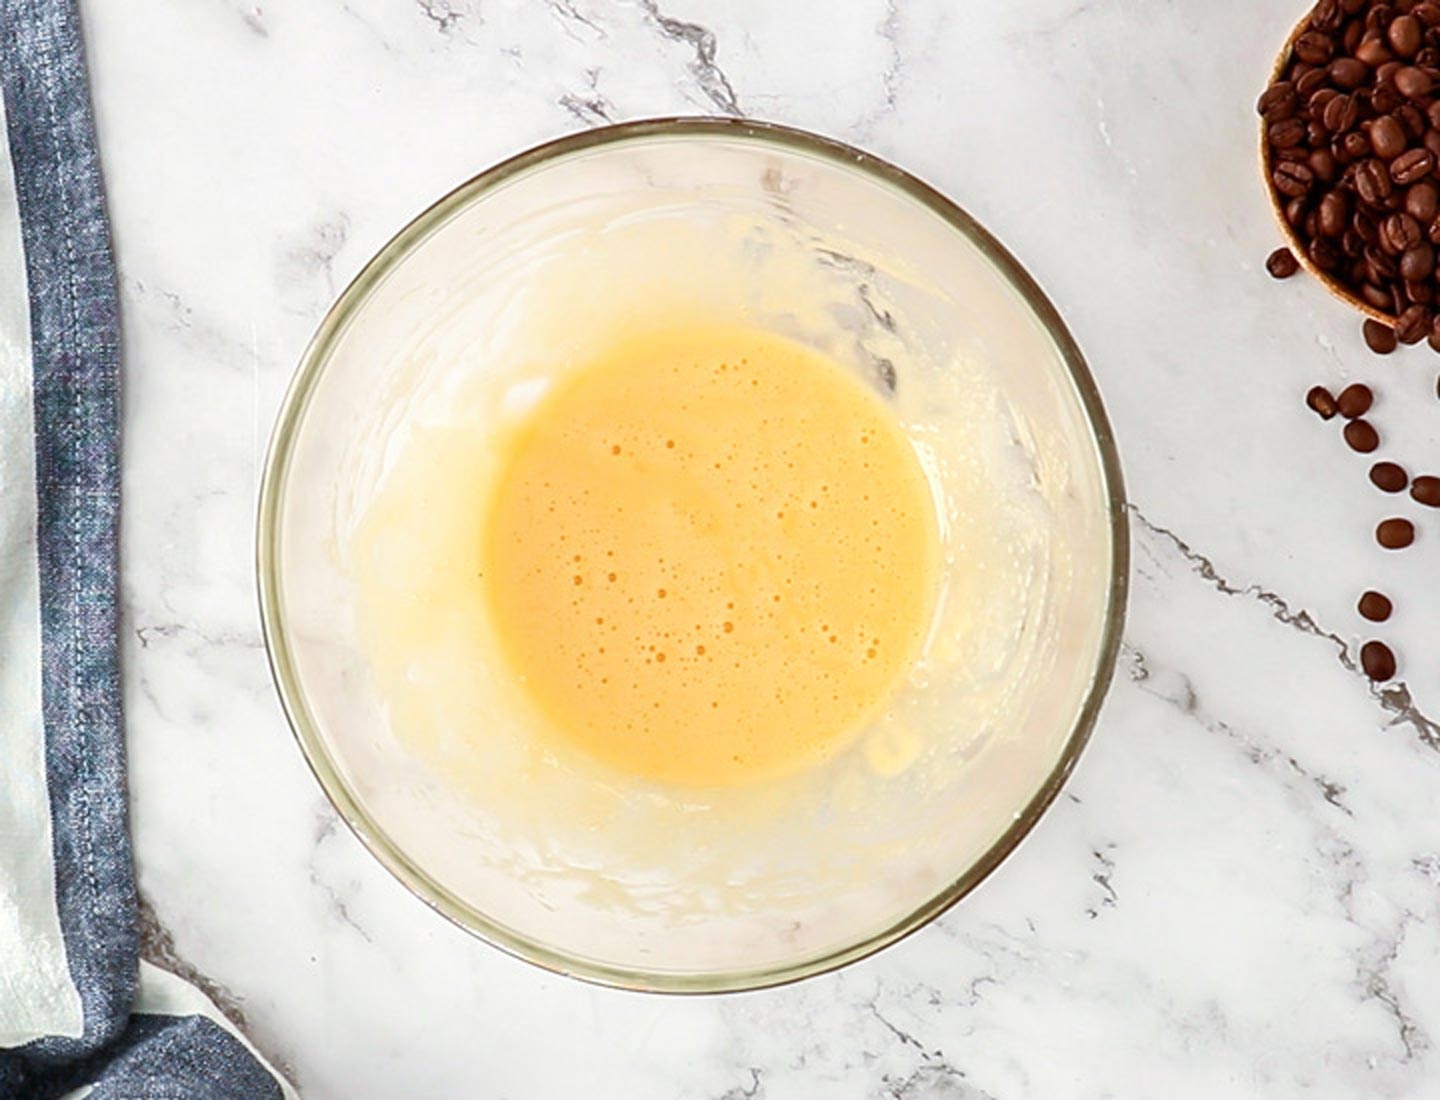
Whisk the egg yolks in a large bowl until they lighten in color and thicken up slightly.
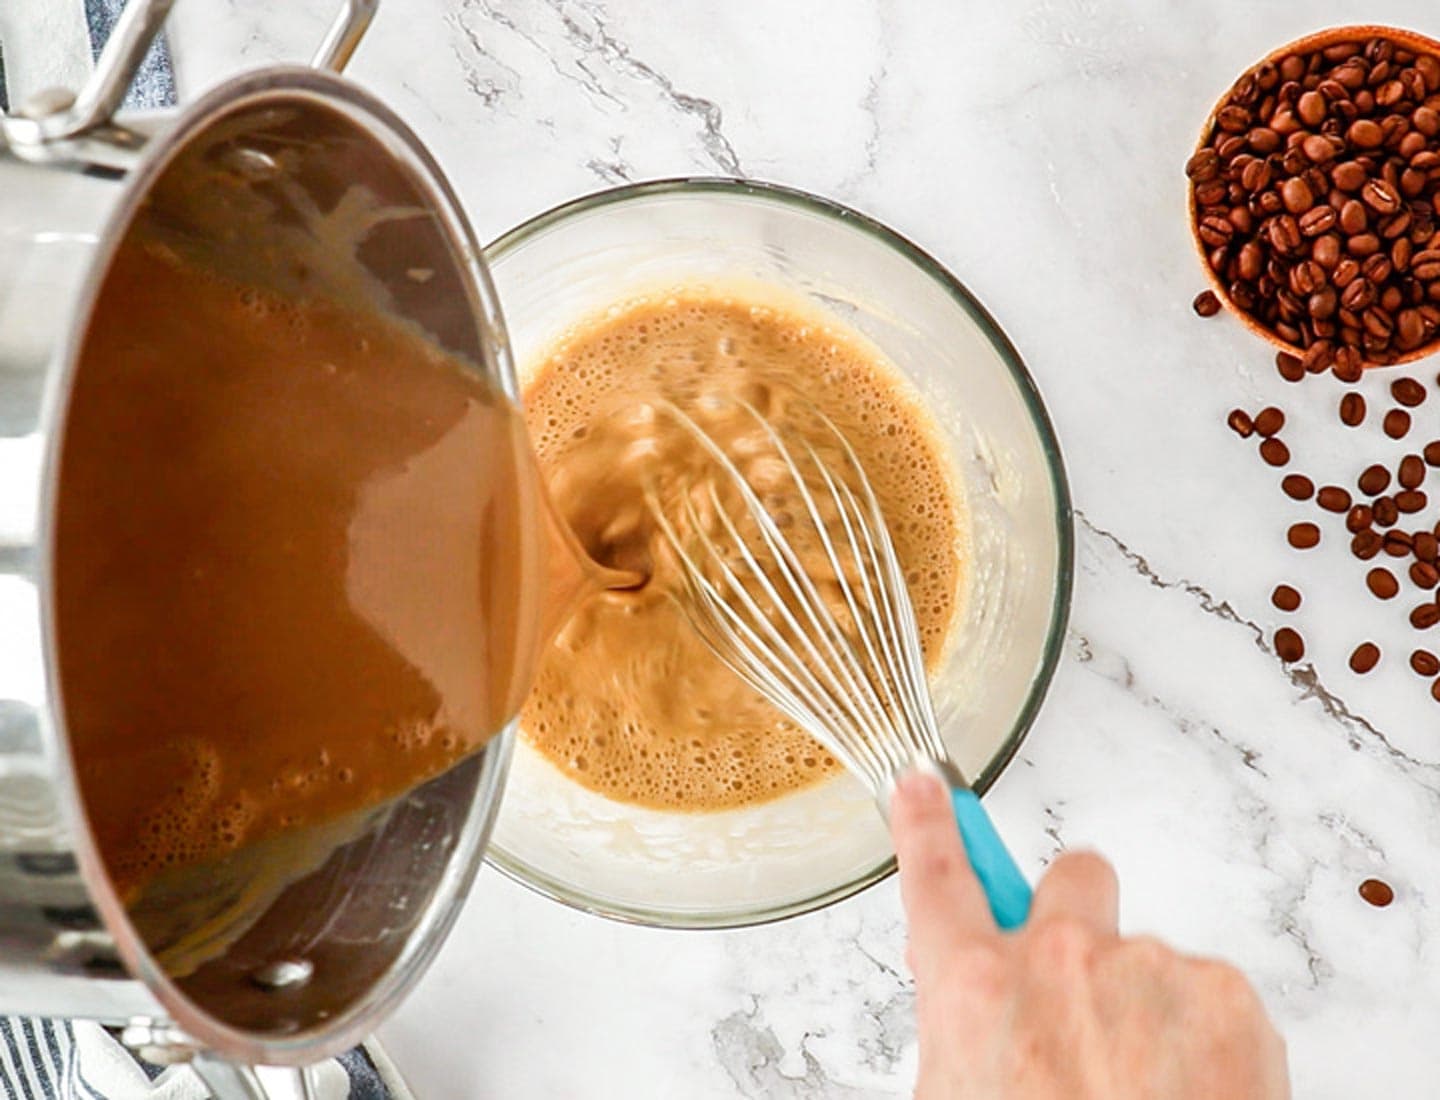
Slowly drizzle the hot coffee cream mixture into the yolks. Stir to combine, then pour the cream mixture through a fine mesh sieve.
4. Bake
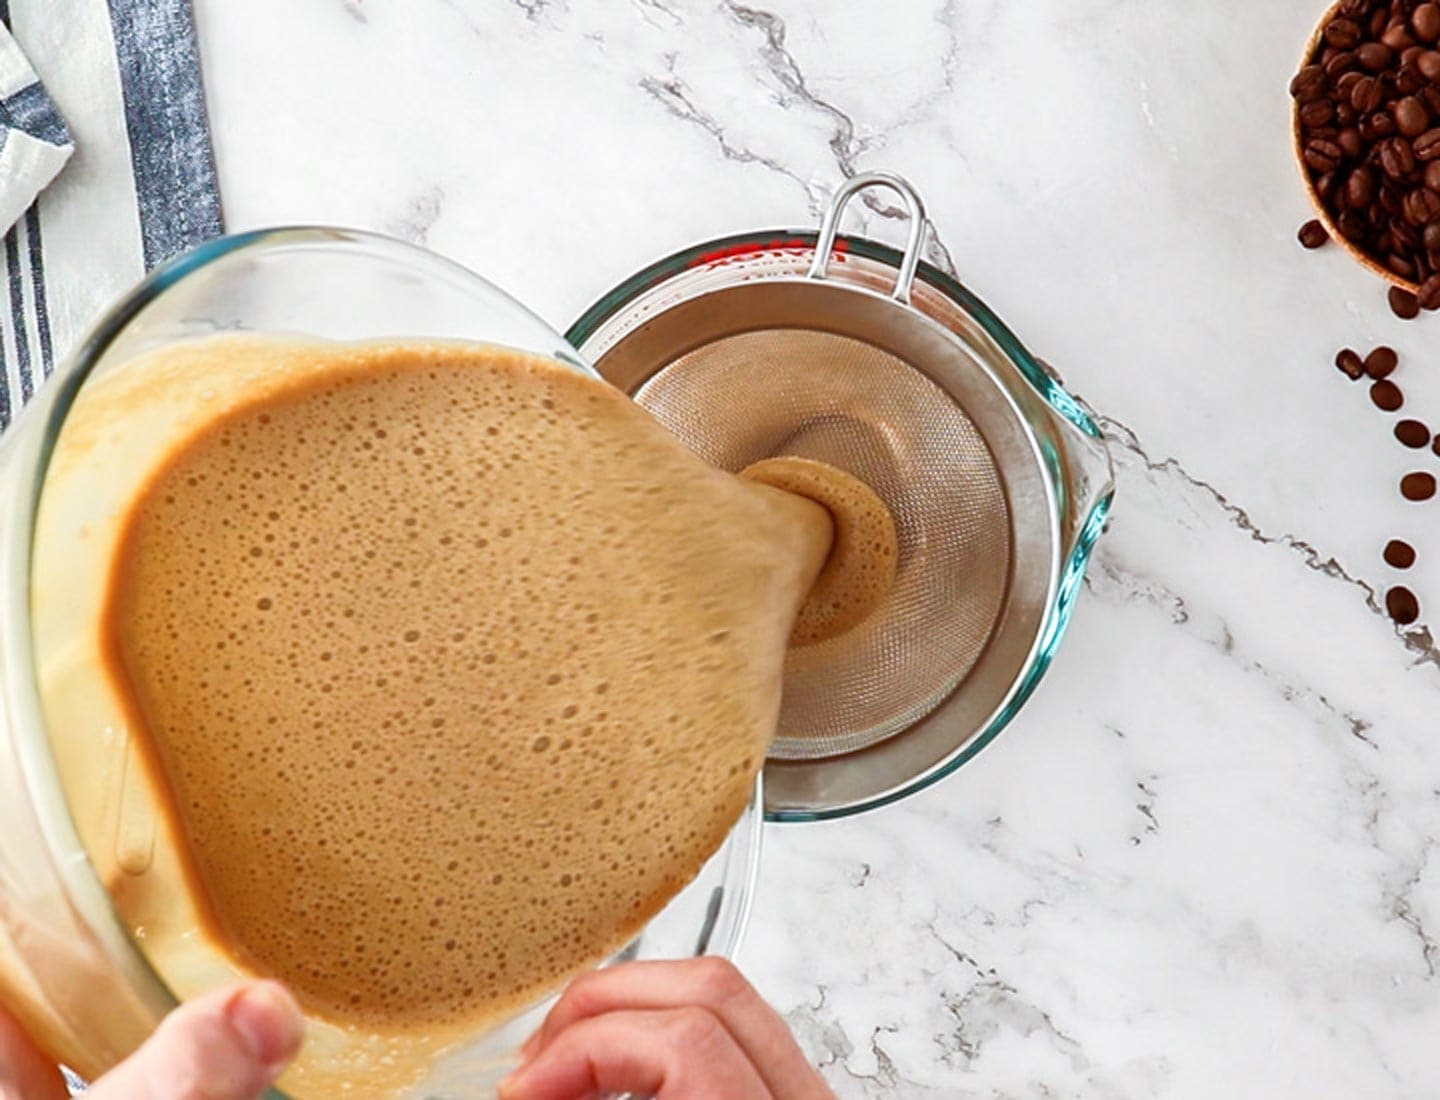
Strain the coffee custard mixture.
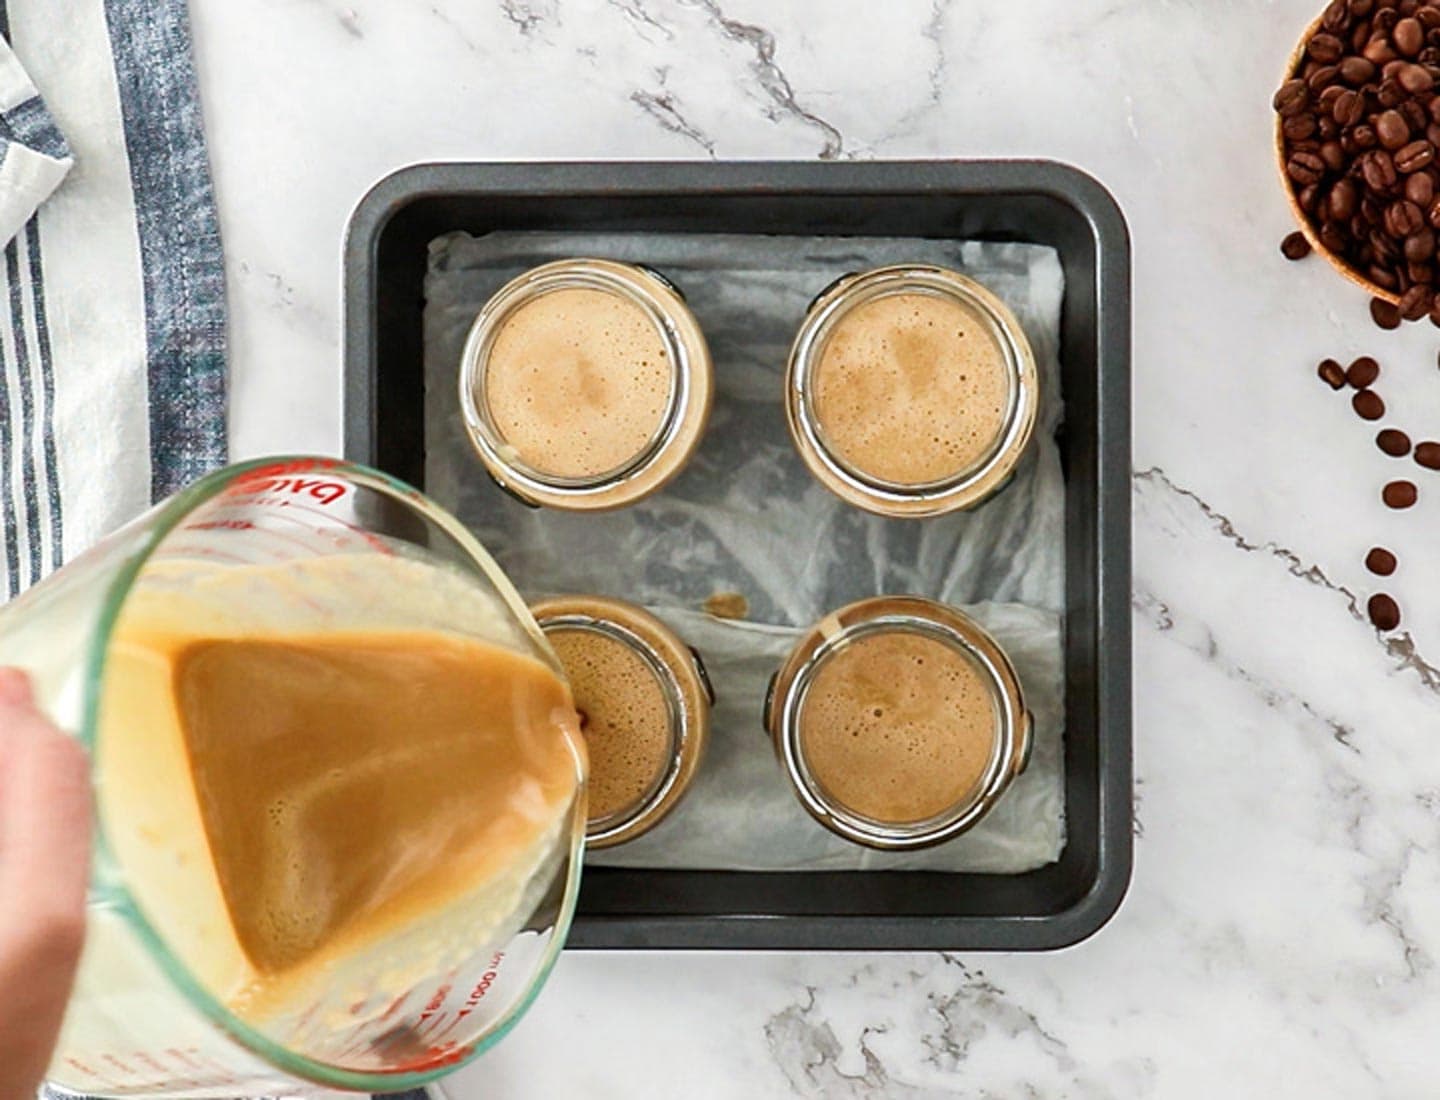
Divide the coffee brulee custard between the 4 ramekins. Add some water to the baking tray until it’s about halfway up the side of the ramekins to create a water bath. Bake until set, or about 30-50 minutes.
5. Chill & caramelise
Remove the baking pan from the oven and let the custard cool on a wire rack before chilling (for a minimum of 4 hours or overnght) in the refrigerator. When you’re ready to serve, sprinkle a layer of sugar on top of each coffee brulee, and use a kitchen torch to caramelise the sugar. Enjoy!

Tips and tricks
- “Tempering” eggs means adding hot liquid to egg yolks slowly whilst constantly stirring so they don’t scramble. So, it’s super important to drizzle slowly and stir constantly. Do this and you’ll have no problems.
- Don’t skip the straining step! Even if you’re confident that there aren’t any bits of cooked egg in your custard, it’s still a good idea to strain it. It also saves anyone from eating a whole coffee granule that may not have dissolved.
- Chill for at least 4 hours in the refrigerator to ensure the custard is completely set.
- Any small oven-safe ramekin, bowl, or jar will work for this coffee creme brulee recipe. However, these are small servings, so make sure you opt for something small. Each one will only need around 2/3 cup volume. Keep in mind that the more shallow the vessel, the shorter baking time will be required. The ones shown in these pictures took around 45-50 minutes to be set due to the height.
- You must use a water bath to get that perfect silky texture and no cracks on top. If you don’t, your coffee crème brûlée might turn out a little gelatinous as opposed to set but silky.
- As different ramekins/jars will take different amounts of time to give you perfectly baked custard, check for the jiggle. You’re looking for a jiggle that looks a bit like jelly and not a wobble that looks like there is still liquid below the surface. For example, these eggnog crème brûlée take 30 minutes in their shallow dishes whilst these salted caramel pots de crème take 45 minutes in their taller jars.
- Make sure to cover the entire top of the custard with sugar before you start to caramelise it. I find a kitchen blowtorch the best method for caramelising the sugar. Using a broiler will heat the custard below it too much.
Storing
I recommend that you only make as many coffee creme brulee as you plan on eating. That said, this coffee custard recipe can certainly be made ahead. Store it in the fridge for 1-2 days in the fridge, then add the sugar right before you serve.
FAQs
This coffee creme brulee recipe does. Regular creme brulee typically tastes like a rich vanilla custard.
I really recommend you use a kitchen torch to make coffee creme brulee as I find the broiler is just too strong. That said, you could try it in a pinch — just keep a very close eye on it as it caramelises. Start with just 1-2 minutes and add an additional minute if you need it.
Yes, you need a water bath to create the silky texture you’re after. It also helps prevent the coffee brulee from overcooking, and ensures that each one bakes evenly.
First, make sure to cover the entire top surface of the brulee with a layer of sugar that isn’t too thick, otherwise the top can burn before the sugar underneath has melted. You can add a second layer after bruleeing the first if you want to. Wave the kitchen torch over the top of the brulee slowly so that the sugar dissolves and turns brown.
I don’t recommend it. The water in brewed coffee adds extra liquid and lowers the fat content, both of which will affect the texture.
At least 4 hours is best for a properly set creme brulee but overnight is even better.
Yes. In fact, it’s best made ahead of time. It needs to chill for at least 4 hours but 1-2 days in advance is perfect too.

⭐⭐⭐⭐⭐
Did you try this easy coffee crème brûlée?
Show it some love in the comments below.
Hungry for more?
- Subscribe via Email, Facebook, Pinterest and Instagram.
- Add Sugar Salt Magic as a Google Preferred Source.

Video
Ingredients
- 2 cups thickened (or heavy cream) (500ml)
- 5 egg yolks, from large eggs
- ½ cup caster (superfine) sugar (100g / 3.5oz)
- 2 tablespoons instant coffee granules (note 1)
- Extra sugar for topping
For best results, always weigh ingredients where a weight is provided
Equipment
- ramekins
Instructions
- Preheat the oven to 160C (140C fan forced) / 320F. Place 4 ramekins (notes 3) in a flat bottomed baking tray with high sides.
- Place the sugar and cream in a saucepan over low heat. Heat, stirring every so often, until all the sugar is dissolved.
- Once the cream is steaming, add the coffee and stir to dissolve (press any stubborn granules up against the side of the pan to dissolve).
- Remove from heat and set aside.
- In a medium bowl, whisk the egg yolks until pale and thickened slightly.
- Place the bowl of eggs on a damp tea towel as you won’t be able to hold it, then, while stirring slowly with a whisk, drizzle the hot cream mixture slowly into the egg yolks. Make sure to pour slowly and continue stirring so the sudden heat doesn’t scramble the eggs.
- Strain the mixture into a pouring jug and skim any froth off the top, then pour evenly into the ramekins.
- Now pour hot (not boiling) water into the baking dish, around the outside of the ramekins to halfway up their sides.
- Very carefully place in the oven and bake for 30-50 minutes (notes 4) or until the edges look set and the centres have a bit of a jelly (jell-o) wobble.
- Very carefully lift the ramekins out of the baking dish and set aside to cool for 15 minutes before covering with plastic wrap and placing in the fridge to chill for at least 4 hours or overnight.
- When ready to serve, cover the tops in about 1-2 teaspoons of sugar, making sure no custard is showing. Use a kitchen blowtorch to caramelise the sugar, then serve.
Notes
- Tablespoons: I use a standard Australian 20ml tablespoon (equal to 4 teaspoons). Check yours before measuring.
- Caster / superfine sugar (not powdered) is best as it will dissolve quicker. If you can only use regular white granulated sugar, just keep the heat a little lower so that it is mostly dissolved before it starts to bubble.
- Ramekins: Different ramekins will required different baking times. See next note. Ramekins or jars should have at least ⅔ cup capacity.
- Baking time: All ovens are different, the width or depth of the ramekins, how hot the custard was before you put it in the oven are all things that can affect baking time. I generally cook these in small jam jars for 45 minutes, then check every 5 minutes thereafter.
- You’ll know they are done, when you give them a gentle shake and they have a slight wobble in the centre but not like there is liquid under the surface – think jelly (jell-o).
- Creme brulee can be made up to 2 days in advance without the brulee topping. Brulee them just before serving for best results or up to an hour before if you want to get ahead.
This post may contain affiliate links that earn me a small commission for my referral, at no extra cost to you. Thank you for supporting Sugar Salt Magic.


4 Comments on “Coffee Crème Brûlée”
from all the world this is highly recommended, must try this recipe guys
So happy you love it 🙂
Honestly, I’ve never made crème brûlée myself even though I like this dessert. This looks absolutely fantastic and perfect – so smooth, silky, and decadent. Loving the addition of coffee! If you make dulce de leche crème brûlée next, I will have no choice but finally try it 🙂
It’s beautifully smooth. You could try my Salted Caramel Pots De Creme.