Cooling, refreshing, bright, tangy, creamy – there are so many wonderful ways to describe this homemade raspberry sorbet. How about sweet, easy, quick and incredibly delicious.
I’ve recently gone on a bender adding more recipes to my frozen treats category. Raspberry ripple ice cream and mango sorbet should definitely make it on your summer recipes list along with this one.
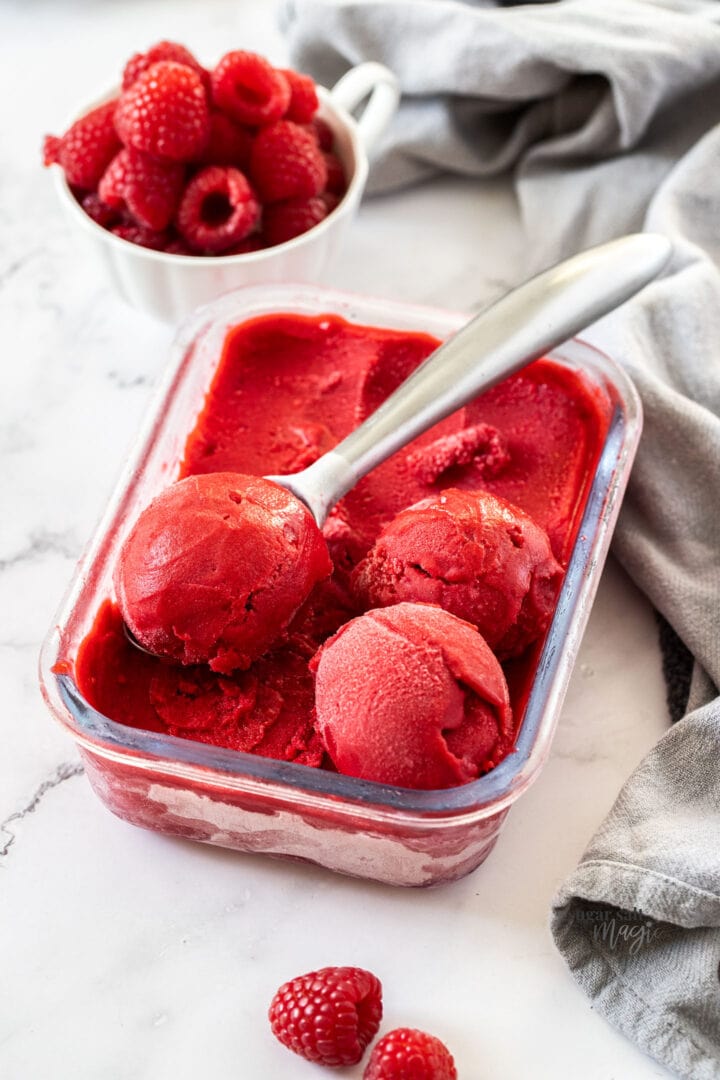
After my mango sorbet last week, raspberries were always the next on my list. There is no denying the raspberry-ness of this sorbet – it’s like eating frozen raspberries but creamier and no seeds.
It melts away on your tongue and can easily be made sweeter or tarter to your liking.
Even if you don’t have an ice cream machine, you can make this fresh and tangy sorbet recipe, with very similar results!
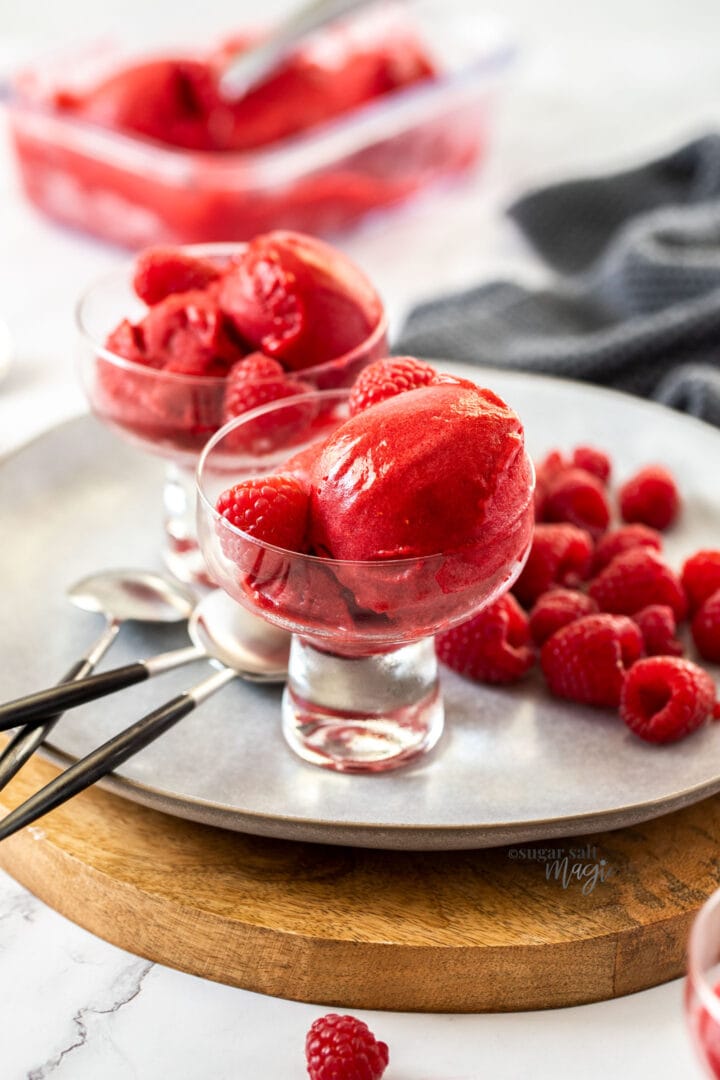
What is it?
Sorbet is a frozen dessert, most often but not always made with fruit as the base. The major difference between sorbet and ice cream is that true sorbet does not contain any dairy or eggs making this dessert;
- Dairy free
- Egg free
- Gluten free
- Vegetarian and generally vegan
It’s definitely not flavour free, in fact, the flavour is more intense than ice cream, without any kind of cream to ‘water down’ the fruit flavour.
Raspberry sorbet ingredients
Five ingredients – that’s all you need.
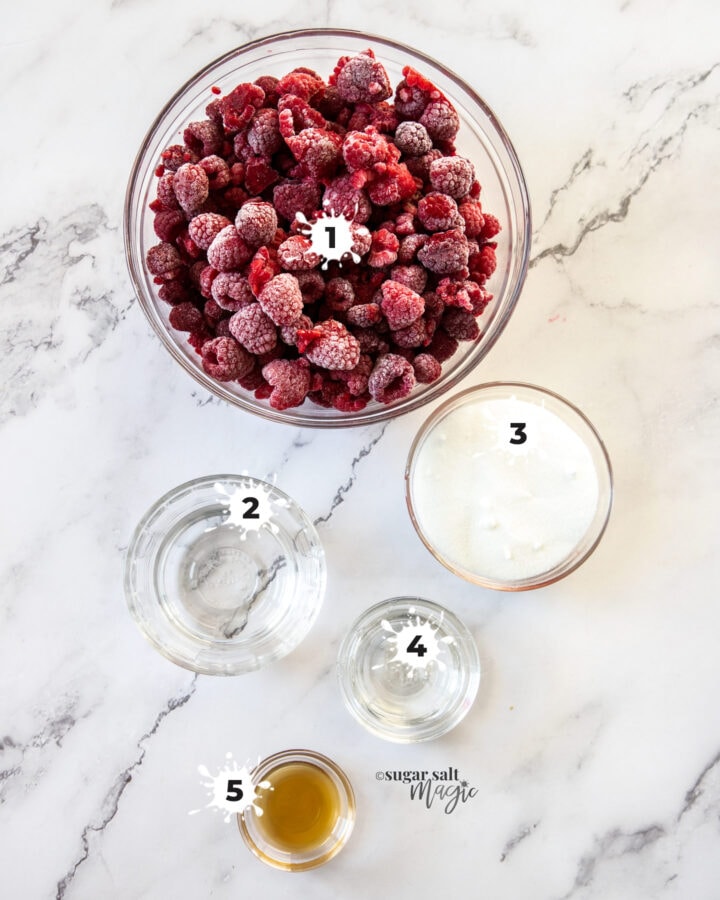
- Raspberries (1): Fresh or frozen will work and you could also use other types of berries.
- Water (2): Raspberries already have a high water contend so just a small amount of water is used to make the sugar syrup.
- Sugar (3): While raspberries are naturally sweet, the flavour will become less sweet on freezing so you will need to add sugar. You can swap this for a natural sweetener if you prefer though.
- Glucose (4): While optional, I highly recommend using glucose or light corn syrup. It helps to smooth out the sorbet by limiting the formation of sugar crystals.
- Vanilla (5): Again, this is optional but it actually intensifies the raspberry flavour.
How to make it
I love how simple this is. I like to make a sugar syrup as opposed to just adding straight sugar to the raspberries as it gives a smoother finish but it’s very quick and simple to do.
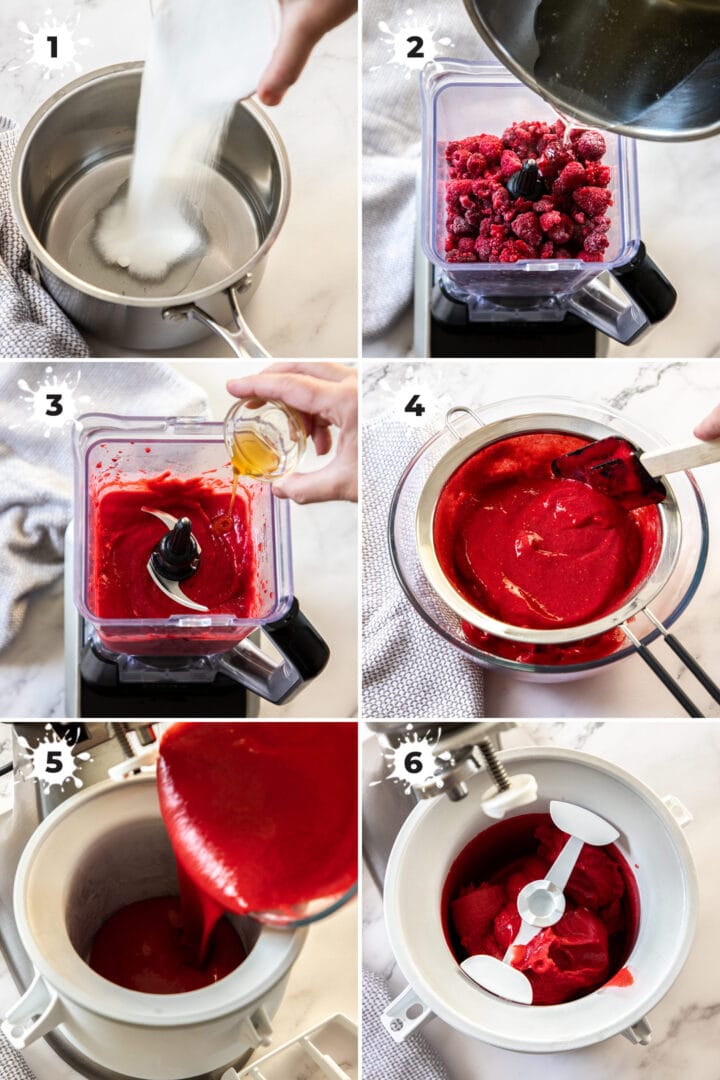
- The sugar syrup: Add water, sugar and glucose (or light corn syrup) to a small saucepan (photo 1), over low medium heat. Dissolve the sugar then let it boil for 1 minute.
- The raspberries: Add the raspberries and sugar syrup to a blend (photo 2) then blend until smooth. Add the vanilla (photo 3) and blend again to mix.
- Strain: Strain the seeds out by pushing the sorbet through a mesh strainer (photo 4).
- Churn:Tip the sorbet into your ice cream machine (photo 5) – see notes below for churning by hand – until it looks like soft serve (photo 6). Freeze overnight.
How to churn sorbet by hand
Churning ice cream and sorbet gives a creamier consistency. The action of stirring it continuously as it begins to freeze keeps the ice crystals smaller so you will always get a smoother ice cream or sorbet with a machine. So if you have one, it’s worth getting it out for this.
That being said there are two ways you can approach a sorbet recipe without churning.
- Churn it by hand: give the sorbet a vigorous mix, bring everything from the edges into the centre, every half an hour, until it’s too hard to be able to do it anymore. Normally over a 2-3 hour period.
- Don’t churn it: Just blend, pour into an airtight container and freeze. This will give you the iciest version but it will still taste lovely and still be refreshing.
Want your sorbet immediately?
If you’re happy with very soft sorbet, you can technically eat this as soon as it’s been blended. It’s cold, refreshing, sweet and tangy just a lot softer. If you are planning on this, make the simple syrup the day before then add it cold to frozen raspberries when you blend them.
How to serve it
Raspberry sorbet will begin to melt fairly quickly due to it’s fairly high water content. I shot these photos on a warmish day with no AC on, and after about 20 minutes, it was at this stage of thaw (below).
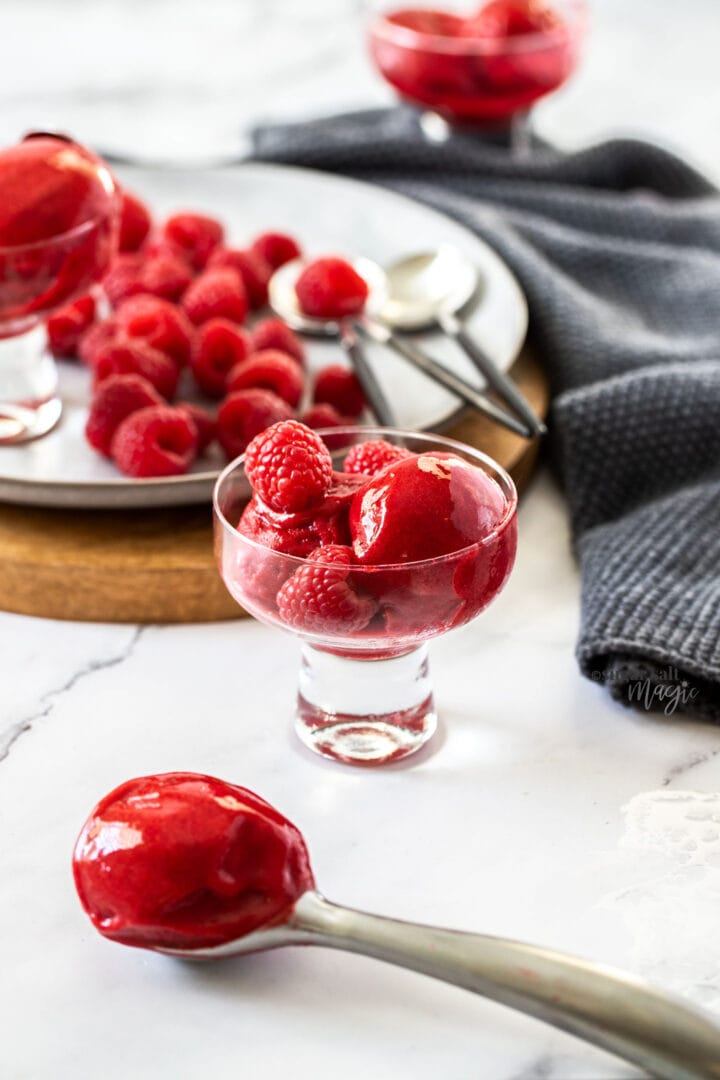
Still extremely cold and with just semi-frozen scoops it was still very enjoyable but this is all to say, serve it as soon as you scoop it for best results.
A great trick is to scoop the sorbet and place it in bowls a few hours prior to serve. Immediately place them back in the freezer and they’ll be perfect when you want to serve.
Handy tools
- Standalone ice cream machine or ice cream attachment for the KitchenAid
- Blender or food processor
- Freezer safe container or ice cream tubs
- Classic ice cream scoop (my favourite) or a trigger-style ice cream scoop.
How to store homemade sorbet?
- Sorbet is best stored in a sturdy, air-tight container.
- The less air the better too, so keep your sorbet in smaller containers where possible or if you only have larger containers, press a piece of plastic wrap to the surface.
- Try not to let your sorbet thaw and re-freeze too often as this can create more ice crystals – using a number of smaller containers will be best for this.
- Avoid keeping sorbet in the door of the freezer – it’s best pushed right to the back where the temperature is less prone to change.
- While sorbet can technically keep for a number of months, homemade is always at it’s best within 3-4 days of making it.
More recipes you’ll love
- No Churn Raspberry Chocolate Chip Ice Cream
- Mango Sorbet
- Passion Fruit Ice Cream
- Raspberry Ripple Ice Cream
- Strawberry Cheesecake Ice Cream Bars
- Frozen Cherry Chocolate Parfait
- Easy Raspberry Mousse
Never Miss a Recipe!
Get the latest recipes straight to your inbox!
See the web story

Ingredients
- ½ cup white granulated sugar
- ¼ cup water
- 1 tablespoon glucose or light corn syrup (optional but recommended)
- 1 teaspoon vanilla
- 4 cups frozen raspberries (or fresh)
For best results, always weigh ingredients where a weight is provided
Instructions
- Combine the sugar, water and glucose in a heavy-based saucepan over low-medium heat. Stir until dissolved together.
- Bring it to a boil for one minute.
- Add the raspberries, syrup and vanilla to a blender and blend until smooth.
- Push the sorbet through a fine mesh sieve into a clean bowl to remove seeds.
- Churn In your ice cream machine (or see notes for hand churning) to manufacturer instructions until it is about soft-serve consistency, then freeze for 4-6 hours, minimum. Overnight is best.
Notes
- Fresh, in-season raspberries will give a sweeter result.
- Serve this sorbet immediately. Due to high water content it can begin to melt quite quickly. You can scoop ahead of time, then freeze the scoops until serving time.
- I recommend using the glucose or light corn syrup for a smoother consistency.
- Churn it by hand: give the sorbet a vigorous mix, bring everything from the edges into the centre, every half an hour, until it’s too hard to be able to do it anymore. Normally over a 2-3 hour period.
- Don’t churn it: Just blend, pour into an airtight container and freeze. This will give you the iciest version but it will still taste lovely and still be refreshing.
This post may contain affiliate links that earn me a small commission for my referral, at no extra cost to you. Thank you for supporting Sugar Salt Magic.



4 Comments on “Homemade Raspberry Sorbet”
While this ice cream is delicious and so so refreshing, I found that the texture was crumbly when I made it. After blending it it was fine but when I put the sorbet into the Cuisinart churner it froze to the outside to quickly and didnt churn. Maybe next time I will just blend it.
I haven’t had that issue, though I use the KitchenAid ice cream churner.
Sorbet is one of my favourite summer treats; it’s so luscious, refreshing, and bursting with flavour. Raspberry sorbet is one of the winning flavours to me as well as mango. In fact you can alternate the raspberry and mango sorbet layers for an even more exciting treat!
What a great idea, Ben!